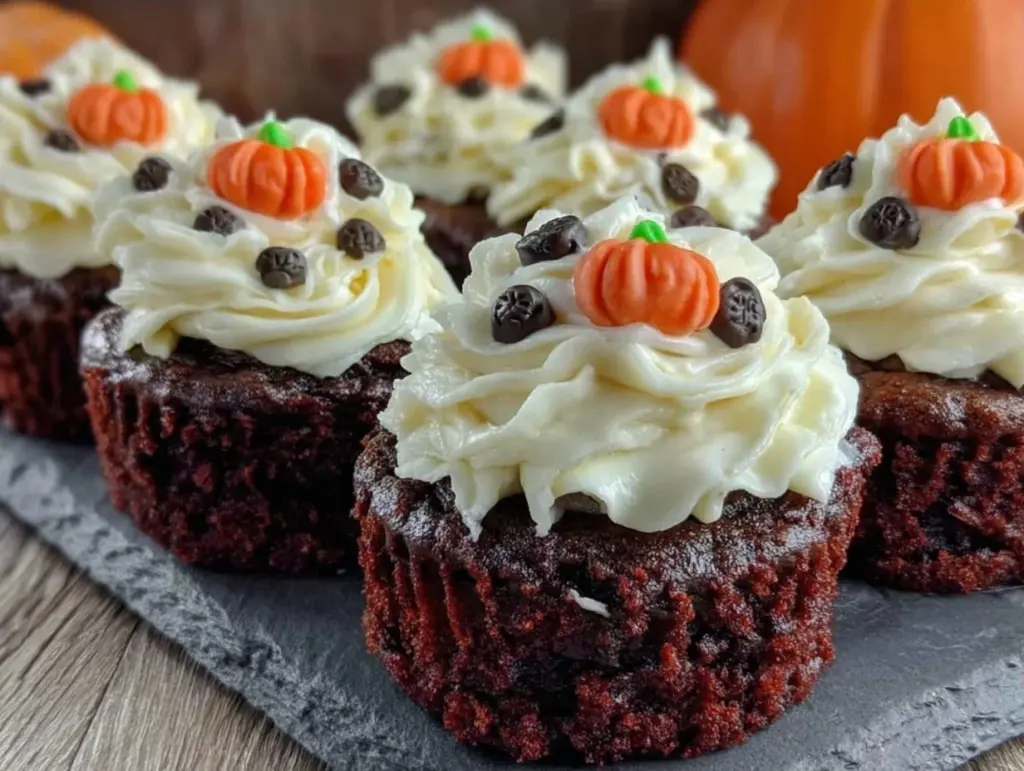
Last year, I was staring at a grocery store aisle, holding a box of cake mix that was clearly meant for a different holiday. It was October 28th, my oven was already hot, and I had exactly one hour to turn a disaster into a dessert that wouldn’t make my gluten-intolerant daughter cry. I didn’t have time for fancy decorations or complex techniques. I just needed something that tasted incredible, looked spooky, and didn’t involve wheat flour.
So, I did what any desperate home cook does: I grabbed my favorite vanilla cake base, swapped in almond flour, added a splash of purple gel food coloring, and threw in a massive amount of cream cheese frosting. I expected them to be okay. Maybe even “good for gluten-free.” But when I pulled them out of the oven, the kitchen smelled like a high-end bakery, and the crumb was so moist it made me pause. They weren’t just “safe” for my daughter—they were the first thing to vanish from the plate.
That was three years ago. Since then, I’ve made these Halloween purple velvet cupcakes with cream cheese frosting at least a dozen times. They’ve become my secret weapon for any gathering where I need to impress people who eat gluten-free, dairy-free, or just plain love a good dessert. The name “purple velvet” might sound a bit theatrical, but the texture is genuinely luxurious. It’s rich, tangy, and deeply satisfying. And the best part? You don’t need any fancy equipment or hard-to-find ingredients to make them work.
If you’ve been avoiding baking because of dietary restrictions, or if you just want a dessert that looks as good as it tastes, this is the recipe for you. It’s proof that swapping out gluten doesn’t mean sacrificing flavor. In fact, I think it makes the cake even better. Let’s get baking.
Why You’ll Love These Gluten-Free Halloween Cupcakes
There are a lot of reasons I keep coming back to this purple velvet cupcake recipe, but here are the ones that matter most when you’re tired after work or trying to plan a party menu.
They’re Actually Moist — I’ve tried so many gluten-free flour blends that leave you with a dry, crumbly texture that sticks to the roof of your mouth. Not these. The combination of almond flour and a touch of oil (or butter) keeps them incredibly tender. I’ve served these to people who aren’t gluten-free, and they genuinely can’t tell the difference. The texture is soft, airy, and velvety.
Gluten-Free AND Dairy-Free Options — This is huge for me. My family has mixed dietary needs. Some of us are gluten-free, some are dairy-free, and some are just lactose intolerant. This recipe works for all of them. You can use a dairy-free butter or coconut oil, and a gluten-free flour blend, and the result is indistinguishable from the “regular” version. It’s a win-win for everyone at the table.
Zero Fuss, Maximum Impact — Let’s be real: Halloween is chaotic. You have costumes, trick-or-treaters, and probably a million other things to do. You don’t have time for a three-tiered cake that requires architectural skills. These cupcakes are one-bowl (or two-bowl max) easy. You mix, you scoop, you bake. The purple color is vibrant and festive without needing hours of piping. They look professional with minimal effort.
Cream Cheese Frosting That Doesn’t Break — One of the biggest fears with gluten-free baking is that the frosting will be too sweet or too runny. This cream cheese frosting is thick, tangy, and stable. It holds its shape beautifully, which means you can pipe it or just dollop it on top. It pairs perfectly with the subtle vanilla and purple hue of the cake.
Budget-Friendly — You don’t need expensive specialty flours. A standard 1-to-1 gluten-free baking blend works perfectly here. And since you’re making cupcakes, you’re only using what you need. No waste, no leftover giant bags of flour taking up cupboard space.
This recipe is my go-to when I need to show that dietary restrictions don’t mean “bad food.” It’s comforting, festive, and reliably delicious every single time.
Ingredients You’ll Need
Here’s the thing about this recipe: you probably already have most of these items in your pantry. The beauty of gluten-free baking is that it relies on simple, whole ingredients rather than a dozen obscure powders. I’m particular about three things here, and I’ll tell you exactly why.
Gluten-Free 1-to-1 Baking Flour (2 cups / 240g) — I use a blend that includes xanthan gum. Brands like King Arthur Measure for Measure or Bob’s Red Mill 1-to-1 work great. If your blend doesn’t have xanthan gum, add ½ teaspoon. Xanthan gum is what replaces the elasticity of gluten, keeping the cupcakes from crumbling apart.
Almond Flour (½ cup / 50g) — This is the secret weapon. Almond flour adds moisture and richness that rice-based flours alone can’t provide. It gives that “velvet” texture we’re aiming for. Don’t skip it unless you’re nut-free (see substitutions below).
Unsalted Butter or Dairy-Free Alternative (½ cup / 115g, softened) — If you’re not dairy-free, use real butter. It adds flavor. If you are, use a high-quality dairy-free butter stick (like Miyoko’s or Earth Balance). Avoid tub margarine; it has too much water and will throw off the texture. Coconut oil works too, but it will make the cake slightly denser.
Granulated Sugar (1 cup / 200g) — Standard white sugar works fine. If you’re watching carbs, you can use a erythritol-based sweetener, but note that it may bake slightly differently. For this recipe, regular sugar gives the best crumb.
Eggs (2 large, room temperature) — Room temperature eggs emulsify better with the butter and sugar. If you’re making these dairy-free, you can use flax eggs (2 tablespoons ground flaxseed mixed with 6 tablespoons water), but the cake will be slightly denser.
Vanilla Extract (2 teaspoons) — Use real vanilla, not imitation. It makes a noticeable difference in the flavor profile, especially since the cake is lightly flavored.
Gluten-Free Milk (½ cup / 120ml) — Almond milk, oat milk, or dairy milk all work. I prefer oat milk because it’s creamier and doesn’t add a nutty flavor that might compete with the almond flour.
Purple Gel Food Coloring (1-2 teaspoons) — Use gel coloring, not liquid. Liquid coloring adds too much water to the batter, which can make the cupcakes gummy. Gel gives you that vibrant Halloween purple without messing up the chemistry.
For the Cream Cheese Frosting:
Cream Cheese (8 oz / 225g, softened) — Full-fat brick cream cheese is non-negotiable. The tub stuff has too much moisture and won’t whip properly. If dairy-free, use a high-quality dairy-free cream cheese block (like Kite Hill or Miyoko’s).
Butter (½ cup / 115g, softened) — Again, dairy or dairy-free stick butter. Softened is key for a smooth frosting.
Powdered Sugar (3-4 cups / 360-480g) — Sifted! I can’t stress this enough. Unsifted powdered sugar leads to lumpy frosting. Add it gradually until you reach your desired sweetness and consistency.
Vanilla Extract (1 teaspoon) — For flavor.
Equipment Needed
You don’t need a fancy stand mixer or expensive tools. Here’s what I actually use.
Mixing Bowls — Two medium bowls. One for wet ingredients, one for dry. Or just one large bowl if you’re mixing by hand.
Electric Mixer — Handheld or stand mixer. Creaming the butter and sugar by hand is possible but takes serious arm strength. I’m not proud of how long it took me the first time.
Cupcake Pan — Standard 12-cup muffin tin. I line them with paper liners. The purple color shows up much better against white liners than dark ones.
Whisk — For combining the dry ingredients and breaking up any lumps in the flour.
Spatula — Silicone is best for scraping the bowl clean. You want every bit of batter.
Piping Bag (Optional) — If you want them to look fancy, use a star tip. If not, just spoon the frosting on. I usually just dollop it for speed.
How to Make It: Step-by-Step
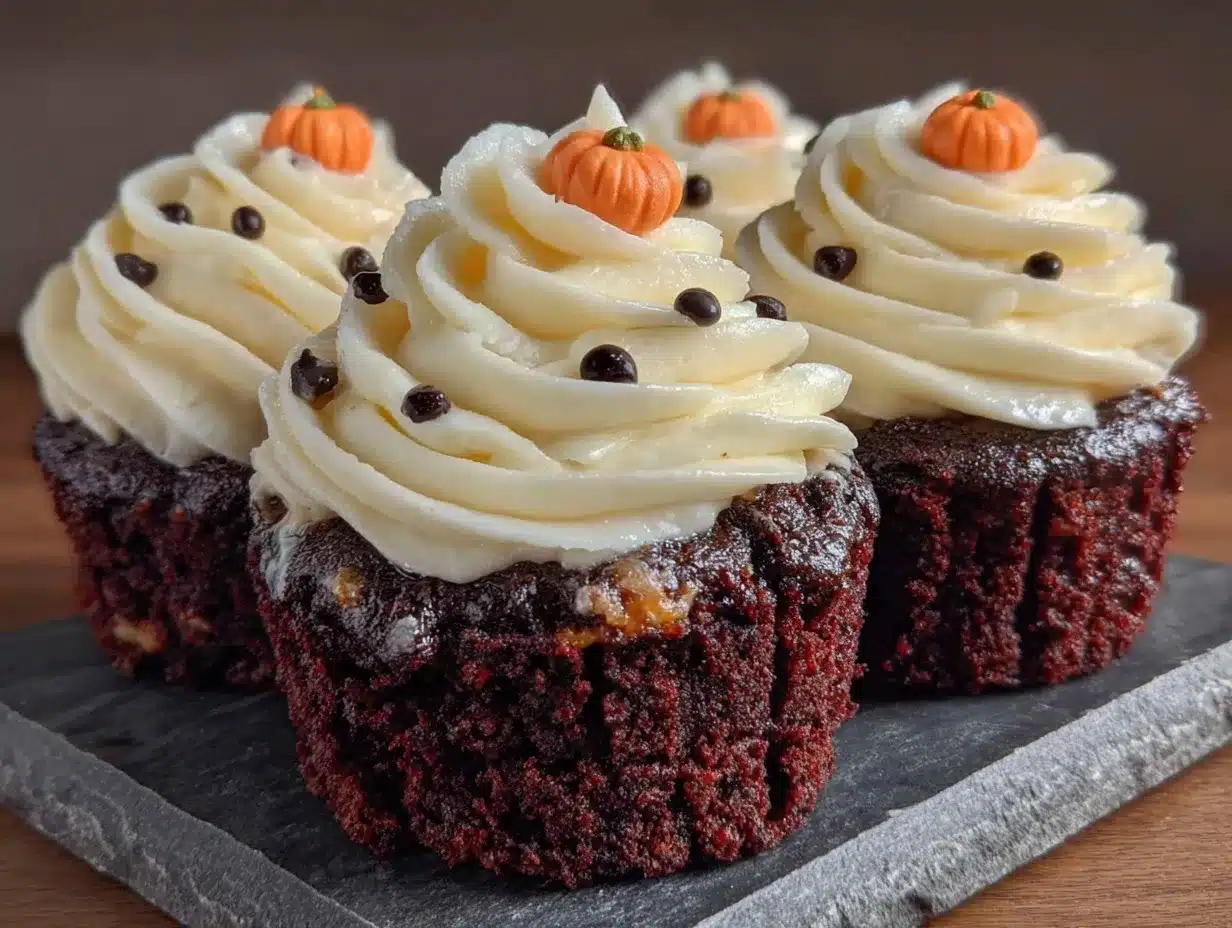
Alright, let’s make these cupcakes! I’m walking you through exactly how I do it, including the little tricks I’ve picked up over the years.
Step 1: Prep Your Oven and Pan (5 minutes)
Preheat your oven to 350°F (175°C). Line a 12-cup muffin tin with paper liners. I usually spray the liners lightly with cooking spray to ensure the cupcakes don’t stick, even though gluten-free batter is usually sticky enough.
Step 2: Mix the Dry Ingredients (3 minutes)
In a medium bowl, whisk together the gluten-free flour blend, almond flour, baking powder (1 teaspoon), baking soda (½ teaspoon), and salt (½ teaspoon). Make sure there are no lumps of baking powder or soda, or you’ll get bitter spots in your cupcakes. Set aside.
Step 3: Cream the Butter and Sugar (4 minutes)
In a large bowl, beat the softened butter and granulated sugar together until light and fluffy. This takes about 3-4 minutes with an electric mixer. If you’re doing it by hand, it’ll take longer. The mixture should look pale and airy. This step incorporates air, which helps the cupcakes rise.
Step 4: Add Eggs and Vanilla (2 minutes)
Add the eggs one at a time, beating well after each addition. Scrape down the sides of the bowl. Stir in the vanilla extract. The mixture might look slightly curdled—that’s normal. Just keep mixing.
Step 5: Combine Wet and Dry (3 minutes)
Add half of the dry ingredients to the butter mixture, mixing on low. Then add the milk, and mix until just combined. Add the remaining dry ingredients and mix again. Be careful not to overmix. Gluten-free batter can become gummy if you beat it too much. Stop as soon as the flour disappears.
Step 6: Add the Color (1 minute)
Add the purple gel food coloring. Start with 1 teaspoon. Mix it in. The batter will turn a lovely lavender. If you want a deeper, more vibrant purple, add another teaspoon. Remember, the color will deepen slightly as the cupcakes bake.
Step 7: Bake (18-20 minutes)
Divide the batter evenly among the 12 cupcake liners. They should be about ⅔ full. Bake for 18-20 minutes. Check them at 18 minutes. A toothpick inserted into the center should come out clean or with just a few moist crumbs. Do not overbake, or they’ll dry out. Gluten-free cupcakes dry out faster than regular ones.
Step 8: Cool Completely (30 minutes)
Let the cupcakes cool in the pan for 5 minutes, then transfer them to a wire rack to cool completely. This is crucial. If you frost them while they’re warm, the frosting will melt and slide off. I know it’s tempting, but wait.
Step 9: Make the Frosting (10 minutes)
While the cupcakes cool, beat the softened cream cheese and butter together until smooth. Gradually add the powdered sugar, one cup at a time, beating on low until incorporated, then increase speed to high. Add vanilla. Beat until fluffy. If it’s too stiff, add a teaspoon of milk. If it’s too runny, add more powdered sugar.
Step 10: Frost and Serve
Frost the cooled cupcakes. Pipe or dollop. Sprinkle with edible glitter or Halloween sprinkles if you’re feeling festive. Enjoy!
Expert Tips & Tricks
Here’s everything I’ve learned from making these dozens of times. These tips will save you from my mistakes.
Room Temperature Ingredients Are Non-Negotiable — Cold butter and eggs won’t emulsify properly. Take your butter and cream cheese out of the fridge 30 minutes before you start. If you forget, microwave the butter for 10 seconds (don’t melt it!) and let the cream cheese sit in a bowl of warm water for 5 minutes.
Don’t Overmix the Batter — Gluten-free flour absorbs liquid differently. Overmixing develops starches that make the cake dense. Mix until just combined. The batter will be thicker than regular cake batter. That’s okay.
Use Gel Food Coloring — I cannot stress this enough. Liquid food coloring adds water to your batter. Gel coloring is concentrated. You get vibrant color without altering the texture. It’s worth the extra dollar.
Let Them Cool Completely — I’ve made this mistake twice. Warm cupcakes + cream cheese frosting = melted mess. Patience pays off.
Store Properly — These cupcakes need to be refrigerated because of the cream cheese frosting. Store them in an airtight container in the fridge for up to 4 days. Let them sit at room temperature for 15 minutes before serving to soften the frosting.
Variations & Substitutions
Once you’ve nailed the basic version, here’s how you can mix it up. I’ve tried all of these.
Dairy-Free Version — Use dairy-free butter and dairy-free cream cheese. Use almond milk or oat milk. The result is surprisingly rich and creamy. My dairy-free friends love these.
Nut-Free Version — If you’re allergic to nuts, simply omit the almond flour. Increase the gluten-free flour to 2½ cups. The cupcakes will be slightly less moist, so add an extra tablespoon of milk if the batter looks too dry.
Chocolate Purple Velvet — Swap ¼ cup of the gluten-free flour for unsweetened cocoa powder. The purple color will be darker, almost burgundy. It’s a gorgeous twist.
Spiced Version — Add 1 teaspoon of pumpkin pie spice to the dry ingredients. It gives a subtle fall flavor that pairs well with the cream cheese.
Gluten-Free Swaps for Other Desserts — If you’re looking for more gluten-free treats, check out my gluten-free almond flour raspberry thumbprint cookies or this extra-moist lemon blueberry loaf cake. They’re all easy to make and delicious.
Serving & Storage
How to Serve: I serve these at room temperature for the best texture. The frosting softens, and the cake becomes even more tender. They’re perfect for Halloween parties, potlucks, or just a Tuesday night treat.
Storage: Store in an airtight container in the refrigerator for up to 4 days. They can also be frozen (unfrosted) for up to 3 months. Thaw overnight in the fridge before frosting.
Make-Ahead: You can bake the cupcakes 2 days ahead. Store them unfrosted in an airtight container at room temperature. Frost them the day of the party.
Nutrition Information
I’m not a nutritionist, but here’s the breakdown if you’re tracking. Per cupcake (with frosting):
- Calories: 280
- Protein: 5g
- Carbs: 32g
- Fiber: 2g
- Sugar: 22g
- Fat: 16g
These are richer than a plain vanilla cupcake because of the almond flour and cream cheese frosting. But they’re satisfying, so one is usually enough. If you’re looking for lighter options, try my low-carb chocolate peanut butter fat bombs or this vegan chocolate avocado mousse.
Final Thoughts
So that’s my go-to Halloween purple velvet cupcakes! I’ve probably talked your ear off at this point, but when you make a recipe this often, you have a lot to say about it. These cupcakes have saved me more times than I can count. They’re my answer to “what dessert can I make that everyone will love?”
Make it yours! Try different food coloring shades, add sprinkles, or swap in your favorite milk. The best recipes are the ones you adapt to your family’s tastes. If you make this, drop a comment and let me know what you think! I love hearing how recipes turn out in your kitchen.
Happy baking! And I hope your kitchen smells half as good as mine does right now.
Frequently Asked Questions
Can I use a different flour blend?
Yes, but stick to a 1-to-1 gluten-free blend that includes xanthan gum. Rice flour alone won’t work well because it lacks the binding properties needed for cupcakes. If you’re using a blend without xanthan gum, add ½ teaspoon per cup of flour.
Why did my cupcakes turn out dry?
Overbaking is the most common cause. Gluten-free cupcakes bake faster than regular ones. Start checking at 18 minutes. Also, make sure you’re using room temperature ingredients and not overmixing the batter.
Can I make these dairy-free?
Absolutely. Use dairy-free butter, dairy-free cream cheese, and a non-dairy milk like oat or almond. The texture and flavor will be nearly identical to the dairy version. My lactose-intolerant friends love these.
Can I freeze the cupcakes?
Yes, but freeze them unfrosted. Wrap them tightly in plastic wrap and foil. Thaw overnight in the fridge, then frost. Frosted cupcakes don’t freeze well because the cream cheese frosting can separate or become grainy when thawed.
Can I use liquid food coloring?
You can, but you’ll need to use more of it, which adds water to the batter. This can make the cupcakes dense. Gel coloring is highly concentrated and gives vibrant color without affecting the texture. It’s worth the investment.
How do I keep the frosting from being too sweet?
The key is the cream cheese. It’s tangy and balances the sugar. If you find it too sweet, add a squeeze of lemon juice or a pinch of salt. You can also reduce the powdered sugar by ½ cup, though the frosting will be less stable.
Can I double this recipe?
Yes! Just use two muffin tins or bake in batches. The cooking time remains the same. I often double this recipe for parties because they disappear so quickly.
Pin This Recipe!
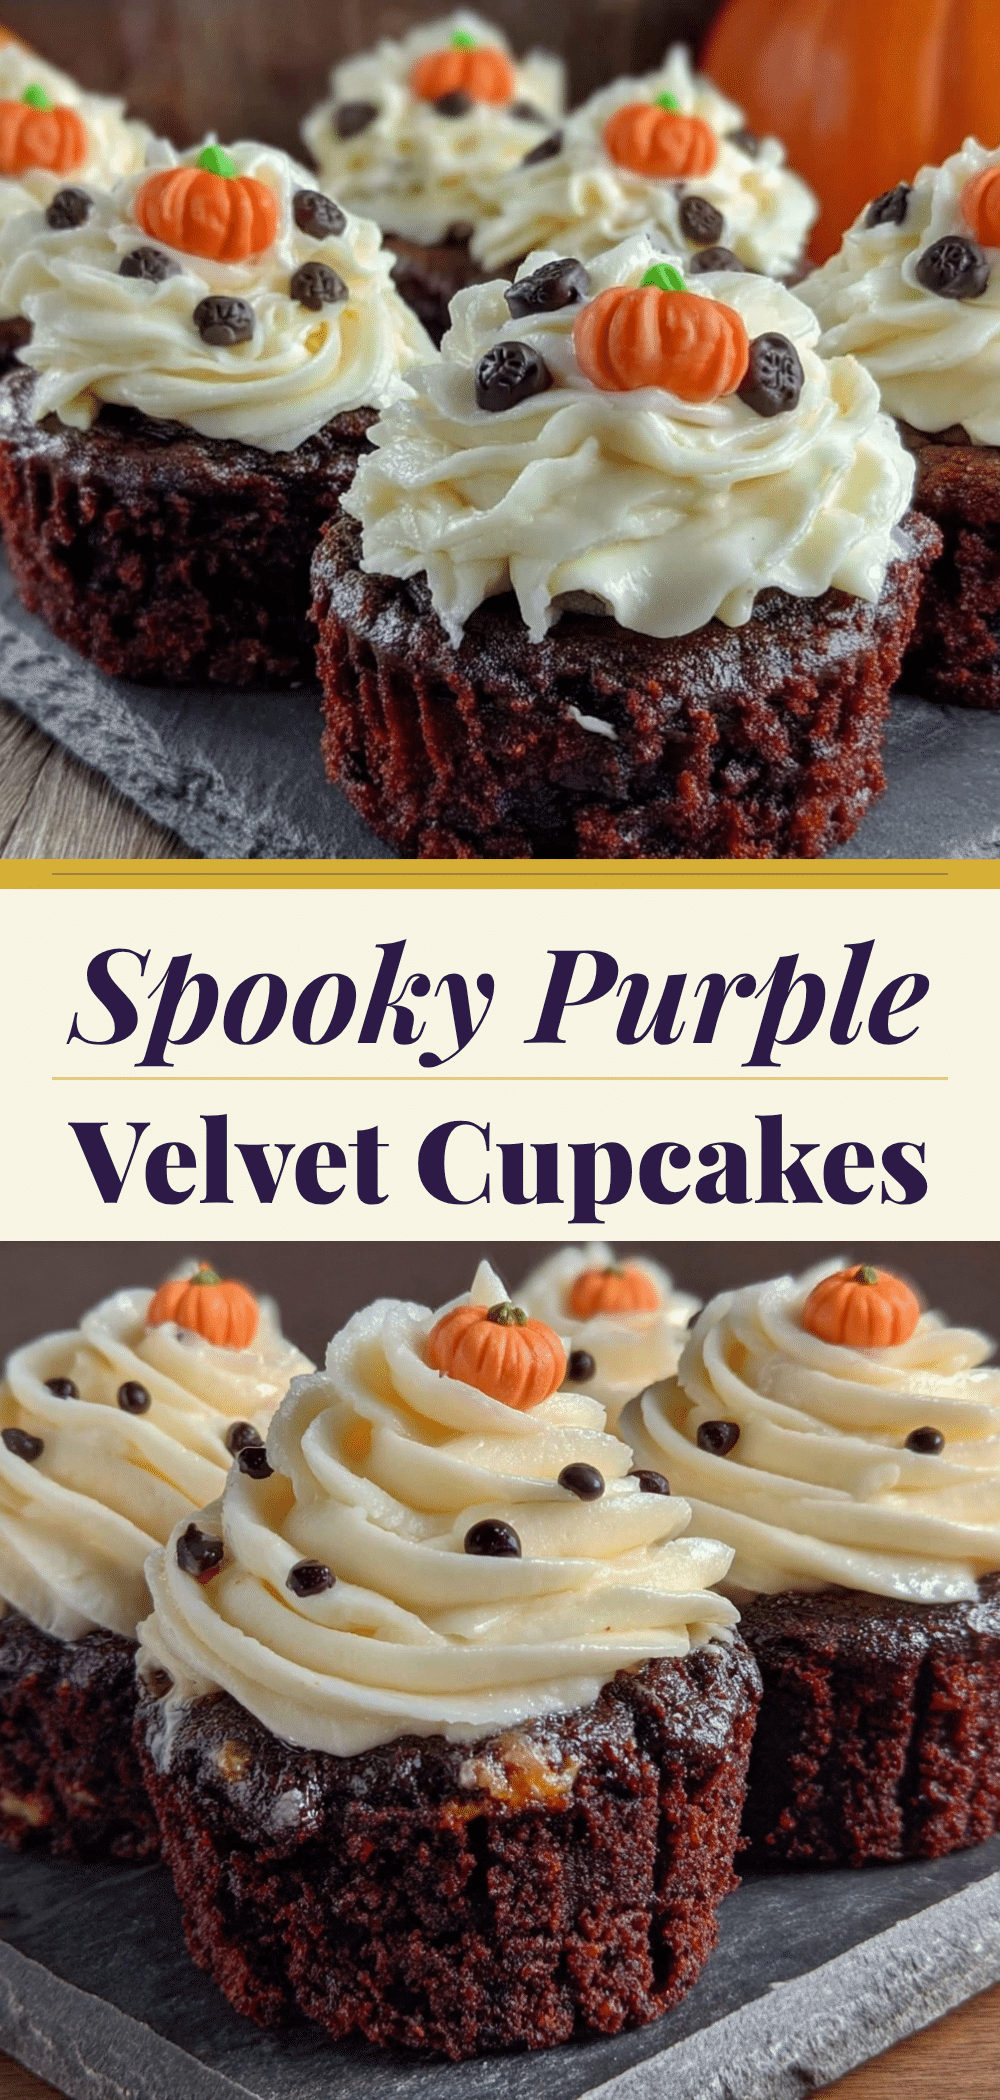
Halloween Purple Velvet Cupcakes: Easy Gluten-Free Swaps
- Total Time: 35 minutes
- Yield: 12 servings 1x
Description
Moist, gluten-free purple velvet cupcakes with cream cheese frosting that are easy to make, customizable for dairy-free diets, and perfect for Halloween.
Ingredients
- 2 cups (240g) Gluten-Free 1-to-1 Baking Flour (with xanthan gum)
- ½ cup (50g) Almond Flour
- 1 teaspoon Baking Powder
- ½ teaspoon Baking Soda
- ½ teaspoon Salt
- ½ cup (115g) Unsalted Butter or Dairy-Free Alternative, softened
- 1 cup (200g) Granulated Sugar
- 2 large Eggs, room temperature
- 2 teaspoons Vanilla Extract
- ½ cup (120ml) Gluten-Free Milk (e.g., almond or oat milk)
- 1–2 teaspoons Purple Gel Food Coloring
- 8 oz (225g) Cream Cheese, softened
- ½ cup (115g) Butter, softened
- 3–4 cups (360-480g) Powdered Sugar, sifted
- 1 teaspoon Vanilla Extract (for frosting)
Instructions
- Preheat oven to 350°F (175°C). Line a 12-cup muffin tin with paper liners.
- In a medium bowl, whisk together gluten-free flour blend, almond flour, baking powder, baking soda, and salt. Set aside.
- In a large bowl, beat softened butter and granulated sugar until light and fluffy (3-4 minutes).
- Add eggs one at a time, beating well after each addition. Stir in 2 teaspoons vanilla extract.
- Add half of the dry ingredients to the butter mixture, mixing on low. Add milk and mix until combined. Add remaining dry ingredients and mix until just combined. Do not overmix.
- Add purple gel food coloring and mix until the batter is evenly colored.
- Divide batter evenly among cupcake liners (about ⅔ full).
- Bake for 18-20 minutes or until a toothpick inserted comes out clean. Cool in pan for 5 minutes, then transfer to a wire rack to cool completely.
- While cupcakes cool, beat cream cheese and ½ cup butter until smooth. Gradually add powdered sugar, then 1 teaspoon vanilla. Beat until fluffy.
- Frost cooled cupcakes with cream cheese frosting. Store in the refrigerator.
Notes
Use gel food coloring instead of liquid to prevent gummy texture. Ensure all ingredients are at room temperature for best emulsification. Do not overmix the batter. Cupcakes must cool completely before frosting to prevent melting. Store in the refrigerator due to cream cheese frosting.
- Prep Time: 15 minutes
- Cook Time: 20 minutes
- Category: Dessert
- Cuisine: American
Nutrition
- Serving Size: 1 cupcake
- Calories: 280
- Sugar: 22
- Sodium: 150
- Fat: 16
- Saturated Fat: 8
- Carbohydrates: 32
- Fiber: 2
- Protein: 5
Keywords: Halloween, gluten-free, purple velvet cupcakes, cream cheese frosting, dairy-free, almond flour, easy baking, holiday dessert


