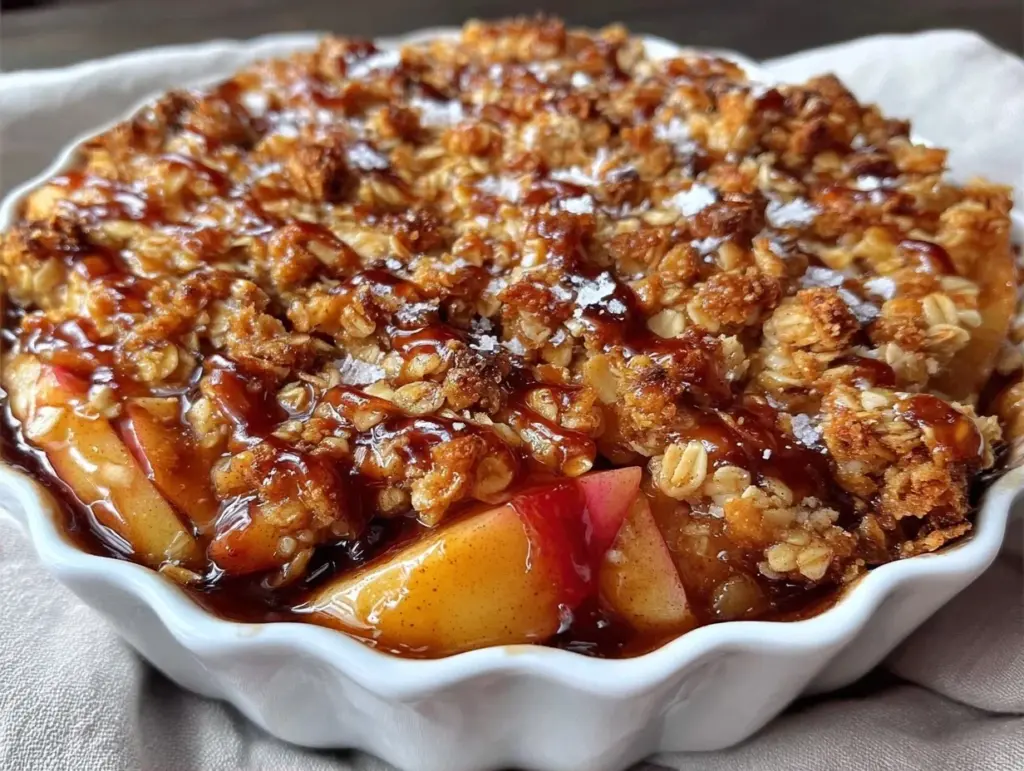
There is a specific kind of magic that happens in October when the air turns crisp and the first batch of Honeycrisp apples hits the grocery store shelves. I remember standing in my kitchen last November, watching steam rise from a baking dish, feeling that sudden, deep sense of calm that only comes from the smell of baked cinnamon and brown sugar filling the house. It wasn’t just dinner; it was a hug in dessert form. That was the moment I knew my old apple crisp recipe needed an upgrade. It was good, but it wasn’t great. It lacked that deep, buttery richness and the complex texture that keeps you coming back for seconds.
So, I started experimenting. I swapped out some of the refined sugar for a touch of honey to let the apple flavor shine, and I overhauled the topping. Instead of just flour and butter, I built a sturdy, crunchy oat streusel that actually sticks together. The result? This Fall Honeycrisp Apple Crisp with Buttery Oat Streusel. It’s the kind of dessert that feels rustic and homemade, like something your grandmother would make, but with a modern twist that makes it genuinely fuel for your soul (and your body). I’ve made this at least a dozen times since that first successful batch, tweaking the spice ratio and testing different apple varieties until I landed on the perfect combination.
What I love most about this recipe is how it bridges the gap between comfort food and something that actually feels nourishing. Honeycrisp apples are naturally sweet and hold their shape beautifully, so you get that perfect balance of soft fruit and crunchy topping. It’s not overly sweet, thanks to the natural sugars from the fruit and the honey. It’s the kind of dessert that leaves you feeling satisfied, not sluggish. If you’re looking for a way to use up those beautiful fall apples, or if you just want a dessert that feels special without being complicated, this is it. It’s my go-to for everything from Tuesday night wind-downs to Sunday family gatherings.
Why You’ll Love This Recipe
There are plenty of apple crisp recipes out there, but this one has earned its spot in my regular rotation for some very specific reasons. It’s not just about taste; it’s about the experience of making it and how it makes everyone feel afterwards.
Textural Perfection — This is the big one. Most crumbles are either too sandy or fall apart into a mushy layer. This oat streusel has a cookie-like crunch that contrasts perfectly with the tender, spiced apples. I’ve tested this topping dozens of times, and the ratio of oats to flour to butter is just right. It creates little clusters that stay crunchy even after baking.
Actually Fueling — I’m not going to pretend this is a salad, but it’s not a sugar bomb either. The oats provide complex carbohydrates and fiber, and the apples bring in vitamins and antioxidants. The honey adds sweetness without the sharp spike of refined sugar. It’s a dessert that keeps you going. I often make this on weekends and have a slice with my morning coffee the next day, and I don’t feel that heavy, guilty slump. It’s real food, dressed up as a treat.
Stupid Simple — You don’t need to be a pastry chef to make this. There’s no blind baking, no tricky tempering, no waiting for dough to rest. You chop the apples, mix the topping, dump it in a dish, and bake it. It’s the ultimate “I have guests coming over in an hour” dessert. I’ve made this while helping my kids with homework, and it still turned out perfect.
Apple-Focused Flavor — A lot of recipes drown the fruit in spices or sugar. This one lets the Honeycrisp apples shine. The cinnamon and nutmeg are there to complement, not overpower. If you use really good, fresh apples, you’ll taste that crisp, fresh flavor in every bite. It’s a reminder that sometimes, the best ingredients are the simplest ones.
Makes Amazing Leftovers — This tastes even better the next day. The flavors meld together overnight, and the topping stays surprisingly crisp if you reheat it properly. I deliberately make a full pan because I know I’ll want a slice for breakfast or a snack later in the week. It’s versatile enough to be served warm with ice cream or cold like an apple pie bar.
This is my answer to “what’s for dessert?” when I want something that feels indulgent but doesn’t wreck my energy levels. It’s reliable, delicious, and always a crowd-pleaser. Whether you’re feeding a family or just treating yourself, this recipe delivers.
Ingredients You’ll Need
Here’s the best part: most of these ingredients are likely already in your pantry or fridge. The beauty of this recipe is in the simplicity of the components, but the quality matters. I’m particular about three things here: the apples, the oats, and the butter. Let’s break down what you need and why.
For the Apple Filling:
Honeycrisp Apples (6 medium / about 2 lbs / 900g) — I swear by Honeycrisps for this. They’re sweet, tart, and hold their shape when baked. Granny Smiths are too sour for my taste, and Red Deliciouses turn to mush. If you can’t find Honeycrisp, a mix of Gala and Granny Smith works well, but stick with firm apples. Peel them? I leave the skins on for extra fiber and color, but if you prefer a smoother texture, peel them. Your call.
Lemon Juice (1 tablespoon) — This prevents the apples from browning while you’re chopping them. It also adds a bright note that cuts through the sweetness. Fresh lemon is best; bottled just won’t have the same zing.
Honey (3 tablespoons) — This is where we add natural sweetness. I use raw honey for its subtle floral notes, but any honey works. It helps the apples caramelize slightly without being cloying.
Ground Cinnamon (1 teaspoon) — The star spice. Use a good quality cinnamon; it makes a huge difference in flavor depth.
Ground Nutmeg (¼ teaspoon) — Just a pinch. It adds warmth and complexity. Don’t overdo it, or it’ll taste like Christmas cookie.
Vanilla Extract (1 teaspoon) — Real vanilla, not imitation. It rounds out all the flavors and makes the dish taste more “finished.”
Cornstarch (1 tablespoon) — This thickens the juices so you don’t end up with a soupy bottom. It’s crucial for that perfect slice-able texture.
For the Buttery Oat Streusel:
Old-Fashioned Rolled Oats (1 cup / 90g) — Do not use instant oats. They’ll turn to mush. Old-fashioned oats give you that chewy-crunchy texture. Gluten-free if needed, but regular oats work great.
All-Purpose Flour (½ cup / 60g) — This binds the topping together. If you’re doing a gluten-free version, use a 1:1 gluten-free flour blend.
Brown Sugar (½ cup / 100g, packed) — Adds moisture and a caramel-like flavor. Dark brown sugar is richer, but light works too.
Granulated Sugar (¼ cup / 50g) — Just a little bit to balance the sweetness and help with browning.
Butter (½ cup / 113g, cold and cubed) — This is non-negotiable. Cold butter creates those flaky, crunchy clusters. If you use melted butter, the topping will be more like a cake. Use unsalted so you can control the salt.
Sea Salt (¼ teaspoon) — Enhances all the flavors and balances the sweetness. Don’t skip it.
Optional Add-ins:
Walnuts or Pecans (½ cup, chopped) — I love adding nuts for extra crunch and healthy fats. Toast them first if you have time, but raw is fine too.
Chopped Dark Chocolate (¼ cup) — For a fancy twist, stir this into the topping before baking. It melts into pockets of gooey goodness.
I keep the key items stocked just so I can make this on a whim. The apples are seasonal, so I buy extra when they’re on sale and freeze them (peeled and sliced) for winter baking. It’s a great trick for those colder months.
Equipment Needed
You don’t need fancy equipment for this. Here’s what I actually use.
9×13 Inch Baking Dish — I use a glass Pyrex dish because it heats evenly and lets me see the bottom browning. A metal pan works too, but glass is easier to clean. Make sure it’s deep enough so the juices don’t bubble over.
Mixing Bowls — Two medium bowls. One for tossing the apples, one for the streusel. I prefer ceramic bowls because they’re heavy and don’t slip.
Chef’s Knife — For slicing the apples. A sharp knife makes this task much faster and safer. I use my 8-inch chef’s knife for everything.
Peeler — A Y-peeler is faster and easier than a swivel peeler. I use it for apples, carrots, and zucchini.
Fork or Pastry Cutter — To cut the butter into the dry ingredients. A fork works fine if you’re doing it by hand. I actually like using my fingers for this—it’s tactile and fun. Just make sure your hands are clean!
Spatula — For stirring the apples and scraping the bowl.
Measuring Cups and Spoons — Standard stuff. I use metal measuring spoons because they’re durable and accurate.
Aluminum Foil — Optional, but good to have. If your topping starts browning too quickly, you can tent it with foil.
I’m not obsessed with gadgets for this recipe. A simple whisk, a knife, and a baking dish are all you need. No food processor required, though you could use one to mix the topping if you’re lazy. But honestly, doing it by hand is faster for this amount.
How to Make It: Step-by-Step
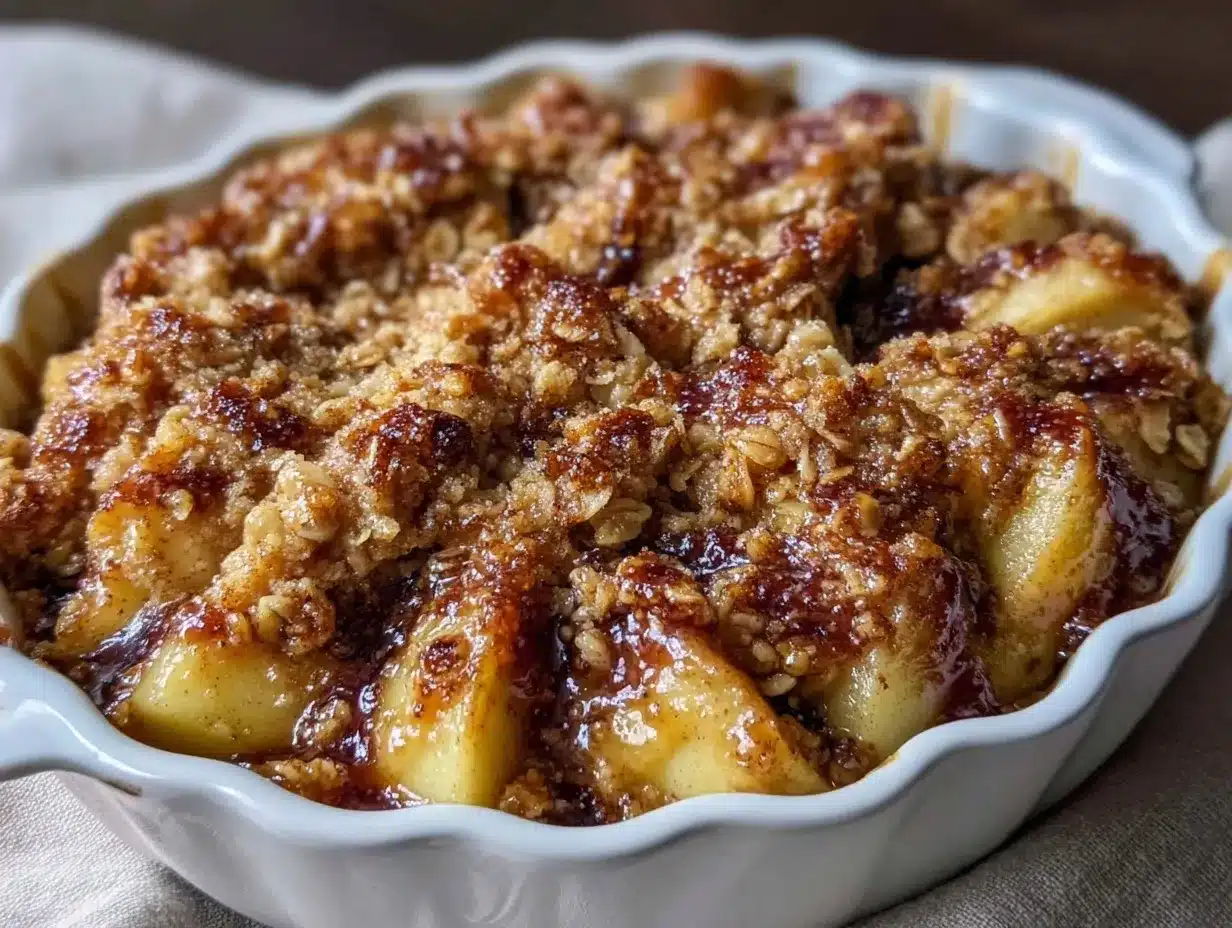
Alright, let’s make this! I’m walking you through exactly how I do it, including the little tricks I’ve picked up over the years.
Step 1: Prep Your Oven and Dish (5 minutes)
Preheat your oven to 350°F (175°C). Grease your 9×13 inch baking dish with a little butter or non-stick spray. This prevents sticking and adds flavor. I like to use a pastry brush to spread the butter evenly, but a paper towel works too.
Step 2: Slice and Season the Apples (10 minutes)
Peel, core, and slice the apples into ¼-inch thick slices. Uniform thickness is key so they cook evenly. Toss them in a large bowl with the lemon juice, honey, cinnamon, nutmeg, vanilla, and cornstarch. Make sure every slice is coated. Let them sit for 5-10 minutes while you make the topping. This helps the apples release some juices and absorb the spices.
Step 3: Make the Buttery Oat Streusel (5 minutes)
In a separate bowl, whisk together the oats, flour, brown sugar, granulated sugar, and salt. Add the cold, cubed butter. Use a fork, your fingers, or a pastry cutter to work the butter into the dry ingredients. You’re looking for a crumbly texture with some pea-sized clumps. Don’t overmix; you want those distinct crunchy bits. If you’re adding nuts or chocolate, stir them in now.
Step 4: Assemble the Crisp (2 minutes)
Pour the spiced apples into the prepared baking dish. Spread them out evenly. Sprinkle the oat streusel evenly over the top. Don’t press it down; let it sit loosely. This allows it to bake up crunchy. If you want a thicker topping, you can save some and sprinkle it on after baking for extra crunch.
Step 5: Bake Until Golden (45-55 minutes)
Place the dish in the center of the oven. Bake for 45-55 minutes. You’ll know it’s done when the topping is golden brown and the juices are bubbling up around the edges. If the topping starts getting too dark after 30 minutes, tent it loosely with aluminum foil. Let it cool for at least 15-20 minutes before serving. This allows the filling to set so you can get nice slices.
Step 6: Serve and Enjoy
Serve warm. A scoop of vanilla ice cream or a dollop of whipped cream is classic, but I often eat it plain to taste the apple flavor. It’s delicious with a cup of tea or coffee.
Total Time: About 1 hour 15 minutes (15 minutes active, 1 hour baking)
Built-in Troubleshooting:
- Sauce too watery? Make sure you used cornstarch, not flour. Flour can taste raw and cloudy. If it’s still thin, bake for 5 more minutes.
- Topping too soft? Your butter might have been too warm. Next time, use colder butter and don’t overmix.
- Apples not tender? Slice them thinner. Thicker slices take longer to cook. Check with a fork after 40 minutes.
Expert Tips & Tricks
Here’s everything I’ve learned from making this dozens of times. These tips will save you from my mistakes.
Use Cold Butter
This is the #1 secret to a crunchy streusel. Cold butter creates steam pockets as it melts, creating flaky layers. If your butter is soft or melted, you’ll get a dense, cake-like topping. Cube it straight from the fridge.
Don’t Skip the Cornstarch
Apples release a lot of water. Cornstarch absorbs that moisture and thickens the sauce, giving you that perfect glaze-like consistency. Without it, you’ll have a puddle at the bottom of the dish.
Let It Cool
I know it’s hard to wait, but cooling is crucial. The filling is liquid when it comes out of the oven. Cooling allows it to set. If you cut into it hot, it’ll be mushy. Patience pays off.
Toast the Oats (Optional)
For extra nutty flavor, toast the oats in a dry pan for 2-3 minutes before mixing. It adds a deeper, richer taste to the topping. I do this when I’m feeling fancy.
Mix Your Apples
If you have access to different apple varieties, mix them. Honeycrisp for sweetness, Granny Smith for tartness and structure. The combination adds complexity. But stick with firm apples.
Common Mistakes (and how to avoid them):
- Mistake: Soggy bottom Fix: Make sure your baking dish is on the center rack, not too low. Also, ensure the cornstarch is fully dissolved in the apple mixture before baking.
- Mistake: Burnt topping Fix: Tent with foil if it’s browning too fast. Ovens vary, so keep an eye on it after 30 minutes.
- Mistake: Too sweet Fix: Taste your apples first. If they’re very sweet, reduce the honey and sugars slightly. Honeycrisps are naturally sweet, so be mindful.
Pro Tricks I’ve Learned:
- For Extra Crunch Add a tablespoon of cold butter to the topping after it’s mixed, then pulse it in a food processor for 5 seconds. This creates larger, crunchier clumps.
- For Better Flavor Let the apples sit with the spices for 15 minutes before baking. It intensifies the flavor.
- For Meal Prep This keeps well in the fridge for up to 5 days. Reheat individual portions in the microwave or oven for 5-10 minutes.
Variations & Substitutions
Once you’ve nailed the basic version, here’s how you can mix it up. I’ve tried all of these.
Gluten-Free Version
Use certified gluten-free oats and a 1:1 gluten-free flour blend. The texture might be slightly different, but it’s still delicious. I’ve used Bob’s Red Mill GF oats and they work great.
Dairy-Free Version
Replace the butter with cold coconut oil or a vegan butter stick. Coconut oil might add a slight coconut flavor, so use refined if you don’t want that. The topping will still be crunchy.
Lower Sugar Version
Reduce the brown and granulated sugar by half. Use stevia or monk fruit sweetener if needed. The apples will still provide plenty of sweetness. I make this when I’m watching my sugar intake.
Spiced Tea Variation
Add a pinch of cardamom or allspice to the apple filling. It adds a warm, aromatic note that’s perfect for fall.
Nutty Twist
Add ½ cup of chopped pecans or walnuts to the topping. Toast them first for extra flavor. This adds healthy fats and crunch.
Chocolate Chip
Sprinkle ½ cup of dark chocolate chips over the apples before adding the topping. It’s like an apple crisp cookie bar.
Different Fruits
You can use pears, peaches, or berries instead of apples. Pears work similarly. Berries will need a thickerener like tapioca starch. But stick with firm fruits.
Dietary Modifications:
- Vegan Use vegan butter and honey (or maple syrup). The rest is naturally vegan.
- Keto This is high in carbs due to oats and sugar. For a keto version, use almond flour and coconut flour instead of oats, and use erythritol or monk fruit sweetener. It’s a completely different texture, but still good.
- Whole30 Use compliant sweetener and coconut oil. Skip the oats or use crushed coconut flakes.
Serving & Storage
How to Serve:
I usually serve this straight from the baking dish at the dinner table—it looks rustic and stays warm. But here are other ways I’ve enjoyed it:
Classic:
Warm with a scoop of vanilla bean ice cream and a drizzle of caramel sauce. It’s decadent and perfect for special occasions.
Simple:
Plain, with a cup of black coffee or tea. It’s a great afternoon snack or light breakfast.
Loaded:
Top with whipped cream, crushed nuts, and a sprinkle of cinnamon. It’s like a dessert bar.
Side Dishes:
This is a dessert, so pair it with something light. A green salad or roasted vegetables work well if you’re serving a full meal.
Storage Instructions:
Refrigerator:
Store in an airtight container for up to 5 days. The topping will soften slightly, but it’s still good. Reheat in the oven or toaster oven to crisp it up.
Reheating:
Best method: Oven at 350°F for 10-15 minutes. This restores the crunch. Microwave works in a pinch, but it will be soft. Heat in 30-second intervals.
Freezing:
You can freeze the unbaked crisp. Cover tightly with foil and freeze for up to 3 months. Thaw in the fridge overnight and bake as directed. You can also freeze baked portions, but the texture might change slightly.
Pro tip:
If leftovers are drying out, add a splash of water to the bottom of the dish when reheating. It creates steam and keeps it moist.
Nutrition Information
I’m not a nutritionist, but here’s the breakdown if you’re tracking. This is per serving (based on 8 servings).
| Nutrient | Amount |
|---|---|
| Calories | 280 |
| Protein | 3g |
| Carbs | 48g |
| Fiber | 5g |
| Sugar | 28g |
| Fat | 9g |
| Saturated Fat | 5g |
| Cholesterol | 20mg |
| Sodium | 120mg |
What’s Good:
- Decent fiber from the oats and apples
- Vitamins from the apples (C and K)
- Whole grain oats provide sustained energy
- Lower in saturated fat than many desserts
What to Know:
- Higher in carbs due to oats and fruit
- Contains dairy (butter)
- Contains gluten (unless modified)
My Take:
Look, this is a dessert. It has sugar and butter. But it’s also made with real food—oats, apples, honey. It’s not empty calories. It’s fuel that tastes good. When I want to make it lighter, I reduce the sugar and add more nuts. But usually? I just enjoy a reasonable portion and savor it.
Final Thoughts
So that’s my Fall Honeycrisp Apple Crisp with Buttery Oat Streusel! I’ve probably talked your ear off at this point, but when you make a recipe this often, you have a lot to say about it.
This has saved my weeknight desserts more times than I can count. It’s my answer to “what’s for dessert?” when I want something that feels special but doesn’t require a trip to the bakery. My family loves it, my friends ask for the recipe, and I love it because it’s reliable, delicious, and feels good to eat.
Make it yours! Try different spices, add nuts, or swap the apples. The best recipes are the ones you adapt to your tastes. If you make this, drop a comment and let me know what you think! I love hearing how recipes turn out in your kitchen. And if something doesn’t work, tell me that too—I’m here to help troubleshoot.
Happy baking! And I hope your kitchen smells half as good as mine does right now.
Frequently Asked Questions
Can I use frozen apples?
Yes, but thaw them first and drain the excess liquid. Frozen apples can be mushy, so pat them dry before mixing. You might need to add a bit more cornstarch. I prefer fresh for texture, but frozen works in a pinch.
Why did my topping turn out soggy?
Usually, this means the butter was too warm, or you overmixed the topping. Cold butter is key for crunch. Also, make sure you baked it long enough. The topping needs time to dry out and crisp up.
Can I make this ahead?
Absolutely. Assemble the crisp up to 24 hours ahead and store it in the fridge. Bake it the next day. You might need to add 5-10 minutes to the baking time. This is great for meal prep.
What’s the best apple for this?
Honeycrisp is my favorite, but Gala, Fuji, or Pink Lady work well too. Avoid Red Delicious or McIntosh, as they turn to mush. You want apples that hold their shape.
Can I use maple syrup instead of honey?
Yes, maple syrup works great. Use the same amount. It adds a nice maple flavor that pairs well with cinnamon. I use it sometimes for variety.
How do I reheat leftovers without it getting dry?
Add a splash of water to the bottom of the dish and cover with foil. Heat in the oven at 350°F for 10-15 minutes. This creates steam and keeps it moist. Microwave works but can dry it out.
Can I double this recipe?
Yes, double everything and use a 9×13 dish or two 8×8 dishes. The baking time might be slightly longer. Keep an eye on it.
Pin This Recipe!
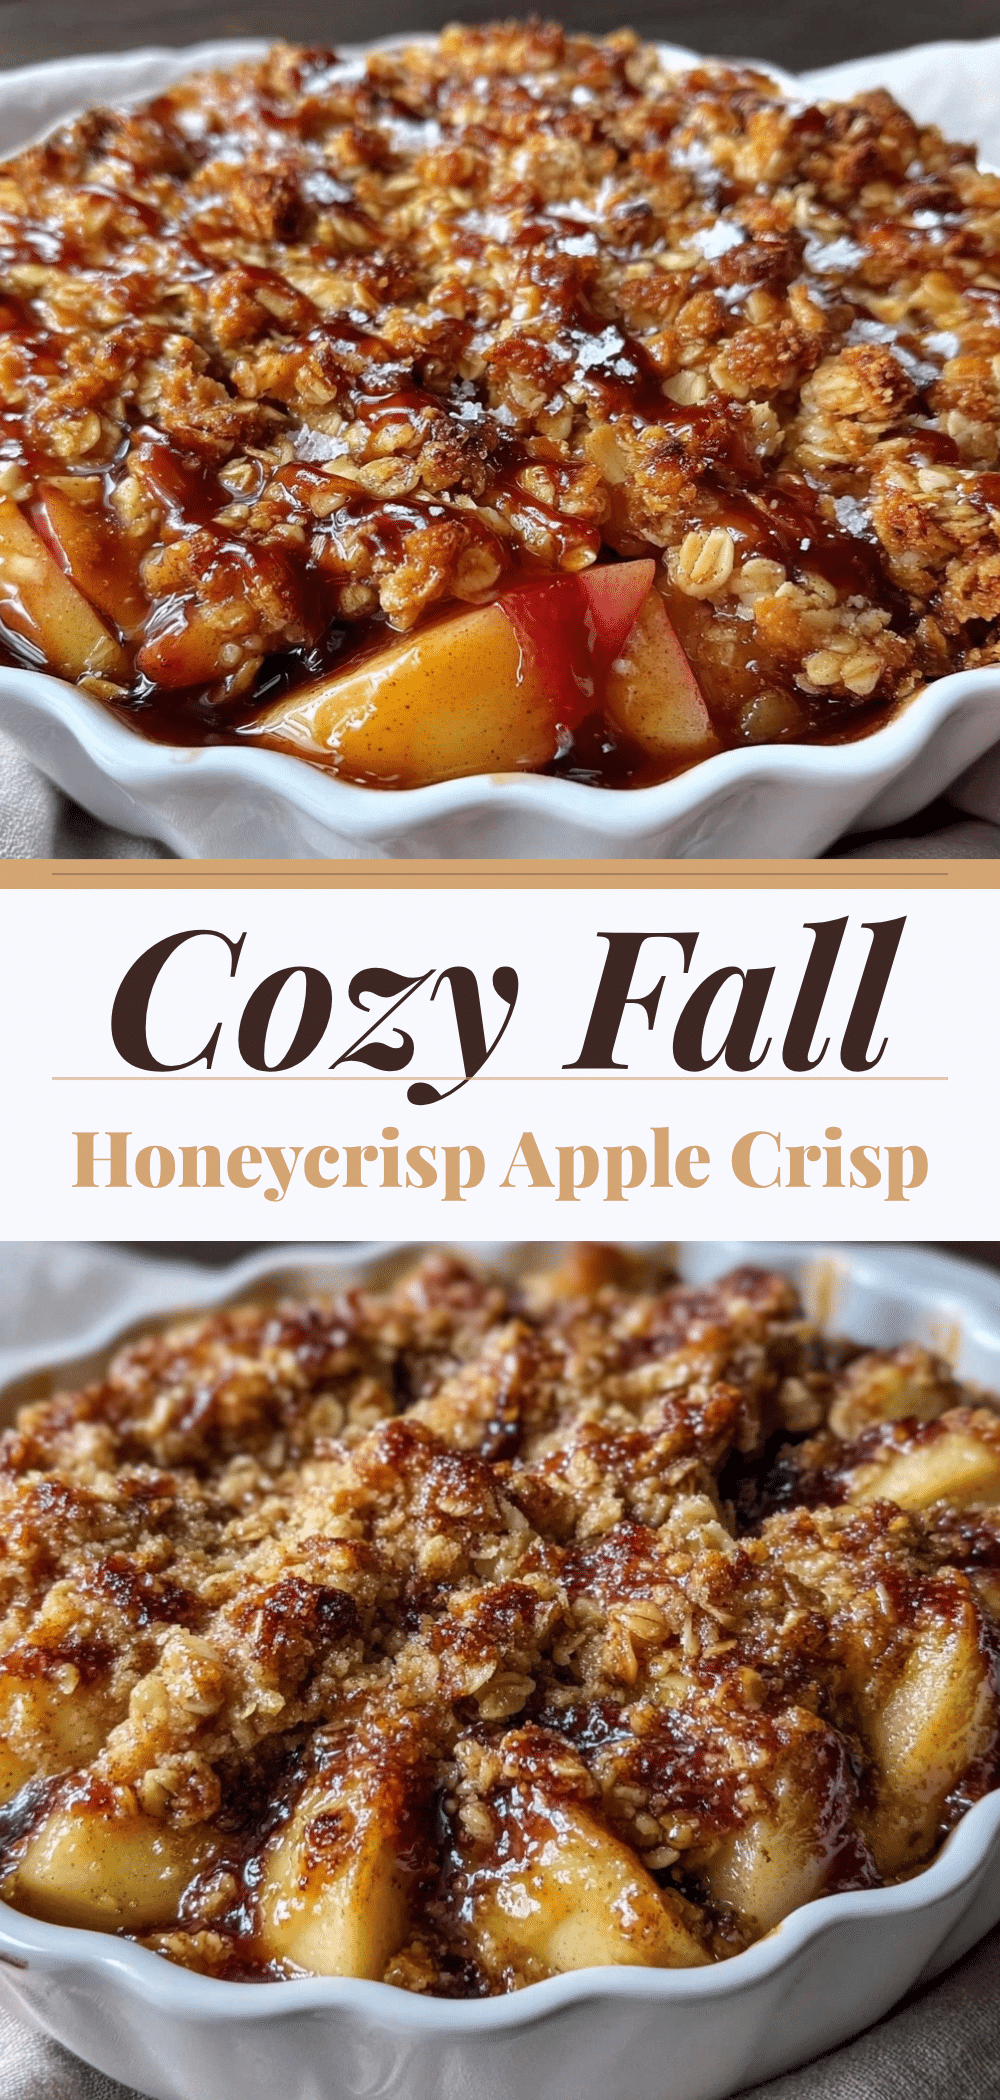

Fall Honeycrisp Apple Crisp with Buttery Oat Streusel
- Total Time: 1 hour 15 minutes
- Yield: 8 servings 1x
Description
A rustic, homemade apple crisp featuring sweet Honeycrisp apples and a crunchy, buttery oat streusel topping. This dessert balances comfort food indulgence with nourishing ingredients like oats and honey.
Ingredients
- 6 medium Honeycrisp apples (about 2 lbs / 900g), peeled and sliced
- 1 tablespoon lemon juice
- 3 tablespoons honey
- 1 teaspoon ground cinnamon
- 1/4 teaspoon ground nutmeg
- 1 teaspoon vanilla extract
- 1 tablespoon cornstarch
- 1 cup old-fashioned rolled oats
- 1/2 cup all-purpose flour
- 1/2 cup packed brown sugar
- 1/4 cup granulated sugar
- 1/2 cup cold unsalted butter, cubed
- 1/4 teaspoon sea salt
- Optional: 1/2 cup chopped walnuts or pecans
- Optional: 1/4 cup chopped dark chocolate
Instructions
- Preheat oven to 350°F (175°C). Grease a 9×13 inch baking dish with butter or non-stick spray.
- Peel, core, and slice apples into 1/4-inch thick slices. Toss with lemon juice, honey, cinnamon, nutmeg, vanilla, and cornstarch until coated. Let sit for 5-10 minutes.
- In a separate bowl, whisk together oats, flour, brown sugar, granulated sugar, and salt. Add cold cubed butter and work it in with a fork or fingers until the mixture is crumbly with pea-sized clumps. Stir in optional nuts or chocolate if using.
- Pour the spiced apples into the prepared baking dish and spread evenly. Sprinkle the oat streusel evenly over the top without pressing down.
- Bake for 45-55 minutes until the topping is golden brown and juices are bubbling. Tent with foil if topping browns too quickly.
- Let cool for at least 15-20 minutes before serving to allow the filling to set.
Notes
Use cold butter for a crunchy topping. Let the crisp cool completely before slicing to ensure the filling sets. Can be made ahead and refrigerated for up to 5 days. For a gluten-free version, use certified gluten-free oats and a 1:1 gluten-free flour blend. For a dairy-free version, substitute butter with cold coconut oil or vegan butter.
- Prep Time: 15 minutes
- Cook Time: 45-55 minutes
- Category: Dessert
- Cuisine: American
Nutrition
- Serving Size: 1 slice
- Calories: 280
- Sugar: 28
- Sodium: 120
- Fat: 9
- Saturated Fat: 5
- Carbohydrates: 48
- Fiber: 5
- Protein: 3
Keywords: apple crisp, honeycrisp apples, oat streusel, fall dessert, easy dessert, gluten-free option, dairy-free option


