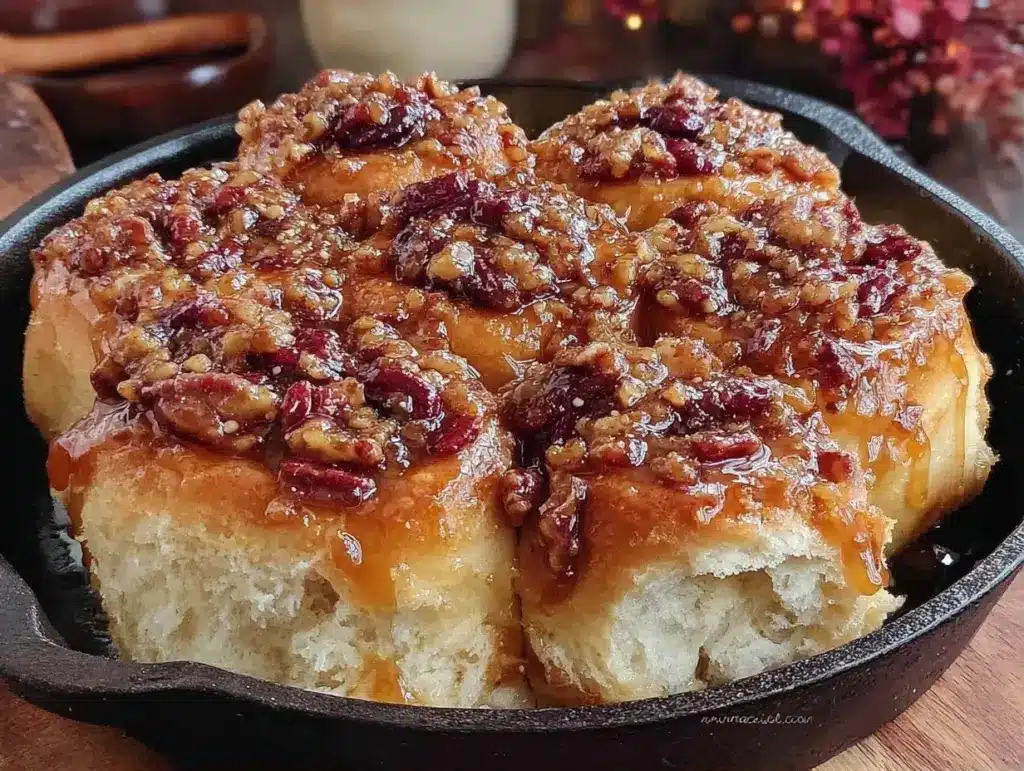
Last Tuesday, I came home from work at 5:30 PM, exhausted, with a list of errands I hadn’t finished and a growing sense of dread about what to do for dessert. Usually, this is when I cave and order takeout, or worse, eat cereal for dinner because my brain is too fried to think. But this time, I saw a jar of maple syrup sitting on the counter and a bag of pecans in the pantry. Something clicked.
I didn’t have hours to let dough rise. I didn’t have time to preheat a massive oven and wait an hour. I needed something sweet, warm, and comforting, but I needed it yesterday. So I threw together what I thought would be a mediocre compromise. Ten minutes later, my kitchen smelled like a high-end bakery, and fifteen minutes after that, I had hot, gooey, maple-glazed sticky buns on the table.
My kids didn’t even ask what was for dinner. They just grabbed a napkin and dove in. That’s the power of fall maple pecan sticky buns. They feel like a weekend treat, but they’re actually a 15-minute weeknight win. I’ve made them three times in the last week, and every time, they disappear before I can even take a photo. Seriously.
This isn’t your grandma’s slow-rise yeast project. This is the kind of recipe that saves you when you’re tired, hungry, and craving something that tastes like autumn but doesn’t require a day off work. It’s rich, it’s sweet, and it’s stupidly easy. I’m going to show you exactly how I do it, including the little shortcuts that keep this recipe from becoming a chore.
Why You’ll Love This Recipe
Look, I make a lot of desserts. From chewy brown sugar snickerdoodles to late-night fudgy one-bowl brownies, I’m always testing something new. But these sticky buns hit a different note. Here’s why they’re taking over my weeknight rotation:
- Zero Yeast Waiting Game — Most sticky bun recipes require you to wake up early to let dough rise. Not this one. I use a quick-bake method (and sometimes canned biscuits in a pinch, though the homemade version is worth the extra 5 minutes). You mix, bake, and eat in under 30 minutes total.
- One-Pan Cleanup — Seriously, one skillet. I use a cast-iron skillet because it holds heat well, but a regular baking dish works fine. When you’re done, there’s just one dish to wash. That’s it. No multiple bowls, no extra pans.
- Flavor That Feels Fancy — The combination of maple syrup, brown sugar, and toasted pecans tastes like something you’d pay $6 for at a coffee shop. But it costs pennies to make at home. Plus, the smell alone makes you feel like a hospitality expert.
- Perfect for Leftovers — And yes, there will be leftovers. These reheat beautifully in the microwave for 20 seconds. They’re still gooey, still warm, and still delicious. I actually make a double batch sometimes just to have breakfast treats for the next few days.
- Seasonal Comfort — There’s something about the scent of maple and cinnamon that just wraps around you like a blanket. It’s perfect for cool evenings, game nights, or just when you need a hug in food form.
This is my go-to when I need dessert to just work. No complicated techniques, no weird ingredients you can’t find, just reliable, delicious food that makes everyone happy. If you’re looking for something quicker, I also have a recipe for air fryer cinnamon sugar churro bites that take even less time, but these buns? They’re the real deal.
Ingredients You’ll Need
Here’s the best part: you probably have most of this already. I’m particular about three ingredients here, and I’ll tell you exactly why. Don’t skip the good stuff—it makes a huge difference in the final taste.
For the Dough
All-purpose flour (2 ½ cups / 315g) — Standard stuff. Don’t use self-rising unless you adjust the baking powder. I use Gold Medal because it’s consistent, but any brand works.
Instant yeast (2 ¼ teaspoons / 1 packet) — This is key for speed. Instant yeast doesn’t need to be activated in water first. You just mix it in. If you only have active dry, that’s fine, but you’ll need to warm the milk first. Instant yeast saves time.
Whole milk (½ cup / 120ml) — Room temperature is best. Cold milk slows down the yeast. I microwave it for 20 seconds. It should be warm to the touch, not hot.
Unsalted butter (¼ cup / 57g, melted) — Adds richness to the dough. Melted butter mixes in faster than soft butter.
Granulated sugar (3 tablespoons) — Just enough to feed the yeast and add a hint of sweetness. The real sweetness comes from the glaze.
Large egg (1, room temperature) — Helps bind the dough and adds structure. Room temp eggs incorporate easier.
Salt (½ teaspoon) — Essential for balancing the sweetness. Don’t skip it.
For the Sticky Glaze
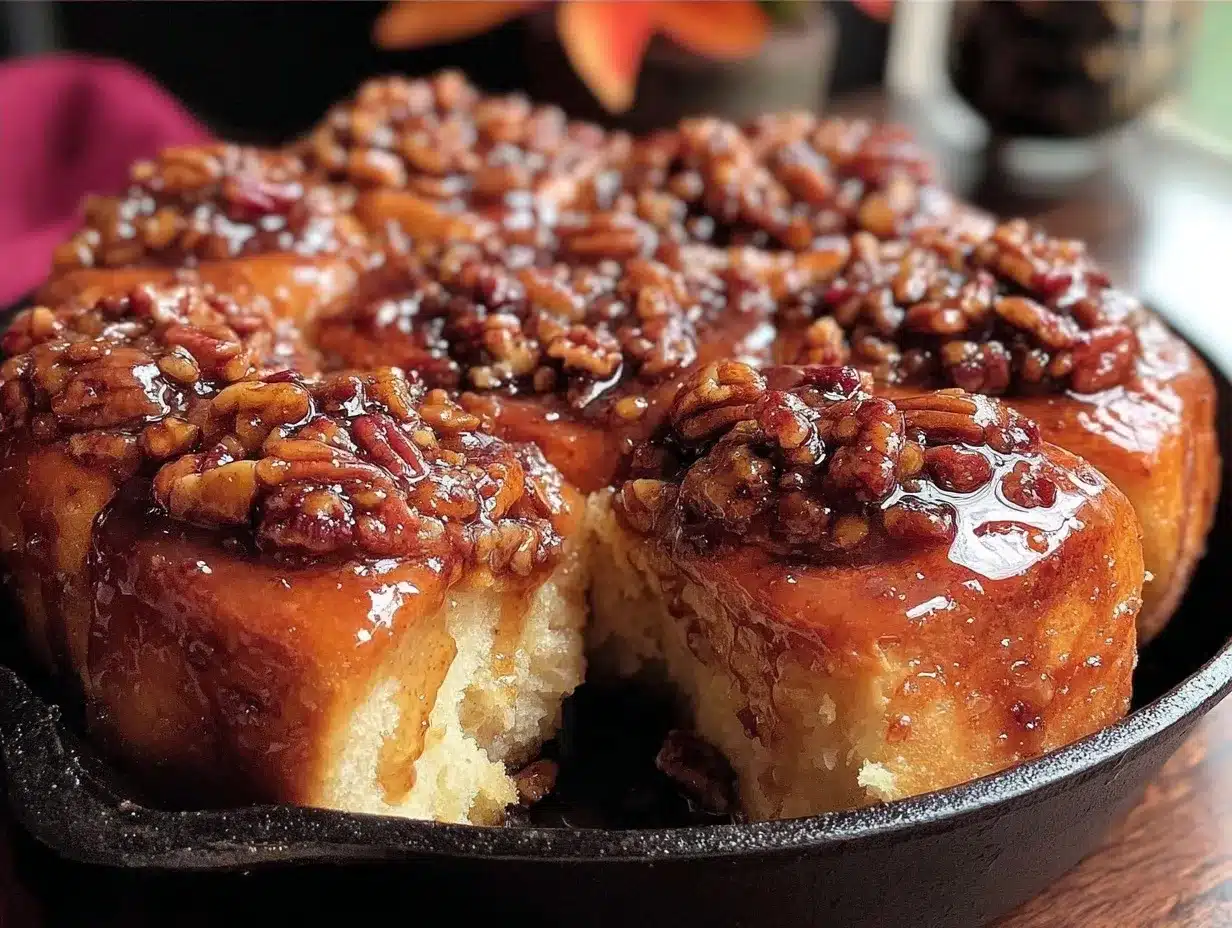
Maple syrup (½ cup / 120ml) — Use real maple syrup, not pancake syrup. The label will say “100% pure maple syrup.” If it says “pancake syrup” or “table syrup,” put it back. The flavor is completely different. This is the star of the show.
Brown sugar (½ cup / 100g, packed) — Light or dark brown sugar both work. Dark has a deeper molasses flavor, which I love, but light is fine too.
Unsalted butter (¼ cup / 57g) — This melts into the syrup and brown sugar to create that gooey base.
Cinnamon (1 teaspoon) — Warm, spicy, essential. Use ground cinnamon, not sticks.
For the Topping
Pecan halves (1 cup / 100g) — Toasting them first is optional but highly recommended. It brings out their natural oils and makes them crunchier. I usually just toss them in the pan with the glaze.
Extra pecans (for garnish) — A few more on top look pretty and add texture.
Vanilla extract (1 teaspoon) — Added to the glaze for depth. It’s subtle but noticeable.
Pinch of salt — In the glaze too. It makes the maple flavor pop.
Equipment Needed
You don’t need fancy equipment for this. Here’s what I actually use:
9-inch Cast-Iron Skillet — I love cast iron because it gets hot and stays hot, giving the bottoms a nice crisp edge. But a 9-inch round baking pan or even an 8×8 square pan works perfectly fine. Just adjust baking time slightly if using a different shape.
Mixing Bowl — A large bowl for the dough. Any size that’s bigger than the dough ball will do.
Whisk — For mixing the glaze ingredients. A fork works in a pinch.
Measuring Cups and Spoons — Standard stuff. I have a set from the dollar store that works fine.
Spatula — For stirring the glaze and flipping the buns out later.
Oven — Obviously. Preheat it while you prep.
Microwave — Optional, for melting the butter and warming the milk quickly.
Pastry Brush — Nice for brushing extra glaze on top, but a spoon works too.
How to Make It: Step-by-Step
Alright, let’s make this! I’m walking you through exactly how I do it, including the little tricks I’ve picked up. This is designed to be foolproof.
Step 1: Prep Your Pan and Oven (2 minutes)
Preheat your oven to 350°F (175°C). This needs to be hot before the buns go in. Grease your 9-inch skillet or baking dish lightly with butter or cooking spray. Then, scatter your pecan halves evenly across the bottom. Don’t worry about perfection; rustic looks good.
Step 2: Make the Glaze Base (3 minutes)
In a small saucepan (or even a microwave-safe bowl), combine the maple syrup, brown sugar, ¼ cup melted butter, cinnamon, vanilla, and a pinch of salt. Heat this over medium heat, stirring constantly, until the butter is melted and the sugar is dissolved. It should look like a glossy, bubbling syrup. Pour this evenly over the pecans in your prepared pan. This is the sticky part that will become the topping.
Step 3: Mix the Dough (5 minutes)
In a large bowl, whisk together the flour, instant yeast, sugar, and salt. In a separate small bowl or measuring cup, whisk the warm milk, egg, and remaining melted butter. Pour the wet ingredients into the dry. Stir with a wooden spoon or your hands until a shaggy dough forms. Don’t overmix! It should come together in a ball but still look a little rough. That’s fine.
Step 4: Let it Rest (10 minutes)
Cover the bowl with plastic wrap or a damp towel. Let it sit at room temperature for 10 minutes. This isn’t a full rise, but it lets the gluten relax and the yeast get started. While it rests, divide the dough into 6-8 equal pieces. I just eyeball it. Roll each piece into a rough ball.
Step 5: Assemble (2 minutes)
Place the dough balls on top of the sticky glaze in the pan. Space them out a bit—they will expand and merge together. This is intentional. You want them to pull apart easily but share the sticky goodness.
Step 6: Bake (15-18 minutes)
Put the pan in the oven. Bake for 15-18 minutes, or until the tops are golden brown and a toothpick inserted into the center of a bun comes out clean. The glaze will be bubbling around the edges. If your oven runs hot, check at 15 minutes. If they’re browning too fast, cover loosely with foil.
Step 7: The Flip (1 minute)
Here’s the moment of truth. Let the buns cool in the pan for 5 minutes. Then, take a large plate and place it upside down over the skillet. With oven mitts on, quickly and confidently flip the pan over. The buns should fall out onto the plate, covered in the maple pecan glaze. If one sticks, just gently nudge it out with a spatula. There should be very little waste.
Step 8: Serve
Serve warm. These are best eaten fresh out of the pan, but leftovers are great too. Dust with powdered sugar if you want extra sweetness, but the glaze is sweet enough.
Expert Tips & Tricks
Here’s everything I’ve learned from making this dozens of times. These tips will save you from my mistakes.
Toast Your Pecans — If you have an extra minute, toast the pecans in a dry pan for 2-3 minutes before adding them to the skillet. It adds a nutty depth that raw pecans just don’t have. I learned this by accident and never went back.
Don’t Overbake — These buns continue to cook a little after you take them out of the oven. If they look done but the center feels slightly soft, pull them. They’ll firm up as they cool. Overbaked buns are dry buns, and nobody wants that.
The Glaze is Hot — When you flip the pan, the glaze is molten hot. Be careful. Use a thick towel or oven mitts for the flip. I once spilled a little and got a tiny burn. Not worth the risk if you’re not careful.
Use Real Maple Syrup — I can’t stress this enough. Fake maple syrup tastes like corn syrup and artificial flavor. Real maple syrup tastes like… well, maple. It’s the difference between a good bun and a great bun. Your taste buds will thank you.
Double the Batch — These freeze well. I often make two batches. One to eat now, one to freeze. To freeze, let them cool completely, wrap tightly in plastic, and freeze for up to 3 months. Reheat in the microwave or a 350°F oven for 10 minutes.
Variations & Substitutions
Once you’ve nailed the basic version, here’s how you can mix it up. I’ve tried all of these.
Walnut Version — Swap pecans for walnuts. It’s a classic combination, and walnuts have a slightly more bitter, earthy flavor that pairs well with the sweet maple.
Caramel Drizzle — Add a drizzle of store-bought caramel sauce over the top after flipping. It’s extra sweet, but it’s also extra delicious. Perfect for special occasions.
Gluten-Free — Use a 1-to-1 gluten-free flour blend. The texture might be slightly crumblier, but it still works. I’ve used King Arthur Measure for Measure with good results.
Dairy-Free — Use coconut milk instead of dairy milk and coconut oil or vegan butter instead of dairy butter. The maple syrup is naturally dairy-free, so just swap the fats.
Mini Buns — Divide the dough into 12-16 smaller pieces and bake in a muffin tin lined with paper cups. They’ll bake faster, so check at 10 minutes. Great for portion control or parties.
Add-In — Sprinkle a little chopped apple or pear into the glaze before adding the dough. It adds moisture and a fresh fruit flavor that complements the maple beautifully.
Serving & Storage
How to Serve: I usually serve these straight from the plate at the dinner table. They look rustic and stay warm. They’re perfect with a cup of coffee or tea. I also like to serve them with a side of creamy chicken and wild rice soup if I’m making a full fall meal, but they’re great on their own.
Refrigerator: Store leftovers in an airtight container for up to 3 days. The glaze will harden a bit in the fridge, but that’s normal.
Reheating: Microwave for 20-30 seconds. This softens the glaze and warms the bun. If you have time, bake at 350°F for 10 minutes for a fresher texture. Avoid the toaster oven; it tends to dry them out.
Freezing: As mentioned, these freeze well. Wrap tightly and freeze for up to 3 months. Thaw at room temperature and reheat.
Pro Tip: If you’re serving guests, make sure to have napkins ready. These are messy. The glaze is sticky and sweet, and everyone will want seconds.
Nutrition Information
I’m not a nutritionist, but here’s the breakdown if you’re tracking. Keep in mind that these are rich, sweet treats, so portion control is key.
Per Serving (based on 6 buns):
| Nutrient | Amount |
|---|---|
| Calories | 450 |
| Protein | 6g |
| Carbs | 65g |
| Fiber | 2g |
| Sugar | 35g |
| Fat | 18g |
| Saturated Fat | 8g |
| Cholesterol | 45mg |
| Sodium | 250mg |
What’s Good: Pecans provide healthy fats and protein. The maple syrup has some minerals like manganese and zinc.
What to Know: High in sugar and carbs. This is a treat, not a health food. But it’s way better than store-bought buns, which often have preservatives and weird ingredients.
Final Thoughts
So that’s my go-to fall maple pecan sticky buns! I’ve probably talked your ear off at this point, but when you make a recipe this often, you have a lot to say about it. This has saved weeknight dinners more times than I can count. It’s my answer to “what’s for dessert” when I’m tired, don’t want takeout, and still want something that tastes really good. My kids are happy, my husband’s happy, and I’m happy because I’m not stressed about cooking.
Make it yours! Try different nuts, swap the syrup for honey, or add a dash of bourbon to the glaze. The best recipes are the ones you adapt to your family’s tastes. If you make this, drop a comment and let me know what you think! I love hearing how recipes turn out in your kitchen. And if something doesn’t work, tell me that too—I’m here to help troubleshoot.
Happy cooking! And I hope your kitchen smells half as good as mine does right now.
Frequently Asked Questions
Can I use canned biscuit dough instead of making the dough from scratch?
Yes! This is a great shortcut. Use one can of large biscuits. Cut each biscuit in half or leave them whole, place them in the pan, and bake at 350°F for 12-15 minutes. They won’t be as fluffy or homemade-tasting, but they’re fast and delicious. I do this when I’m really in a hurry.
Why did my glaze burn?
Maple syrup and brown sugar burn easily because they have a low smoke point. Make sure your oven is calibrated correctly. If your oven runs hot, check the buns at 12 minutes. Also, ensure the glaze is spread evenly so one spot doesn’t get too thick and burn.
Can I make this ahead of time?
You can prepare the glaze and pecans in the pan ahead of time and store them in the fridge. Let the dough come to room temperature before assembling. Or, assemble the buns and let them rise in the fridge overnight. In the morning, let them sit at room temperature for 30 minutes, then bake. This can actually improve the flavor!
What if I don’t have a cast-iron skillet?
No problem. Use a 9-inch round baking pan or an 8×8 square pan. Just make sure it’s oven-safe. The baking time might vary slightly, so keep an eye on them.
Can I use honey instead of maple syrup?
You can, but the flavor will be different. Honey is sweeter and has a distinct floral taste. Maple syrup has a earthy, woody flavor that pairs better with pecans. If you use honey, reduce the amount slightly because it’s sweeter.
How do I know when the buns are done?
The tops should be golden brown, and a toothpick inserted into the center of a bun should come out clean. The glaze should be bubbling around the edges. If the tops are browning too fast but the centers are raw, cover with foil.
Can I freeze the glaze separately?
Yes, but it’s easier to just make the glaze fresh. If you do freeze it, thaw it in the fridge and reheat gently before pouring over the pecans. The texture might change slightly, but it’s still good.
Pin This Recipe!
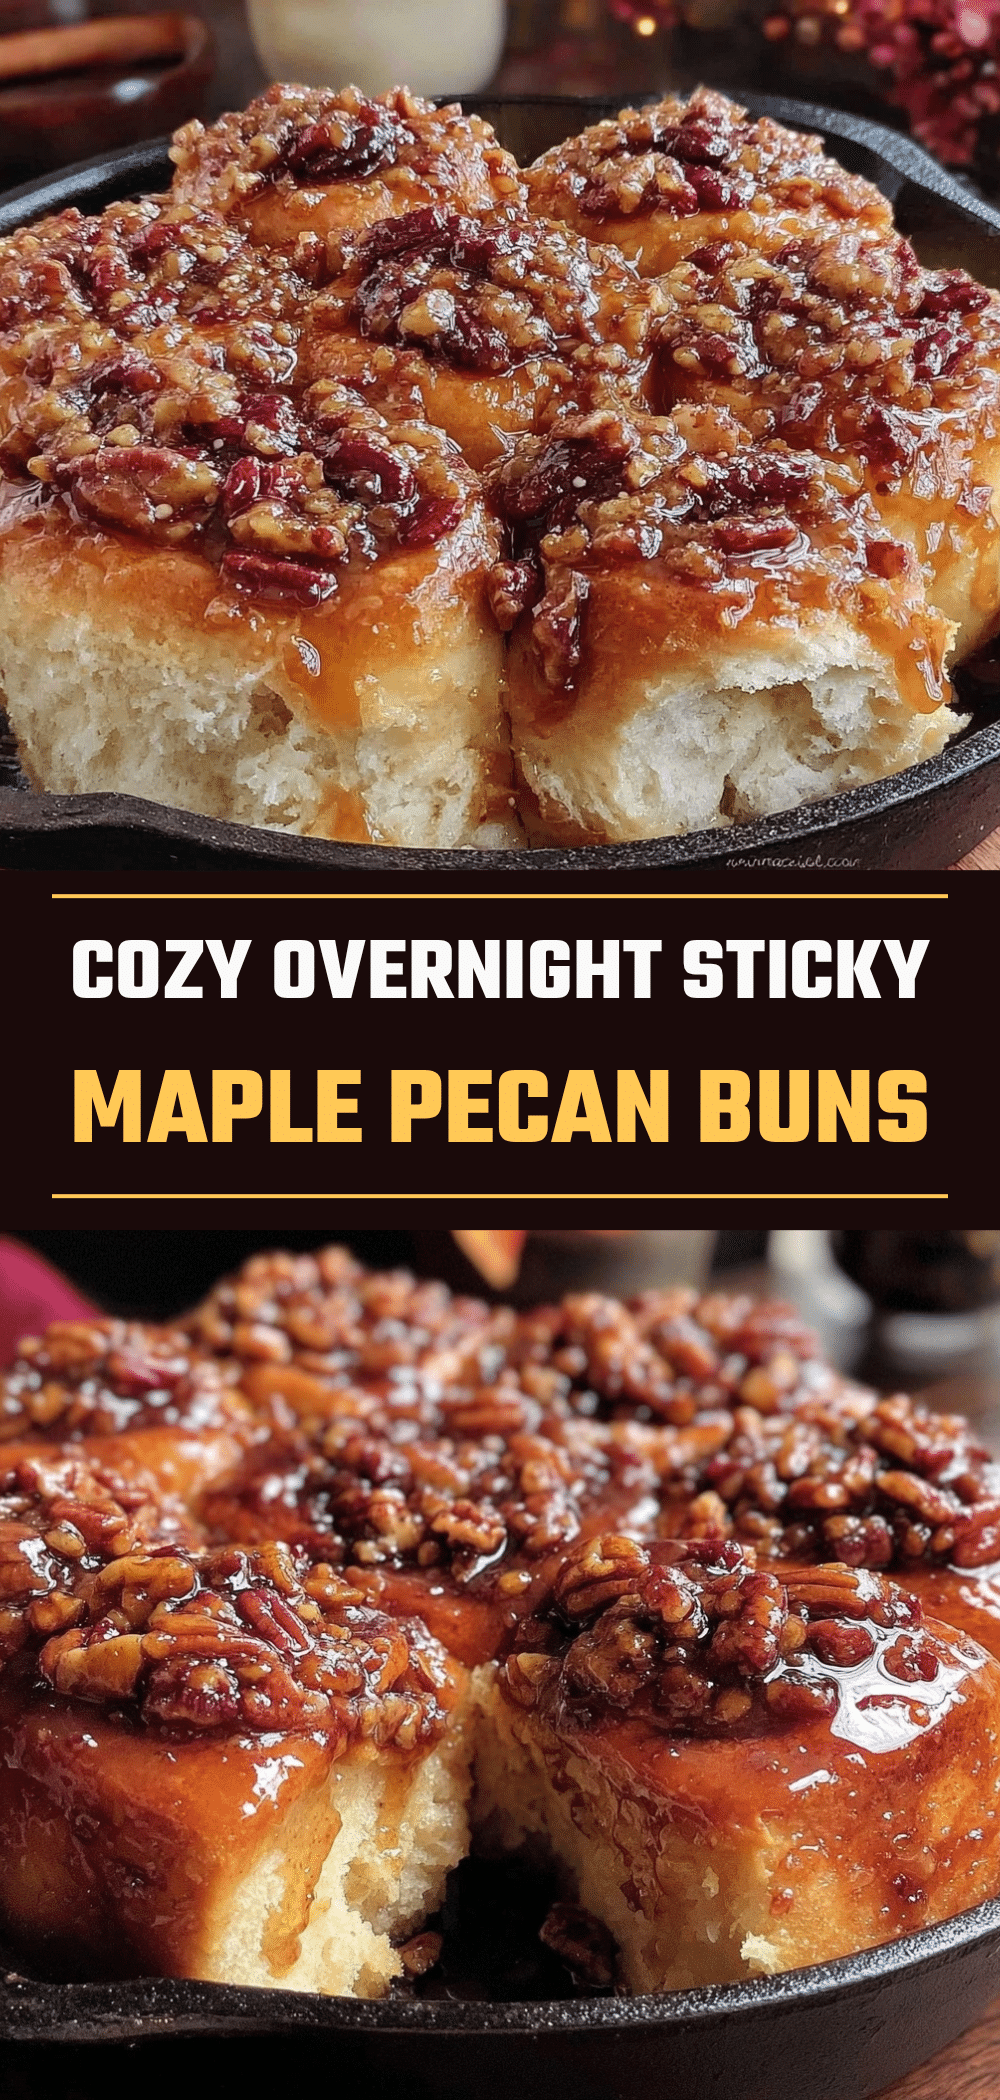
Fall Maple Pecan Sticky Buns: Easy 15-Min Weeknight Treat
- Total Time: 30 minutes
- Yield: 6 servings 1x
Description
Rich, sweet, and sticky homemade buns made with real maple syrup and toasted pecans. This quick-bake recipe requires no yeast rising time and comes together in under 30 minutes for a perfect weeknight dessert.
Ingredients
- 2 ½ cups all-purpose flour
- 2 ¼ teaspoons instant yeast
- 3 tablespoons granulated sugar
- ½ teaspoon salt
- ½ cup whole milk (room temperature)
- 1 large egg (room temperature)
- ¼ cup unsalted butter (melted, for dough)
- ½ cup pure maple syrup
- ½ cup packed brown sugar
- ¼ cup unsalted butter (for glaze)
- 1 teaspoon ground cinnamon
- 1 teaspoon vanilla extract
- 1 cup pecan halves
- Pinch of salt (for glaze)
Instructions
- Preheat oven to 350°F (175°C). Grease a 9-inch cast-iron skillet or baking dish and scatter pecan halves evenly across the bottom.
- In a small saucepan or microwave-safe bowl, combine maple syrup, brown sugar, ¼ cup melted butter, cinnamon, vanilla, and a pinch of salt. Heat over medium heat, stirring constantly, until butter is melted and sugar is dissolved. Pour evenly over the pecans in the prepared pan.
- In a large bowl, whisk together flour, instant yeast, granulated sugar, and ½ teaspoon salt. In a separate small bowl, whisk warm milk, egg, and remaining melted butter.
- Pour wet ingredients into dry ingredients. Stir with a wooden spoon or hands until a shaggy dough forms. Do not overmix.
- Cover the bowl with plastic wrap or a damp towel and let rest at room temperature for 10 minutes.
- Divide the dough into 6-8 equal pieces and roll each into a rough ball. Place dough balls on top of the sticky glaze in the pan, spacing them out slightly.
- Bake for 15-18 minutes, or until tops are golden brown and a toothpick inserted into the center comes out clean.
- Let buns cool in the pan for 5 minutes. Place a large plate upside down over the skillet and quickly flip the pan over so the buns fall onto the plate, covered in glaze.
- Serve warm.
Notes
Use real maple syrup, not pancake syrup, for the best flavor. Toasting pecans beforehand adds nutty depth. Do not overbake as buns continue to cook after removal from the oven. The glaze is molten hot when flipping, so use oven mitts. These freeze well for up to 3 months.
- Prep Time: 15 minutes
- Cook Time: 15-18 minutes
- Category: Dessert
- Cuisine: American
Nutrition
- Serving Size: 1 bun
- Calories: 450
- Sugar: 35
- Sodium: 250
- Fat: 18
- Saturated Fat: 8
- Carbohydrates: 65
- Fiber: 2
- Protein: 6
Keywords: sticky buns, maple pecan buns, weeknight dessert, quick bread, fall recipes, easy baking, cast iron dessert


