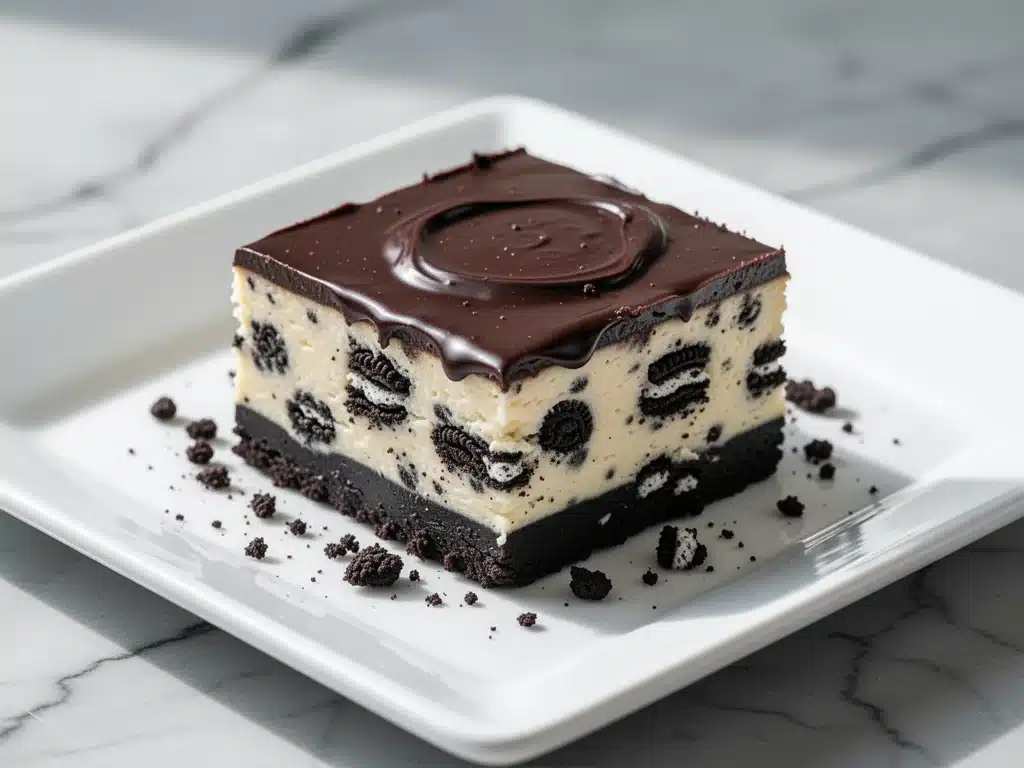
Let’s be honest for a second. I have a love-hate relationship with cheesecake. I absolutely adore the creamy, tangy, rich experience of a perfect slice. But the actual process? The water bath? The cracking crust? The forty-five minutes of worrying if it’s done? The endless washing up? No thank you.
That’s exactly why I stopped making traditional cheesecakes for casual gatherings and started hunting for a shortcut. I needed something that tasted like I’d spent hours in the kitchen but required zero actual effort. Enter these No-Bake Oreo Cheesecake Bars.
I first made these on a rainy Saturday when I had zero energy but a serious craving for something sweet. I didn’t have time to bake, and I certainly didn’t want to deal with a messy oven. I grabbed a block of cream cheese, a tub of cool whip, and a family-sized bag of Oreos. Ten minutes later, I had a dessert that was so good, my guests asked if I’d ordered it from a fancy bakery. (I didn’t tell them it was assembled in a bowl while I watched TV.)
Since then, these bars have become my secret weapon. Whether it’s a last-minute dinner party, a potluck where I need to look like I tried, or just a Tuesday night treat for the kids, this recipe never fails. It’s creamy, it’s crunchy, and it’s ridiculously easy. If you’ve ever wanted to impress people without sweating over a stove, you need to make these No-Bake Oreo Cheesecake Bars ASAP.
Why You’ll Love This Recipe
I’ve made this dessert at least a dozen times in the last six months, and every single time, the result is the same: empty plates and requests for the recipe. Here’s why these bars have earned a permanent spot in my rotation, right alongside my favorite strawberry cheesecake stuffed cookies.
- Zero Baking Required — Seriously. If you can mix ingredients in a bowl, you can make this. No oven, no water baths, no anxiety about cracks. Just fridge time.
- 3 Ingredients (Technically 4) — The cream cheese filling is just three ingredients. The crust is just Oreos. That’s it. You don’t need a pantry full of specialty items.
- Makes Its Own Crust — The best part? You use the actual Oreo cookies for the crust. No graham crackers, no butter mess. Just crush them up and press them in. It’s genius.
- Perfect for Meal Prep — I make these on Sunday, and they last all week. They actually get firmer and more delicious as they sit in the fridge. It’s my go-to grab-and-go dessert.
- Crowd-Pleasing Flavor — Everyone loves Oreos. The cream cheese balances the sweetness perfectly, so it’s rich but not cloying. It tastes like a high-end dessert but costs pennies.
This is the dessert I make when I want to feel like a pro baker but actually want to enjoy my weekend. It’s reliable, it’s delicious, and it’s incredibly forgiving.
Ingredients You’ll Need
Here’s the best part: you probably have most of this already. I’m not asking you to run to the store for exotic spices or weird extracts. Just simple, accessible ingredients that deliver maximum flavor.
For the Oreo Crust
Chocolate Sandwich Cookies (Oreos) (30 cookies / about 240g) — Yes, thirty cookies. Don’t skimp. You need enough to form a solid base. You can use any brand, but Oreos have the right texture and sweetness. Save the filling if you want to add it to the mix (more on that in tips), but strictly speaking, you just need the cookies.
Unsalted Butter (6 tablespoons / 85g, melted) — This binds the crumbs together. I use unsalted so I can control the sweetness, but salted works too if you adjust the sugar elsewhere. Melt it completely so it mixes evenly.
For the Cheesecake Filling
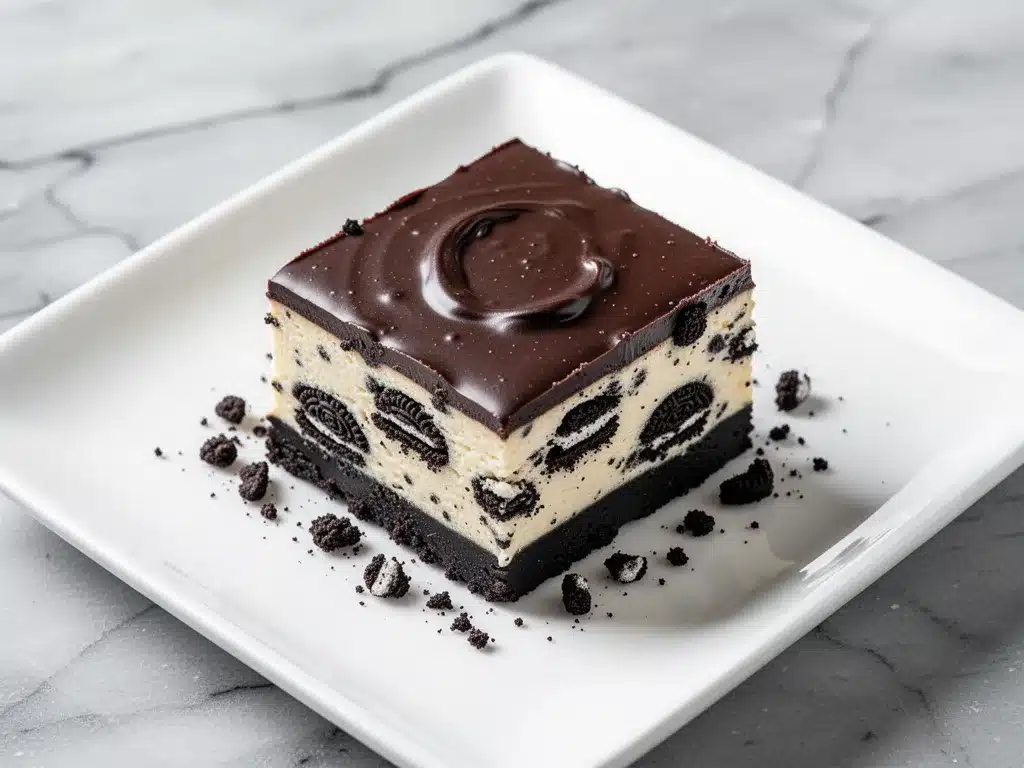
Full-Fat Cream Cheese (2 packages / 16oz / 450g) — This is non-negotiable. Do not use light cream cheese. It won’t set properly and will be runny. Let it sit on the counter for 15 minutes before you start. Cold cream cheese creates lumps, and nobody wants lumpy cheesecake.
Confectioners’ Sugar (1 cup / 120g) — Also known as powdered sugar. This dissolves instantly, unlike granulated sugar, which might leave gritty spots. Sift it if it’s clumpy.
Vanilla Extract (1 teaspoon) — Pure vanilla makes a huge difference. I use the real stuff, not the imitation. It adds that warm, bakery-like aroma.
Cool Whip (or Heavy Cream) (1 large tub / 12oz / 340g) — Here’s the trick. Using whipped topping makes it super easy and stable. But if you want a richer, more “from-scratch” taste, you can whip 2 cups of heavy cream until stiff peaks form and fold it in instead. I usually stick with Cool Whip for the convenience, but both work beautifully.
Crushed Oreos (Optional Garnish) — For topping. I save about 10 cookies from the crust batch to crush on top. It looks pretty and adds extra crunch.
Equipment Needed
You don’t need fancy gadgets for this. Here’s what I actually use in my kitchen.
9×13 Inch Baking Pan — I line it with parchment paper or foil for easy removal. This makes cutting the bars clean and lifting them out a breeze. A springform pan works too, but bars are easier to serve.
Food Processor or Ziploc Bag — For crushing the cookies. A food processor is fastest (10 seconds). A rolling pin and a sturdy bag work perfectly if you don’t have one. I prefer the food processor because I get uniform crumbs.
Electric Mixer — Handheld or stand mixer. You need this to get the cream cheese smooth and creamy. Mixing by hand is possible but takes serious arm strength and time.
Spatula — A silicone spatula is great for folding in the whipped topping without deflating it.
Measuring Cups and Spoons — Standard stuff. Accuracy matters here because it’s a simple recipe.
How to Make It: Step-by-Step
Alright, let’s make this! I’m walking you through exactly how I do it, including the little tricks I’ve picked up over the years.
Step 1: Prep Your Pan
Line a 9×13 inch pan with parchment paper, leaving an overhang on the long sides. This acts as a sling so you can lift the entire block of cheesecake out later for easy slicing. Spray with non-stick spray just to be safe.
Step 2: Make the Crust
Crush 30 Oreos into fine crumbs. If using a food processor, pulse until you have sand-like texture. If using a bag, roll over them with a rolling pin until they’re fine. In a medium bowl, mix the cookie crumbs with the melted butter until it looks like wet sand. Press this mixture firmly and evenly into the bottom of your prepared pan. Use the bottom of a measuring cup to pack it down tight. This step is crucial—if the crust is loose, your bars will fall apart. Place the pan in the fridge while you make the filling.
Step 3: Whip the Cream Cheese
In a large bowl, beat the softened cream cheese on medium-high speed for 2-3 minutes. You want it completely smooth and creamy. Scrape down the sides of the bowl with a spatula to ensure there are no lumps. This takes patience, but it’s the secret to a silky texture. Add the powdered sugar and vanilla extract. Beat on low until just combined, then increase to medium for another minute. The mixture should be light and fluffy.
Step 4: Fold in the Whipped Topping
If using Cool Whip, thaw it according to package directions (usually in the fridge overnight or in the microwave for short bursts). If using whipped heavy cream, ensure it’s stiff. Gently fold the whipped topping into the cream cheese mixture. Use a spatula and cut through the middle, sweep along the bottom, and fold over. Do this gently to keep the air in the mixture. Overmixing will make the bars dense. Stop when you see no white streaks of cream cheese left.
Step 5: Assemble and Chill
Pour the filling over the chilled crust. Spread it evenly with your spatula. Smooth the top as best you can. Sprinkle the reserved crushed Oreos on top for decoration. Cover tightly with plastic wrap or foil. Refrigerate for at least 4 hours, but ideally overnight. The longer it chills, the firmer it sets and the better the flavors meld.
Step 6: Slice and Serve
Once set, lift the cheesecake out of the pan using the parchment sling. Place it on a cutting board. Use a sharp knife to cut into bars. I like 12 large bars or 24 smaller ones. Wipe the knife clean between cuts for neat edges. Serve cold.
Expert Tips & Tricks
Here’s everything I’ve learned from making these dozens of times. These tips will save you from my mistakes.
- Softened Cream Cheese is Key — I cannot stress this enough. If your cream cheese is cold, you will have lumps. Take it out 30 minutes before you start. If you’re in a rush, microwave it in 5-second bursts, checking frequently. It should be soft enough to leave a fingerprint.
- Don’t Skip the Chill Time — I’ve tried to eat these after just an hour. They’re delicious but too soft to cut cleanly. Give it at least 4 hours. Overnight is best.
- Fine Crumbs for Crust — If your cookie crumbs are too chunky, the crust won’t hold together. Aim for a fine, sand-like texture. You want the butter to coat every particle.
- Folding Technique — When adding the whipped topping, be gentle. You’re trying to maintain the airy structure. If you stir aggressively, you’ll deflate it and get a dense, heavy bar.
- Clean Cuts — For perfect squares, dip your knife in hot water and wipe it dry before each cut. The heat helps the knife glide through the cold cheesecake without dragging.
Variations & Substitutions
Once you’ve nailed the basic version, here’s how you can mix it up. I’ve tried all of these, and they all work.
- Strawberry Cheesecake Bars — Fold in 1 cup of finely chopped fresh strawberries into the filling. Or layer a strawberry jam swirl in the middle before adding the topping.
- Mint Chocolate Chip — Add 1 teaspoon of peppermint extract to the cream cheese mixture. Fold in ½ cup of mini chocolate chips at the end. It tastes like an After Eight mint.
- Double Chocolate — Use double-stuff Oreos for the crust. Add ¼ cup cocoa powder to the cream cheese mixture. It’s richer and more intense.
- Lighter Version — Use low-fat cream cheese and light Cool Whip. It’s not as rich, but it’s lighter. I also swap half the Cool Whip for Greek yogurt for a tangy, protein boost.
- Gluten-Free — Use gluten-free chocolate sandwich cookies. Most major brands make GF Oreos now. The rest of the ingredients are naturally gluten-free.
- Dairy-Free — Use dairy-free cream cheese blocks (like Miyoko’s or Kite Hill) and coconut whipped cream. It holds up surprisingly well.
If you’re looking for other no-bake options, check out my no-bake fall pumpkin cheesecake bars for a seasonal twist, or my fall caramel apple crumble bars for a warm-weather alternative.
Serving & Storage
These bars are best served chilled. They hold their shape well at room temperature for about an hour, but they’ll start to soften if left out too long.
How to Store
Refrigerator: Store in an airtight container for up to 5 days. If you cut them, cover the cut sides with plastic wrap to prevent drying out. They taste best on day 2 or 3, when the flavors have fully melded.
Freezer: Yes, you can freeze these! Wrap individual bars tightly in plastic wrap, then in foil. They’ll keep for up to 2 months. Thaw in the fridge overnight. Note: The texture might be slightly softer after thawing, but the taste remains great.
Serving Suggestions
I usually serve these straight from the fridge. They pair beautifully with a cup of hot coffee or tea. For a dinner party, I garnish with a fresh raspberry or a mint leaf. They also go great with my creamy southern pasta salad if you’re serving a large group with mixed savory and sweet dishes.
Nutrition Information
I’m not a nutritionist, but here’s the breakdown if you’re tracking. Keep in mind that these are rich bars, so portion control is key.
Per Serving (1 of 12 bars):
- Calories: 280
- Protein: 4g
- Carbs: 32g
- Fat: 16g
- Sugar: 24g
This is definitely a treat. The cream cheese and Oreos make it calorie-dense, but it’s satisfying, so you don’t need to eat much. If you’re watching sugar, consider using sugar-free Cool Whip and checking the cookie labels for sugar-free options.
Final Thoughts
So that’s my go-to No-Bake Oreo Cheesecake Bars! I’ve probably talked your ear off at this point, but when you make a recipe this often, you have a lot to say about it.
This has saved my dessert game more times than I can count. It’s my answer to “what should I bring to the party?” when I’m busy, don’t want to bake, and still want something that looks impressive. My kids are happy, my husband’s happy, and I’m happy because I’m not stressed about cooking.
Make it yours! Try different cookie flavors, add fruit, or adjust the sweetness. The best recipes are the ones you adapt to your family’s tastes.
If you make this, drop a comment and let me know what you think! I love hearing how recipes turn out in your kitchen. And if something doesn’t work, tell me that too—I’m here to help troubleshoot.
Happy baking! Or rather, happy no-baking! I hope your kitchen smells half as good as mine does right now.
Frequently Asked Questions
Can I use a different type of cookie?
Absolutely. You can use any sandwich cookie. Nilla Wafers, Golden Oreos, or even chocolate chip sandwich cookies work well. Just adjust the sweetness if the cookies are already very sweet. For a more neutral crust, try graham crackers with butter, but the Oreo crust is my favorite because it’s self-contained.
Why did my cheesecake turn out runny?
This usually happens if the cream cheese wasn’t fully softened before mixing, leading to lumps that don’t emulsify properly. Or, if you didn’t chill it long enough. Make sure to beat the cream cheese for a full 2-3 minutes until smooth. Also, ensure your whipped topping is properly thawed but not melted into liquid.
Can I make this ahead for a party?
Yes! This is actually better when made ahead. I recommend making it 1-2 days before your event. It will set firmly and the flavors will deepen. Just keep it covered in the fridge until you’re ready to serve.
Do I have to use Cool Whip?
No. You can whip 2 cups of heavy cream with 2 tablespoons of powdered sugar until stiff peaks form, then fold that in. It will be richer and taste more like traditional cheesecake, but it requires a bit more effort. Cool Whip is just for convenience and stability.
How long do these bars last?
They last up to 5 days in the refrigerator. After that, they might start to dry out or lose their texture. If you need to store them longer, freeze them. They thaw beautifully.
Can I use a food processor for the whole thing?
You can crush the cookies in it, but I don’t recommend mixing the cream cheese filling in the food processor. It can over-whip the cream cheese and make it grainy. Hand mixing or a hand mixer gives you better control over the texture.
What if I don’t have a 9×13 pan?
You can use an 8×8 pan for thicker bars, but the cooking/chilling time might need to be slightly longer. Or you can use a 9×13 pan and just accept thinner bars. The recipe scales easily, so you can halve it for an 8×8 pan if you prefer smaller portions.
Pin This Recipe!
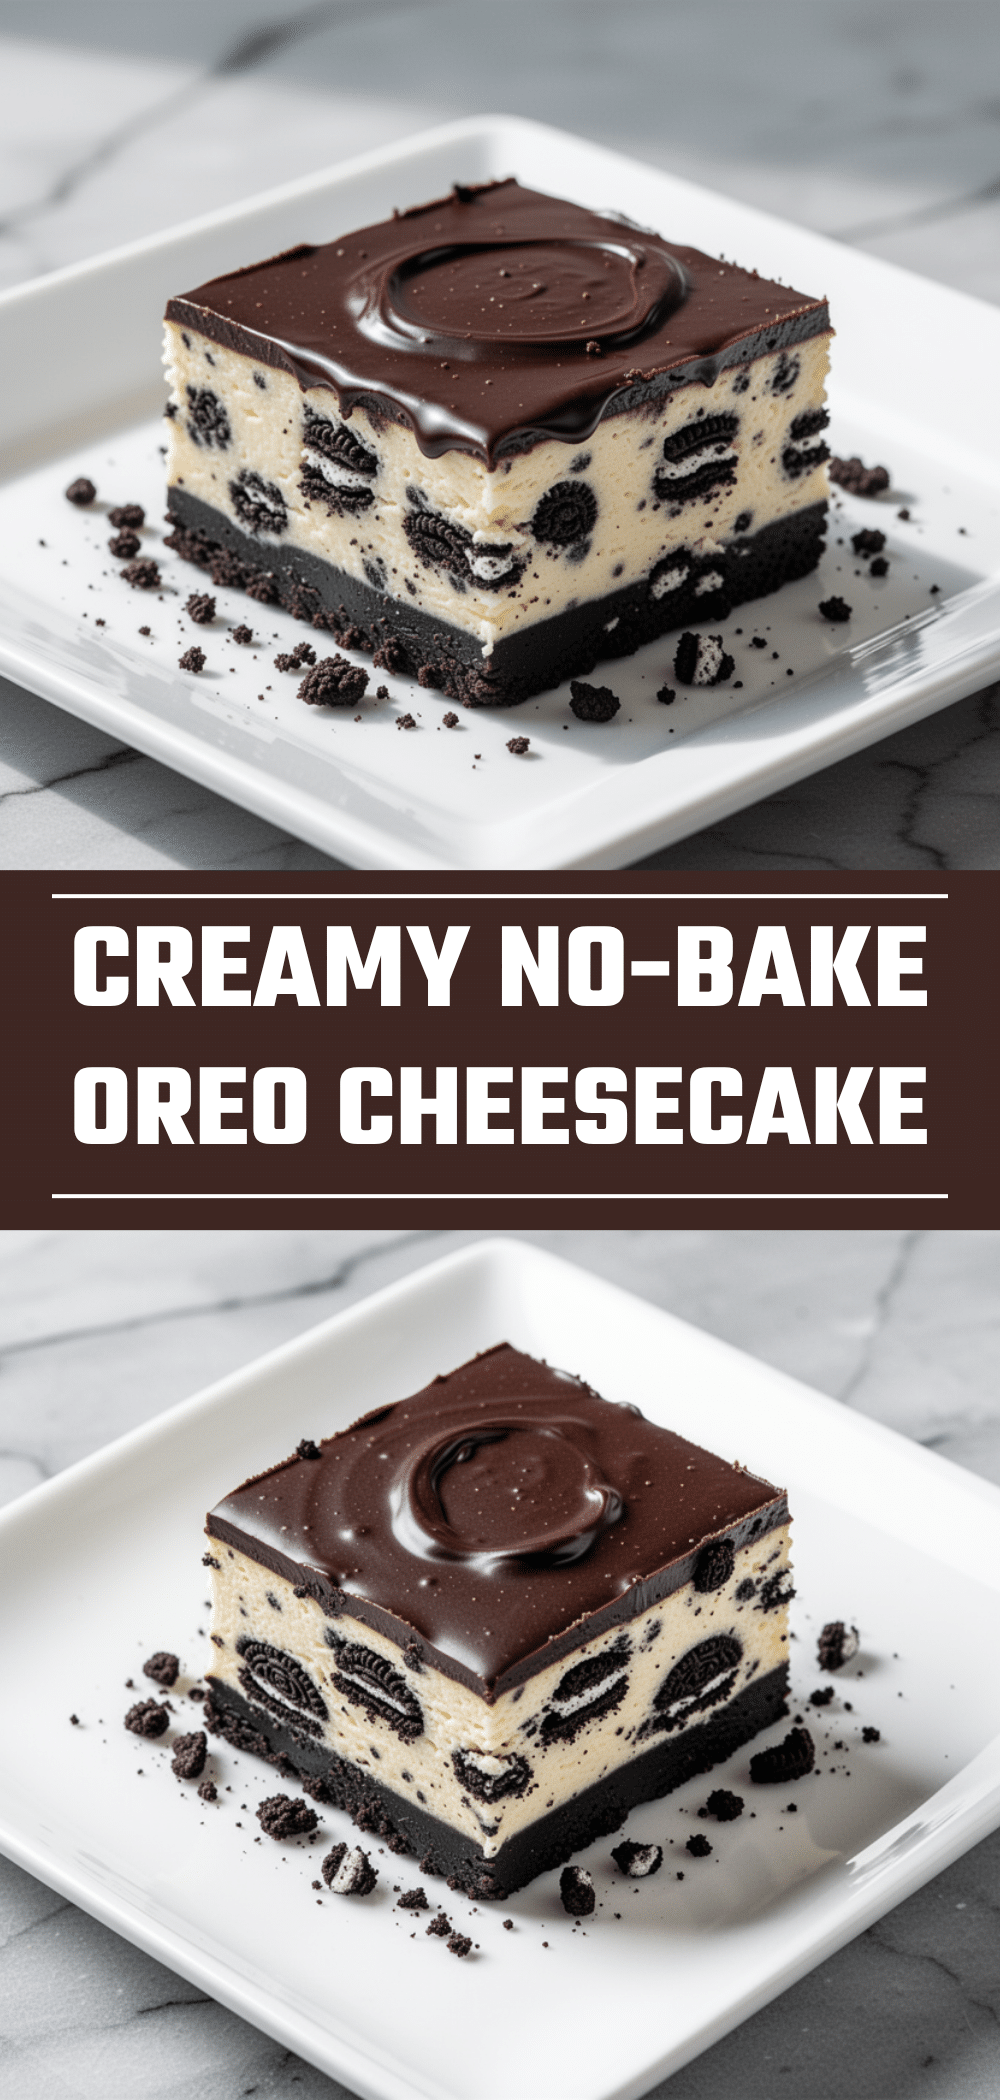
No-Bake Oreo Cheesecake Bars: 3-Ingredient Easy Dessert
- Total Time: 4 hours 15 minutes
- Yield: 12 servings 1x
Description
These no-bake Oreo cheesecake bars are a creamy, crunchy, and incredibly easy dessert that requires zero baking. Made with just a few simple ingredients like Oreos, cream cheese, and Cool Whip, they are perfect for last-minute gatherings or meal prep.
Ingredients
- 30 chocolate sandwich cookies (Oreos), divided
- 6 tablespoons unsalted butter, melted
- 2 packages (16oz / 450g) full-fat cream cheese, softened
- 1 cup (120g) confectioners’ sugar
- 1 teaspoon vanilla extract
- 1 large tub (12oz / 340g) Cool Whip, thawed (or 2 cups heavy cream whipped to stiff peaks)
- Crushed Oreos for garnish (optional)
Instructions
- Line a 9×13 inch baking pan with parchment paper, leaving an overhang on the long sides, and spray with non-stick spray.
- Crush 30 Oreos into fine crumbs using a food processor or a rolling pin in a Ziploc bag.
- In a medium bowl, mix the cookie crumbs with the melted butter until the texture resembles wet sand.
- Press the crust mixture firmly and evenly into the bottom of the prepared pan. Place in the fridge while making the filling.
- In a large bowl, beat the softened cream cheese on medium-high speed for 2-3 minutes until completely smooth. Scrape down the sides.
- Add the confectioners’ sugar and vanilla extract. Beat on low until combined, then increase to medium for another minute until light and fluffy.
- Gently fold the thawed Cool Whip (or whipped heavy cream) into the cream cheese mixture using a spatula until no white streaks remain. Avoid overmixing to maintain airiness.
- Pour the filling over the chilled crust and spread evenly. Sprinkle reserved crushed Oreos on top for garnish.
- Cover tightly with plastic wrap or foil and refrigerate for at least 4 hours, ideally overnight, until firm.
- Lift the cheesecake out of the pan using the parchment sling. Cut into 12 large or 24 smaller bars using a sharp knife dipped in hot water for clean cuts. Serve cold.
Notes
Ensure cream cheese is fully softened to avoid lumps. Do not skip the chilling time as the bars need at least 4 hours to set properly. For clean cuts, dip the knife in hot water and wipe dry between each slice. Can be stored in the refrigerator for up to 5 days or frozen for up to 2 months.
- Prep Time: 15 minutes
- Cook Time: 0 minutes
- Category: Dessert
- Cuisine: American
Nutrition
- Serving Size: 1 bar
- Calories: 280
- Sugar: 24
- Sodium: 180
- Fat: 16
- Saturated Fat: 9
- Carbohydrates: 32
- Fiber: 1
- Protein: 4
Keywords: no-bake, oreo cheesecake, easy dessert, 3 ingredient dessert, meal prep dessert, crowd-pleasing dessert, cream cheese dessert


