Last Tuesday, I was staring at the clock. It was 6:45 PM. I had just walked through the door, my coat still damp from the rain, and my brain was completely fried from a workday that felt like it lasted three days. My husband asked the dreaded question: “What’s for dinner?” My stomach growled, but honestly? I didn’t have the energy to chop, sauté, or worry about a recipe that required six steps and twenty minutes of active stirring. I just wanted something warm, something comforting, and something that didn’t involve me standing over a hot stove.
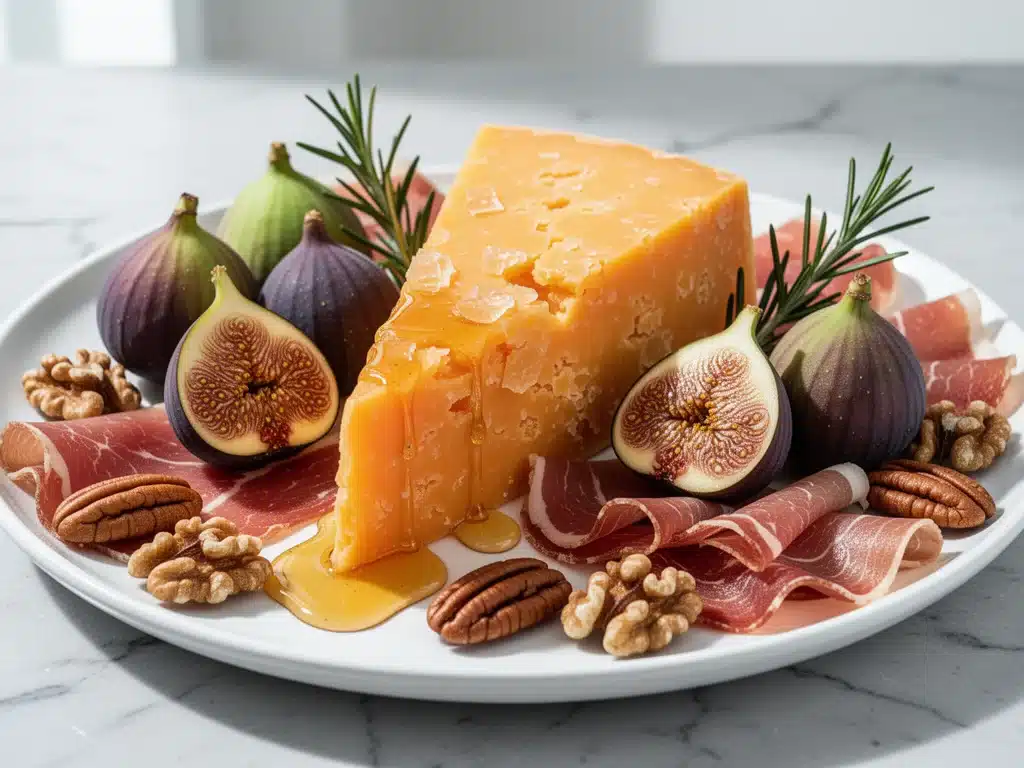
So, I did what any tired parent does. I opened the fridge, grabbed whatever looked remotely festive, and threw it on a plate. I didn’t plan it. I didn’t measure anything. I just grabbed a block of sharp cheddar, a handful of walnuts, some apple slices that were starting to look a little brown, and a few crackers from the pantry. I drizzled a little honey on top because I’m dramatic like that.
Fifteen minutes later, we were sitting on the couch, snacking. No dishes to wash (except the board). No stress. Just good food and zero pressure. That random night turned into a tradition. Now, whenever I’m too tired to cook but still want to feel like I’m eating something special, I make my fall harvest charcuterie board. It’s not just a fancy appetizer for Thanksgiving; it’s a legitimate weeknight dinner solution that takes less time than ordering takeout.
People think charcuterie boards are only for entertaining or holidays. They think you need expensive meats, fancy cheeses, and hours to arrange it perfectly. That’s not true. This fall harvest charcuterie board is built for real life. It uses ingredients you can buy at any grocery store, it highlights the cozy flavors of autumn, and it comes together in about 15 minutes. Plus, it’s the perfect way to use up those leftover fall caramel apple crumble bars if you’ve made them over the weekend, or to pair with a quick creamy garlic parmesan orzo if you’re actually feeling up to cooking.
I’ve tested this setup for months, tweaking the combinations until I found the perfect balance of salty, sweet, crunchy, and soft. It’s become my secret weapon for busy weeknights, casual game-day snacks, and even when I need to feed hungry kids without turning on the oven. Let me show you how to build one that looks gorgeous but requires almost zero effort.
Why You’ll Love This Weeknight Charcuterie Board
There are about ten reasons I keep making this board, but here are the big ones that will change your weeknight routine.
**Stupid Simple Assembly** — Seriously, if you can open packages and slice an apple, you can make this. I’ve built this board while holding a toddler on my hip. It’s just stacking and arranging. No heat, no knives (mostly), no mess.
**Lightning Fast** — 15 minutes from fridge to table. I make this on weeknights when I get home at 7pm and my brain is turned off. It’s faster than boiling water for pasta.
**Pantry-Friendly** — You probably have 70% of these ingredients already. I keep crackers, nuts, and honey stocked just so I can throw this together on a whim when dinner plans fall apart.
**Crowd-Pleaser** — I’ve served this to my picky eater nephew, my foodie sister, and my husband who claims he’s “not hungry” until 8pm. Everyone loves it. It’s customizable enough for any palate.
**Zero Cleanup Stress** — This is the best part. If you line the board with parchment paper or just wipe it down, you’re done. No pots, no pans, no scrubbing. It’s the ultimate lazy dinner hack.
**Budget-Smart** — You can make this for under $20 if you buy store brands. It feels fancy and expensive, but it’s actually quite affordable. Less than a pizza delivery.
This is my go-to when I need dinner to just work. No complicated techniques, no weird ingredients, just reliable, delicious food that makes everyone happy. It’s comfort food without the cooking.
Ingredients You’ll Need for the Fall Harvest Board
Here’s the best part: you probably have most of this already. The beauty of a charcuterie board is that it’s a framework, not a rigid recipe. I’m particular about three things here: the cheese needs to be sharp, the fruit needs to be crisp, and the crunch factor is non-negotiable. But you can swap things out based on what’s on sale or what’s in your pantry.
**For the Cheeses:**
**Sharp Cheddar Cheese** (8 oz / 225g) — I use a block and slice it or cube it. Sharp cheddar has enough flavor to stand up to the sweet fruits. Mild cheddar gets lost. I also love a good aged gouda for that smoky, caramel note.
**Cream Cheese or Brie** (8 oz / 225g) — You need a soft cheese to balance the hard ones. I often just use a tub of whipped cream cheese with a little honey swirled in, or a wheel of Brie. It’s the “dip” element of the board.
**For the Meats (Optional but Recommended):**
**Turkey Slices** (6 oz / 170g) — I use deli turkey because it’s lean and mild. It’s easier for kids and lighter than salami. Fold the slices into rosettes for a pretty look.
**Salami or Pepperoni** (6 oz / 170g) — If you want more flavor, add a couple of slices of hard salami. It adds that salty, cured punch. I usually buy the pre-sliced packs to save time.
**For the Fruits:**
**Apples** (2 medium, sliced / about 300g) — Honeycrisp or Fuji work best because they stay crisp and don’t turn brown immediately. I leave the skin on for color and fiber. Core them and slice into wedges.
**Grapes** (1 cup / 150g) — Red or green grapes add a burst of sweetness. I leave them on the vine if they’re small, or halve them if they’re large. Easy to grab.
**Dried Cranberries or Apricots** (½ cup / 60g) — These add that chewy, tart element that screams “fall.” They’re shelf-stable, so I always have some in the cupboard.
**For the Crunch:**
**Crackers** (1 box / 12 oz) — I use a mix. Water crackers for the cheese, and maybe some seeded or whole grain for texture. I keep a variety pack on hand so I’m not stuck with just one type.
**Walnuts or Pecans** (½ cup / 60g) — Toasted nuts are essential. I usually just buy them pre-toasted, but if you have raw ones, toast them in a dry pan for 3 minutes. They add that earthy, autumn flavor.
**Pretzels** (½ cup / 60g) — I throw in some pretzel rods or twists. They’re salty and sturdy, perfect for holding cheese or dips.
**For the Sweet Finish:**
**Honey** (½ cup / 170ml) — Not an ingredient you eat by the spoonful, but a drizzle over the cheese and fruit is magic. I use whatever honey I have, but clover or wildflower is nice.
**Personal Tips:**
– **Cheese prep:** I slice my cheese while the kids are doing homework. It’s quiet and mindless. If you’re in a rush, buy pre-sliced cheese. It’s not “fancy,” but it saves 5 minutes.
– **Fruit prep:** I slice apples right before serving to prevent browning. If you’re prepping ahead, toss them in a little lemon juice.
– **Substitutions:** No salami? Use ham or prosciutto. Don’t like nuts? Use sunflower seeds or popcorn. This board is flexible.
Equipment Needed
You don’t need fancy equipment for this. Here’s what I actually use.
**Large Board or Platter** — I use a big wooden board, but a large baking sheet lined with parchment paper works perfectly. Or just use a big serving platter. Just make sure it’s big enough to spread things out so they don’t touch too much.
**Cheese Knife or Sharp Knife** — For slicing cheese and apples. A dull knife makes messy slices. I use my standard chef’s knife for everything.
**Small Bowls** — For holding dips, nuts, or loose items like cranberries. I use three small ramekins or bowls. It keeps the board organized.
**Tongs** — For serving. It’s more hygienic and looks nicer than letting everyone grab with their hands.
**Parchment Paper** — Optional but helpful. If you’re worried about cleaning a wooden board, line it. It also helps if you’re serving outdoors or at a party.
How to Make It: Step-by-Step
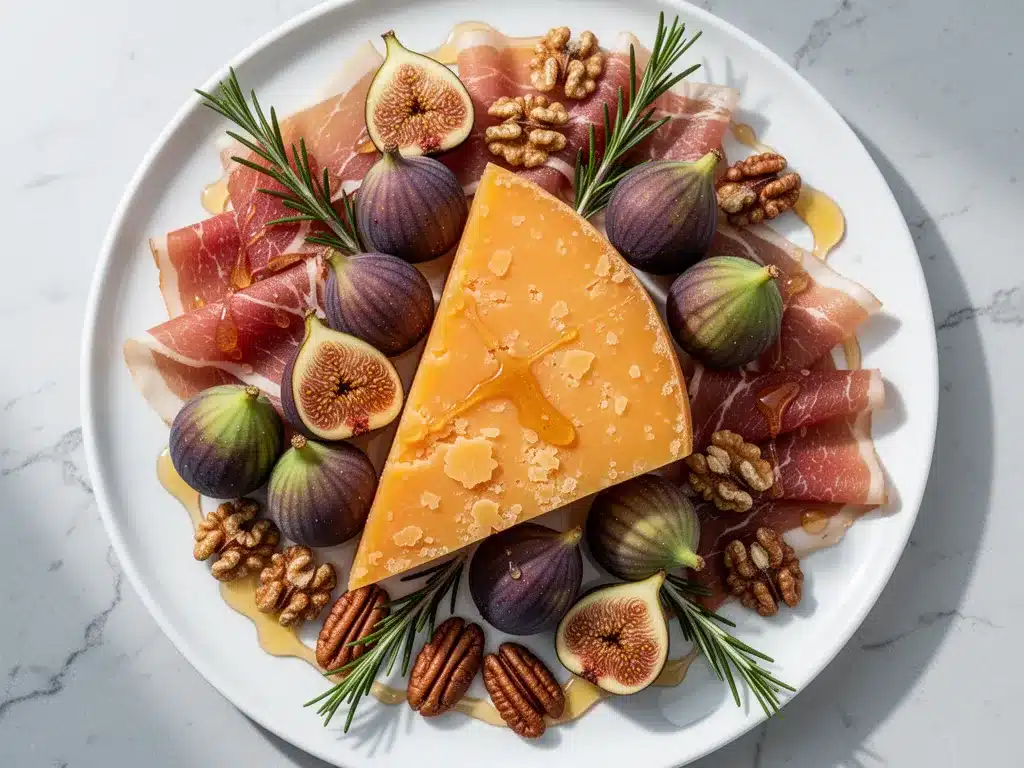
Alright, let’s build this! I’m walking you through exactly how I do it, including the little tricks I’ve picked up to make it look pro without the effort.
**Step 1: Prep Your Ingredients (5 minutes)**
Before you start arranging, get everything ready. Slice your apples, cube your cheddar, and open your packages. Place your nuts and dried fruit into small bowls. Set them aside. Once you start arranging, you want to move fast so the apples don’t brown.
**Step 2: Place the Cheeses (2 minutes)**
Start with your cheeses. Place the large pieces on the board first. If you’re using a block of cheddar, cut it into cubes or thick slices and fan them out. If you’re using Brie, just place the wheel in the center or to one side. Leave space around them for other items. Think of them as the “anchors” of the board.
**Step 3: Add the Meats (2 minutes)**
If you’re using salami or ham, fold the slices loosely and tuck them in between the cheeses. Don’t lay them flat; folding adds height and texture. It makes the board look more abundant. If you’re skipping meat, just fill that space with more crackers or fruit.
**Step 4: Fill in with Fruits and Crunch (5 minutes)**
This is the fun part. Scatter your apple slices around the board. Group the grapes in clusters. Sprinkle the dried cranberries and nuts into the empty spaces. The goal is to avoid big gaps. If you see a hole, fill it with crackers or pretzels. I usually throw the nuts and dried fruit in a handful and let them land where they may—it looks more natural that way.
**Step 5: Add Crackers and Pretzels (2 minutes)**
Stand your crackers up against the cheese or lean them against each other. This adds verticality. Laying them all flat looks flat. I like to create a “cracker wall” on one side of the board. It’s easy to grab from and looks stylish.
**Step 6: The Honey Drizzle (1 minute)**
Take your honey and drizzle it lightly over the cheese and some of the apples. Don’t go crazy—just a few zig-zags. The honey will pool slightly in the crevices and look glossy. This ties all the flavors together.
**Step 7: Serve**
Grab some plates (or just eat straight from the board if you’re lazy, like me) and dig in. This board is ready to go immediately. No waiting.
**Total Time:** About 15 minutes (mostly prep, zero cooking)
Expert Tips & Tricks
Here’s everything I’ve learned from building dozens of these boards. These tips will save you from my mistakes.
**Vary the Textures**
The biggest mistake people make is making everything soft or everything hard. You need the crunch of pretzels, the chew of dried fruit, the creaminess of cheese, and the crispness of apple. That contrast is what makes it satisfying.
**Use Color to Your Advantage**
Fall colors are red, orange, yellow, and brown. Stick to apples, cranberries, walnuts, and cheddar. Avoid bright green kiwis or blueberries unless you want to break the theme. I stick to the autumn palette because it feels cohesive and festive.
**Don’t Overcrowd**
It’s tempting to pack every inch, but leave some negative space. It looks more elegant and makes it easier for people to grab what they want without knocking things over. If it looks too sparse, add more crackers or nuts.
**Toast Your Nuts**
If you have raw nuts, toast them. It releases the oils and makes them way more flavorful. It takes 3 minutes in a dry pan. I learned this the hard way with bland, raw nuts that tasted dusty.
**Keep it Room Temperature**
Cheese tastes better at room temperature. If you take it straight from the fridge, let it sit out for 15-20 minutes before serving. Same with the fruit—it enhances the sweetness.
Variations & Substitutions
Once you’ve nailed the basic version, here’s how you can mix it up. I’ve tried all of these.
**Vegetarian Powerhouse**
Skip the meat and double the cheese. Add some hummus or a white bean dip in a small bowl. It adds protein and keeps it filling. I serve this when I have vegetarian guests.
**Spicy Kick**
Add some hot honey or drizzle sriracha over the cheddar. Throw in some spicy mustard or jalapeño slices. This is great for game day when people want something with a bit of heat.
**Sweet Tooth Version**
Go heavy on the desserts. Add some chocolate squares, peanut butter cups, or even crumbled pieces of fall pumpkin spice snickerdoodle cookies. Skip the savory meats and focus on fruits, cheeses, and sweets. It’s basically a dessert board.
**Gluten-Free Friendly**
Swap crackers for rice cakes or gluten-free crackers. Check your pretzels (some have wheat). Everything else is naturally gluten-free. I’ve made this for my gluten-free friend and she loved it.
**Dairy-Free Option**
Use dairy-free cheese slices or a cashew cheese wheel. Swap honey for maple syrup. It’s a bit trickier to find good dairy-free cheeses, but it’s doable. I use Miyoko’s or Violife when I’m feeling fancy.
**Different Proteins:**
– **Bacon** (crispy, crumbled on top) — Adds smokiness.
– **Prosciutto** (thinly sliced) — More elegant than salami.
– **Hard-Boiled Eggs** (quartered) — Adds protein and makes it more of a meal.
– **Olives** (mixed) — Adds briny flavor.
Serving & Storage
How to serve this board depends on the occasion, but here’s how I usually do it.
**How to Serve:**
“I usually serve this straight from the board at the coffee table. It’s casual and fun. But here are other ways I’ve enjoyed it:”
**Side Dishes:**
– **Soup** — Pair it with a bowl of creamy roasted tomato basil soup for a cozy lunch.
– **Salad** — Add a side of mediterranean chickpea salad to make it a full meal.
– **Roasted Veggies** — Toss it with brown butter honey roasted carrots for a warm element.
**Toppings Bar:**
When I have guests, I put out extra honey, nuts, and crackers on the side. Everyone customizes their plate.
**Storage Instructions:**
**Refrigerator:**
Store any leftovers in an airtight container for up to 3 days. The cheese and meats will last, but the fruit might get soggy. I usually eat the fruit first.
**Reheating:**
No reheating needed. This is a cold plate. Eat it cold or at room temperature.
**Freezing:**
Do not freeze this board. The cheese will separate, the fruit will turn mushy, and the crackers will get stale. Make it fresh or store in the fridge for a day or two.
**Pro tip:** If you’re prepping ahead, slice the apples an hour before and store them in a bowl of water with a splash of lemon juice. Drain and pat dry before arranging.
Nutrition Information
I’m not a nutritionist, but here’s the breakdown if you’re tracking. Note that this is a rough estimate based on a standard board with equal parts cheese, meat, fruit, and crackers.
**Per Serving (based on 6 servings):**
– Calories: 350
– Protein: 12g
– Carbs: 35g
– Fiber: 3g
– Sugar: 15g
– Fat: 18g
– Saturated Fat: 7g
– Cholesterol: 30mg
– Sodium: 500mg
– Calcium: 200mg
**What’s Good:**
– Decent protein from cheese and meat
– Fiber from fruits and nuts
– Can add vegetables to boost nutrition
– More filling than it looks because of the protein and fat
**What to Know:**
– Higher in calories from cheese and nuts
– Contains dairy and gluten
– Moderate sodium (use low-sodium meats to reduce)
– High sugar from fruit and honey
**My Take:**
“Look, this is a snack board, not a diet meal. It’s calorie-dense because it’s meant to be grazed. But it’s way better than chips, costs less, and I know exactly what’s in it. When I want to make it lighter, I double the fruit and veggies and reduce the cheese. But usually? I just enjoy a reasonable portion and love the flavors.”
Final Thoughts
So that’s my go-to fall harvest charcuterie board! I’ve probably talked your ear off at this point, but when you make a recipe this often, you have a lot to say about it.
This board has saved weeknight dinners more times than I can count. It’s my answer to “what’s for dinner” when I’m tired, don’t want takeout, and still want something that tastes really good. My kids are happy, my husband’s happy, and I’m happy because I’m not stressed about cooking.
Make it yours! Try different add-ins, swap in your favorite fruits, adjust the nuts. The best boards are the ones you adapt to your family’s tastes. If you have leftover slow cooker chicken tortilla soup from the weekend, serve it warm alongside this board for a complete meal.
If you make this, drop a comment and let me know what you think! I love hearing how recipes turn out in your kitchen. And if something doesn’t work, tell me that too—I’m here to help troubleshoot.
Happy snacking! And I hope your kitchen smells half as good as mine does right now.
Frequently Asked Questions
**Q: Can I make this board ahead of time?**
**A:** You can prep the ingredients a few hours ahead, but don’t arrange it until you’re ready to serve. The fruit will brown, and the crackers will get soggy if they sit too long. I usually prep everything in bowls and assemble 15 minutes before guests arrive.
**Q: What cheeses work best for a fall board?**
**A:** Sharp cheddar, gouda, brie, and goat cheese are all great. I like a mix of hard and soft cheeses. Avoid mild, bland cheeses as they don’t stand out.
**Q: Can I use meat other than turkey or salami?**
**A:** Absolutely. Ham, prosciutto, pepperoni, or even leftover roasted chicken work well. Just slice or cube them to fit the board.
**Q: How do I keep the apples from browning?**
**A:** Toss them in a little lemon juice or apple cider vinegar before arranging. Or, just slice them right before serving. It’s the easiest way.
**Q: Can I make this board vegetarian?**
**A:** Yes! Just skip the meats and add more cheese, nuts, and fruits. You can also add hummus or a bean dip for protein.
**Q: How long does the board last?**
**A:** The cheese and meats last 3-4 days in the fridge. The fruit lasts 1-2 days. The crackers last indefinitely. I usually eat the fruit and crackers first.
**Q: Can I freeze the cheese for this board?**
**A:** No, freezing changes the texture of cheese. It becomes crumbly and loses its creaminess. Always use fresh cheese for charcuterie boards.
Pin This Recipe!

Fall Harvest Charcuterie Board: Easy 15-Min Weeknight Snack
- Total Time: 15 minutes
- Yield: 6 servings 1x
Description
A quick, no-cook charcuterie board featuring sharp cheddar, turkey, crisp apples, and toasted nuts, designed for busy weeknights and ready in just 15 minutes.
Ingredients
- 8 oz sharp cheddar cheese
- 8 oz cream cheese or Brie
- 6 oz turkey slices
- 6 oz salami or pepperoni
- 2 medium apples (Honeycrisp or Fuji), sliced
- 1 cup grapes
- 1/2 cup dried cranberries or apricots
- 12 oz crackers (mix of water crackers and seeded/whole grain)
- 1/2 cup walnuts or pecans, toasted
- 1/2 cup pretzels (rods or twists)
- 1/2 cup honey
Instructions
- Slice apples and cube cheddar. Place nuts and dried fruit into small bowls.
- Place large pieces of cheese on the board first, fanning out cheddar cubes or placing Brie wheel as anchors.
- Fold meat slices loosely and tuck them between the cheeses to add height and texture.
- Scatter apple slices, grape clusters, dried cranberries, and nuts into empty spaces to avoid gaps.
- Stand crackers up against the cheese or lean them against each other to create verticality.
- Drizzle honey lightly over the cheese and apples in a zig-zag pattern.
- Serve immediately at room temperature.
Notes
Let cheese sit at room temperature for 15-20 minutes before serving for better flavor. Toss apple slices in lemon juice if prepping ahead to prevent browning. Do not freeze this board as texture will be compromised.
- Prep Time: 15 minutes
- Cook Time: 0 minutes
- Category: Appetizer
- Cuisine: American
Nutrition
- Serving Size: 1 serving (approx. 1
- Calories: 350
- Sugar: 15
- Sodium: 500
- Fat: 18
- Saturated Fat: 7
- Carbohydrates: 35
- Fiber: 3
- Protein: 12
Keywords: charcuterie board, fall snack, weeknight dinner, no cook, easy appetizer, autumn recipes, party food


