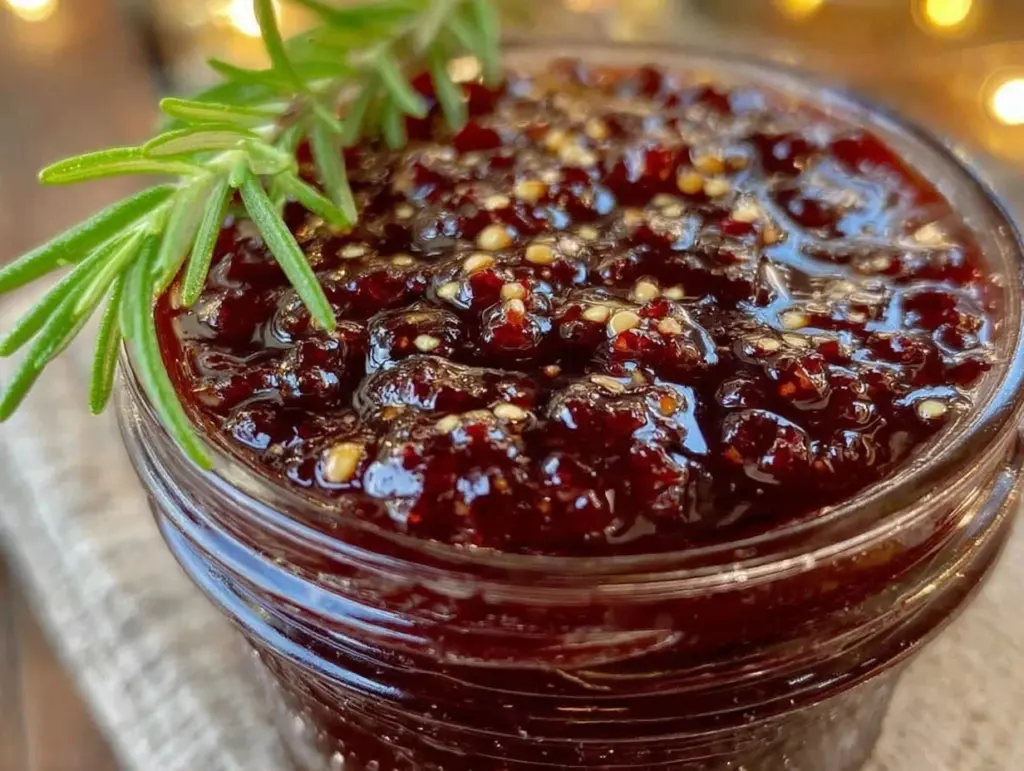
Last November, I woke up at 3 AM with a throat that felt like I’d swallowed a handful of gravel. It wasn’t just a tickle—it was the full-on, “oh no, I’m getting sick” sensation. I was exhausted, my kids were already down, and the thought of standing in the kitchen to make anything felt impossible. I didn’t want takeout, and I definitely didn’t want to rely on those sugary, flavorless gummies from the pharmacy.
I stumbled into the kitchen, grabbed a jar, and threw together what I thought would be a quick remedy. I didn’t have a fancy recipe. I just had elderberries, cinnamon sticks, ginger, and honey. I simmered it on low heat, the house filling with this incredible, spiced aroma that actually made me feel better just by breathing it in. By morning, my throat wasn’t cured, but it was manageable. And that little jar of dark purple syrup became my secret weapon for the rest of winter.
That was three years ago. Now, homemade elderberry immune syrup for cold season is non-negotiable in our house. I make a batch every October, just before the first snowflake falls. It’s become my go-to preventive measure, and honestly, it’s saved us from some serious flu season disasters. My kids love it because it tastes like tart berry jam, and I love it because it’s real food, not medicine.
I’ve tested this elderberry syrup recipe dozens of times. I’ve tried using different sweeteners, different spices, and even a slow cooker (spoiler: the stovetop version is faster and more concentrated). This method is the winner. It’s simple, it’s potent, and it comes together in under an hour. If you’re looking for a natural way to support your immune system, this is the easiest place to start. Plus, it makes a fantastic gift for friends who are always fighting off colds.
Why You’ll Love This Elderberry Syrup
There are about a million reasons to make this syrup, but let’s be real—you’re probably here because you want something that actually works without being a pain in the neck. Here’s why this elderberry immune syrup for cold season has earned a permanent spot in my pantry:
Tastes Like Dessert — Seriously. Despite all the health benefits, it tastes like tart blackberry jam mixed with cinnamon tea. My kids ask for it before bed like it’s a treat. I don’t correct them.
Super Simple — You don’t need any special equipment. A pot, a spoon, and a jar. That’s it. No blenders, no juicers, no fancy strainers that are impossible to clean. Just simmer and strain.
Cost-Effective — Dried elderberries are cheap. Honey is cheap. Spices you probably already have. This batch costs less than $10 to make and lasts for weeks. Compare that to buying immune-boosting supplements at the store.
Customizable — Hate ginger? Skip it. Love clove? Add extra. This recipe is flexible. I tweak it every year based on what spices I have on hand.
Long Shelf Life — Because of the honey and the boiling process, this syrup lasts for months in the fridge. I make one batch in the fall and another in late winter. It’s that reliable.
I keep a bottle of this elderberry immune syrup for cold season next to the stove. When someone starts sniffing around, or when the weather turns, I spoon a little into warm water or tea. It’s comforting, it’s helpful, and it’s something I can control.
Ingredients You’ll Need
Here’s the best part: most of these ingredients are pantry staples or easy to find at any grocery store. I’m particular about the quality of the elderberries, but the rest is pretty flexible.
Dried Elderberries (1 cup / 110g) — This is the star. Make sure you buy dried, raw elderberries. Do not use fresh ones unless you’ve cooked them thoroughly, as raw fresh elderberries can be toxic. I buy mine in bulk online because it’s cheaper, but local co-ops usually carry them too.
Water (4 cups / 960ml) — Just regular tap water is fine. I use filtered if I’m being fancy, but it doesn’t really matter for this recipe.
Raw Honey (1 cup / 340g) — This acts as both a sweetener and a natural preservative. Use whatever honey you like, but raw honey has extra enzymes. If you’re making this for kids under one year old, skip the honey and use maple syrup instead.
Fresh Ginger (1 inch piece) — Grated or sliced. Ginger is anti-inflammatory and adds a nice kick. I usually just peel a chunk with a spoon and slice it thin.
Cinnamon Sticks (2 sticks) — Adds warmth and helps with circulation. Ceylon cinnamon is better if you can find it, but the regular kind works fine.
Whole Cloves (6-8 cloves) — Don’t overdo this. Cloves are strong. Six is plenty. They add that deep, spiced flavor.
Black Peppercorns (1 teaspoon) — This is the secret ingredient. Black pepper helps your body absorb the nutrients in the elderberries. Trust me, don’t skip it.
Lemon Juice (2 tablespoons) — Added after cooking. It brightens the flavor and adds a bit of vitamin C. Fresh squeezed is best, but bottled works in a pinch.
Optional: Star Anise (1 pod) — If you like licorice notes, throw this in. It makes the syrup smell like holiday baking.
Quick Substitution Note: If you can’t find elderberries, some people use hibiscus flowers, but the immune benefits are different. For this specific immune-boosting recipe, stick with elderberries.
Equipment Needed
You don’t need fancy gadgets for this. Here’s what I actually use:
Medium Saucepan — I use a 3-quart pot. It needs to hold 4 cups of water plus the berries without boiling over. A heavy-bottomed pot is nice because it heats evenly, but any pot works.
Mesh Strainer — A fine-mesh sieve is ideal. It catches all the tiny berry bits. If you don’t have one, a colander lined with cheesecloth works too, but it’s messier.
Wooden Spoon — For stirring. Metal can scratch non-stick, so wood is safer.
Measuring Cups and Spoons — Standard stuff.
Glass Jar — A mason jar or any glass container with a lid for storage. Glass is best because honey can interact with some plastics over time. I use an old pasta sauce jar after washing it well.
Knife and Peeler — For prepping the ginger.
Optional: Garlic Press — I use this to grate the ginger quickly. It saves time and gets all the fibers out.
How to Make It: Step-by-Step
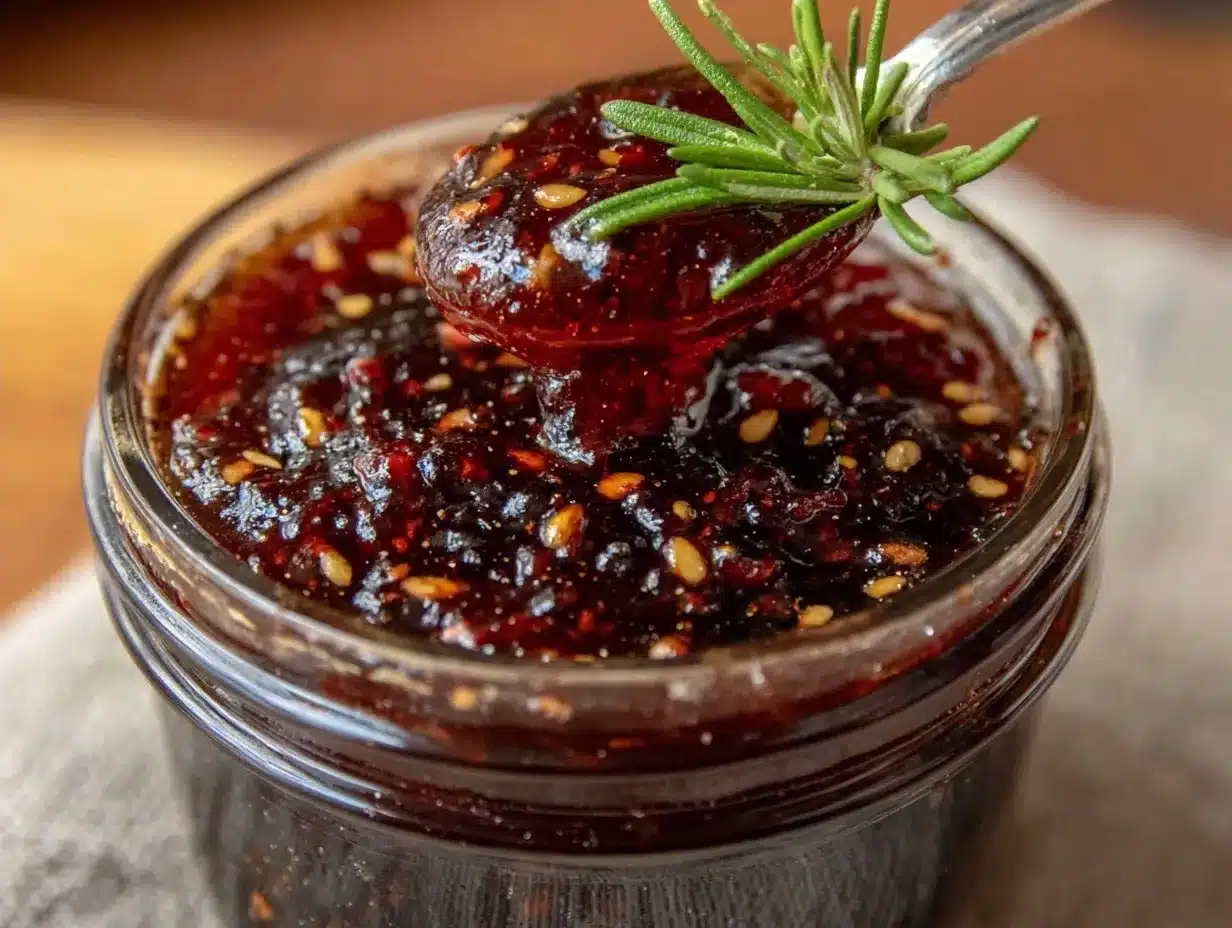
Alright, let’s make this elderberry immune syrup for cold season. It’s incredibly straightforward, but there are a few tricks to get the consistency right.
Step 1: Combine the Base
Grab your saucepan and add the dried elderberries, water, cinnamon sticks, cloves, peppercorns, and ginger. Stir it all together. You want the berries fully submerged in the water. If they’re floating, just give them a push down with your spoon.
Step 2: Bring to a Boil
Place the pot on the stove over medium-high heat. Bring the mixture to a boil. You’ll see the water turn a deep, dark purple as the berries release their color. This takes about 10-15 minutes. Keep an eye on it so it doesn’t boil over.
Step 3: Simmer
Once it boils, reduce the heat to low. Cover the pot with a lid, but leave it slightly ajar to let steam escape. Let it simmer for 45 minutes to 1 hour. The liquid should reduce by about half. You’ll know it’s done when the liquid is dark and syrupy, and the berries have split open. Stir occasionally to prevent sticking.
Step 4: Strain
Remove the pot from the heat. Let it cool for about 10 minutes. This makes it safer to handle. Set your mesh strainer over a large bowl or measuring cup. Pour the mixture through the strainer. Press down on the berries with the back of a spoon to squeeze out all the juice. Discard the solids. If you used cheesecloth, you can twist it tight to get every drop.
Step 5: Add Honey and Lemon
This is the crucial step. Wait until the liquid is warm, not hot. If it’s boiling hot, you’ll kill the beneficial enzymes in the raw honey. Once it’s warm to the touch (about 100-110°F), stir in the honey and lemon juice. Whisk until the honey is completely dissolved. The syrup should be thick and glossy.
Step 6: Bottle It
Pour the finished syrup into your clean glass jar. Seal it tightly. Let it cool completely to room temperature before putting it in the fridge. This prevents condensation, which can spoil the syrup faster.
Total Time: About 1 hour 15 minutes (mostly hands-off simmering).
Expert Tips & Tricks
Here’s everything I’ve learned from making this syrup every winter. These tips will save you from common mistakes.
Don’t Skip the Peppercorns — I know it sounds weird, but the piperine in black pepper increases the absorption of antioxidants in the elderberries by up to 20%. It’s a small detail that makes a big difference.
Strain Twice if Needed — Elderberries have tiny seeds. If you hate getting bits in your syrup, strain it through a coffee filter or double-layered cheesecloth. It takes longer, but the texture is smoother.
Test the Consistency — The syrup will thicken more as it cools. If it’s too thin after adding honey, you can simmer it for another 10 minutes without the lid. But be careful not to boil it again after adding honey.
Use a Funnel — Pouring thick honey-syrup into small jars is messy. Use a kitchen funnel to keep your counter clean. I learned this the hard way with a sticky disaster.
Label and Date — Write the date on the jar. You’ll forget when you made it, and you want to know when it’s time to make a new batch.
Common Mistake: Adding Honey Too Early — Never add honey while the liquid is hot. High heat destroys the natural enzymes and probiotics in raw honey. Wait until it’s warm.
Common Mistake: Not Reducing Enough — If you don’t simmer long enough, the syrup will be watery and less potent. Aim for a 50% reduction. It’s worth the wait.
Variations & Substitutions
Once you’ve mastered the basic version, here’s how you can mix it up. I’ve tried all of these, and they’re all good.
Ginger-Heavy Version — Double the ginger. If you love spice, add a whole inch of fresh ginger. It’s great for nausea too.
Turmeric Boost — Add 1 teaspoon of turmeric powder during the simmering stage. It adds anti-inflammatory properties and turns the syrup golden-orange. It tastes earthy, not sweet, so it’s a different flavor profile.
Elderflower Twist — Add 2 tablespoons of dried elderflower in the last 10 minutes of simmering. It adds a floral, perfumed note. It’s more delicate and expensive, but beautiful.
Maple Syrup Sweetener — For a vegan version, substitute honey with pure maple syrup. Add it after cooling, just like honey. It’s slightly thinner, so the shelf life might be a few days shorter.
Cherry Flavor — Swap half the elderberries for dried cherries. It adds sweetness and a different fruit note. Great if your kids find elderberries too tart.
Alcohol Version — Some people make an elderberry tincture by adding vodka or brandy after straining. This preserves it longer but isn’t suitable for kids. I stick to the honey version for family use.
Serving & Storage
How do you actually use this stuff? It’s versatile.
How to Serve: Take 1-2 tablespoons daily for prevention. If you feel a cold coming on, increase to 1 tablespoon every 2-3 hours. Mix it into warm water, herbal tea, or even yogurt. My kids like it stirred into warm apple cider.
Storage: Store in the refrigerator in an airtight glass jar. It will last for up to 3 months. Because it has honey, it might crystallize over time. That’s normal. Just warm the jar in a bowl of hot water to liquefy it again.
Freezing: You can freeze this syrup! Pour it into ice cube trays, freeze, then transfer the cubes to a freezer bag. Thaw a cube when you need a single dose. This is great if you make a huge batch.
Shelf Life Note: If you notice any mold, fizzing, or off smells, throw it out. Although the honey preserves it, natural ingredients can spoil. When in doubt, toss it out.
Gift Idea: This makes a wonderful gift. Put it in a pretty mason jar with a ribbon and a tag that says “Stay Healthy.” I’ve given this to teachers, neighbors, and coworkers.
Nutrition Information
I’m not a nutritionist, but here’s the general breakdown. Keep in mind that this is a concentrated syrup, so serving sizes are small.
Per Tablespoon Serving:
- Calories: 45
- Carbs: 12g
- Sugar: 10g (mostly from honey)
- Protein: 0g
- Fat: 0g
What’s Good: Elderberries are packed with antioxidants, specifically anthocyanins, which help fight oxidative stress. The ginger and cinnamon add anti-inflammatory benefits. Honey has natural antimicrobial properties.
What to Know: It’s high in sugar due to the honey. If you’re watching sugar intake, use less honey or swap for maple syrup. It’s not a diet food, but it’s nutrient-dense.
Dietary Notes: Vegan? Use maple syrup. Gluten-free? Yes, naturally. Dairy-free? Yes. Nut-free? Yes.
Final Thoughts
So that’s my go-to homemade elderberry immune syrup for cold season. I know it sounds like a lot of work for a little jar of syrup, but once you make it, you’ll realize how easy it is. It’s one of those recipes that feels like a hug in a jar.
This syrup has been a game-changer for our family. We still get sick sometimes, but we bounce back faster, and the symptoms are milder. It’s peace of mind in a bottle.
Make it yours! Add more ginger if you like heat, or less cinnamon if you prefer mild. The best recipes are the ones you adapt to your taste. I hope this becomes a staple in your kitchen too.
If you make this, let me know how it turns out! I love hearing from readers who try new remedies. And if you have questions about the process, drop them in the comments. I’m here to help.
Happy simmering! I hope your kitchen smells like spiced berries and that you stay healthy all season long.
Frequently Asked Questions
Can I use fresh elderberries instead of dried?
I strongly recommend against using raw fresh elderberries. They contain cyanogenic glycosides, which can be toxic if not cooked properly. If you forage your own, you must cook them thoroughly for at least 30 minutes. But for ease and safety, dried elderberries are the way to go. They’re concentrated and easy to store.
How long does elderberry syrup last?
In the refrigerator, it lasts for about 3 months. If you freeze it in ice cube trays, it can last up to 6 months. Always check for signs of spoilage like mold or fermentation smells before using.
Can I give this to my kids?
Yes, but not for infants under 1 year old due to the honey. For toddlers and older kids, start with 1 teaspoon daily for prevention. It tastes like jam, so most kids love it.
Does this cure the flu?
No supplement can “cure” the flu. However, studies suggest that elderberry can reduce the duration and severity of cold and flu symptoms if taken at the first sign of illness. Think of it as support, not a miracle cure.
Can I make this in a slow cooker?
You can, but it takes much longer. Add all ingredients (except honey and lemon) to the slow cooker and cook on low for 6-8 hours. Strain, then add honey and lemon. The stovetop method is faster and gives a more concentrated flavor, but the slow cooker is great if you want to set it and forget it.
Why is my syrup watery?
You probably didn’t simmer it long enough. The liquid needs to reduce by half to get that syrupy consistency. If it’s too thin, simmer it uncovered for another 10-15 minutes after straining but before adding honey.
Can I use this in baking?
Absolutely! I sometimes swap honey in cookies or muffins with this syrup for an immune boost. It adds a nice berry flavor too.
Pin This Recipe!
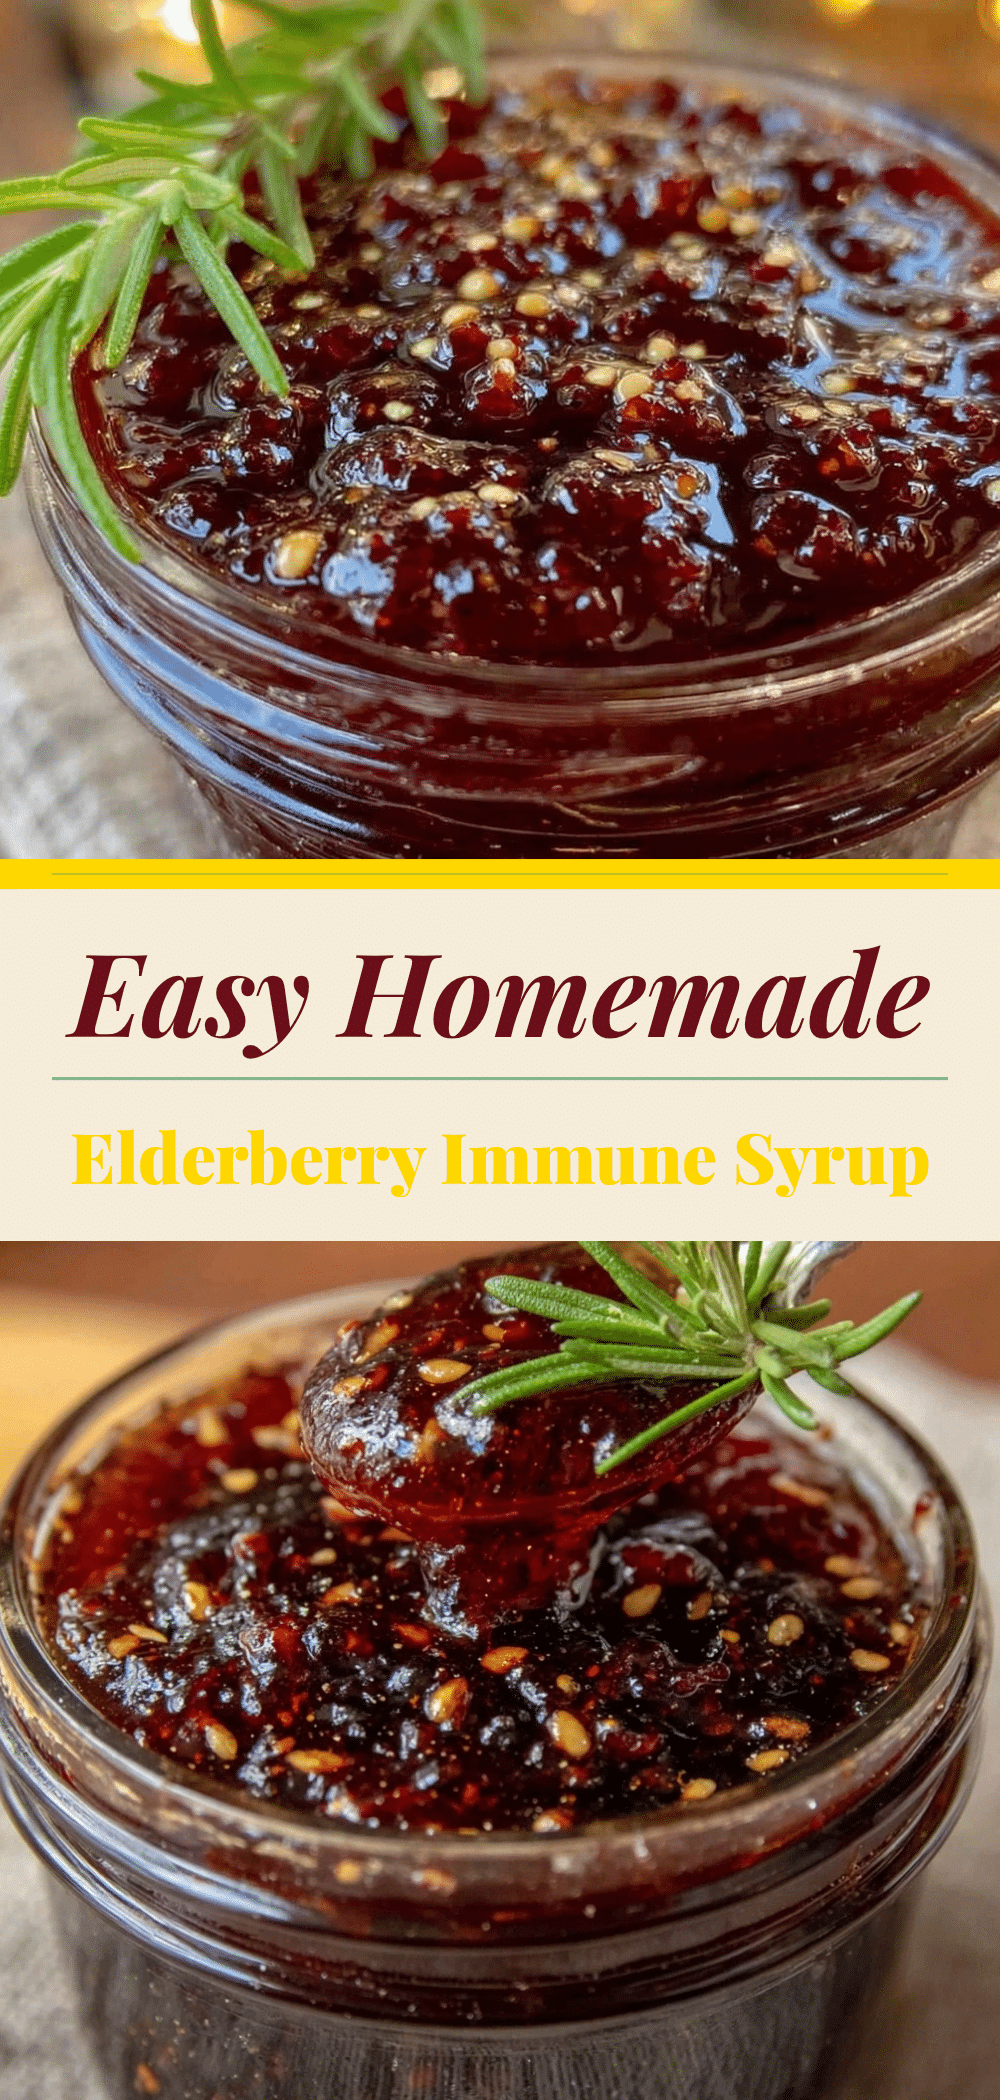
Elderberry Syrup: Easy 5pm Fix
- Total Time: 1 hour 15 minutes
- Yield: Makes approx. 2 cups
Description
A homemade elderberry immune syrup for cold season that is simple to make, tastes like tart berry jam, and supports the immune system naturally.
Ingredients
- 1 cup dried elderberries (110g)
- 4 cups water (960ml)
- 1 cup raw honey (340g)
- 1 inch piece fresh ginger (grated or sliced)
- 2 cinnamon sticks
- 6–8 whole cloves
- 1 teaspoon black peppercorns
- 2 tablespoons lemon juice
- 1 star anise pod (optional)
Instructions
- Combine dried elderberries, water, cinnamon sticks, cloves, peppercorns, and ginger in a medium saucepan. Ensure berries are submerged.
- Place pot on stove over medium-high heat and bring mixture to a boil. This takes about 10-15 minutes.
- Reduce heat to low, cover pot with lid slightly ajar, and simmer for 45 minutes to 1 hour until liquid reduces by half and becomes syrupy.
- Remove from heat and let cool for 10 minutes. Strain mixture through a fine-mesh sieve into a bowl, pressing berries to extract juice. Discard solids.
- Wait until liquid is warm (not hot, approx 100-110°F) to preserve honey enzymes. Stir in honey and lemon juice until dissolved.
- Pour finished syrup into a clean glass jar, seal tightly, and let cool completely to room temperature before refrigerating.
Notes
Do not use raw fresh elderberries as they can be toxic; always use dried. Do not add honey while the liquid is hot to preserve enzymes. For infants under 1 year, substitute honey with maple syrup. Store in refrigerator for up to 3 months or freeze in ice cube trays for longer storage.
- Prep Time: 15 minutes
- Cook Time: 1 hour
- Category: Condiments
- Cuisine: American
Nutrition
- Serving Size: 1 tablespoon
- Calories: 45
- Sugar: 10
- Carbohydrates: 12
Keywords: elderberry syrup, immune system support, cold remedy, natural flu prevention, homemade syrup, winter wellness, ginger cinnamon syrup


