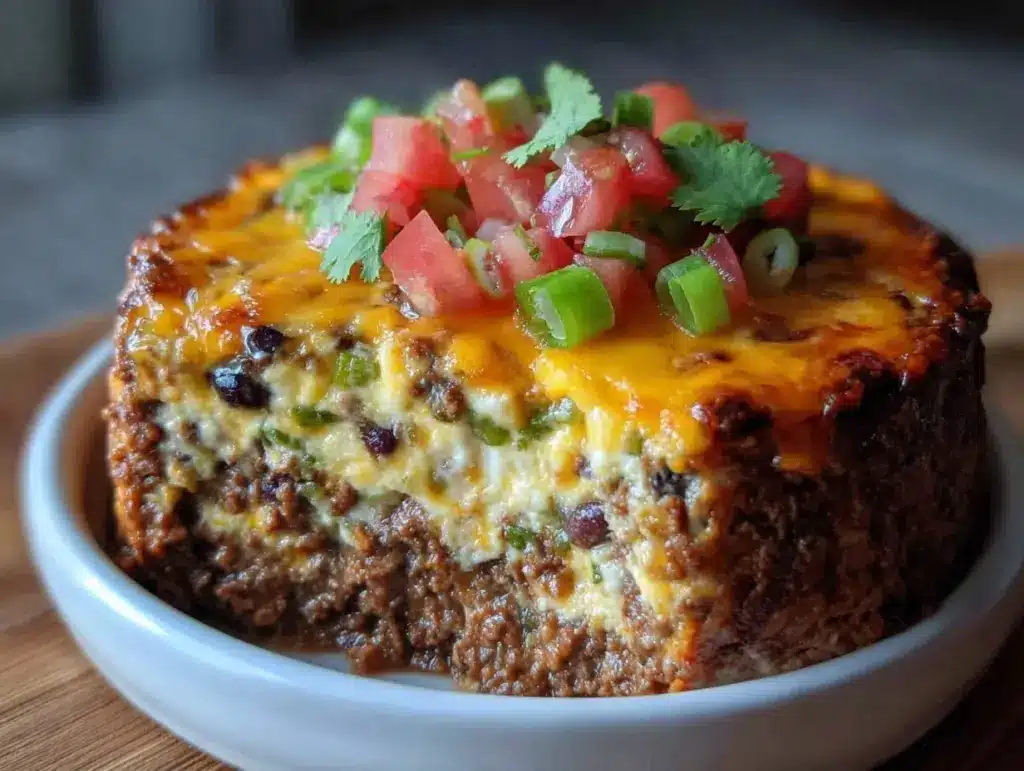
Last Sunday, with kickoff in four hours and my living room looking like a tornado hit a grocery store, I panicked. I had zero appetizers planned. The fridge was mostly empty except for a lonely package of ground beef, a jar of salsa, and some cheese that had been sitting there since Thanksgiving. My husband looked at me, gave that “we’re ordering pizza” look, and I knew I couldn’t let him win. Not today.
So I did what I do best: I threw everything into a baking dish and prayed. Ten minutes later, I had a bubbling, cheesy, beefy masterpiece that smelled better than any restaurant appetizer. By the time the game started, the plate was empty. Not a single chip left. Not even a crumb. That was the birth of this football tailgate layered taco dip with ground beef. It’s become my secret weapon for every game day, party, or that desperate 5pm “what’s for dinner?” moment when you need comfort food fast.
I’ve made this dip at least fifteen times since that Sunday. I’ve tweaked it, I’ve tested it, and I’ve fed it to picky eaters, football fanatics, and people who claim they “don’t like dips.” Everyone loves it. It’s spicy, it’s creamy, it’s loaded with flavor, and honestly? It’s way better than store-bought stuff. Plus, it’s stupid simple. You don’t need fancy skills, just a skillet and a baking dish. If you can boil water and open a jar of salsa, you can make this. And trust me, once you do, your whole family will crave it.
Why You’ll Love This Layered Taco Dip
There are a dozen reasons I keep coming back to this recipe, but here are the big ones that make it a total game-changer for your kitchen (and your social life).
Lightning Fast Setup — Seriously, if you can chop an onion and brown some meat, you can make this. The active time is about 15 minutes. The rest is just baking. I make this on weeknights when I get home at 5pm and need dinner to just work. It feels fancy, but it’s basically a one-pan meal in disguise.
Crowd-Pleaser Status — I’ve served this to my vegetarian sister (she skips the beef), my gluten-free neighbor, and my dad who thinks veggies are a waste of time. Everyone leaves happy. It hits that perfect balance of spicy, savory, and cheesy that people can’t resist. It’s the kind of food that disappears before you can blink.
Pantry-Friendly — You probably have 80% of these ingredients already. Ground beef, salsa, beans, cheese, sour cream. These are staples. I keep a jar of good salsa in the pantry just so I can throw this together on a whim. No special trips to the store needed.
Leftover Goldmine — Actually tastes better the next day. The flavors meld together overnight, making it even richer. I deliberately make extra for lunch throughout the week. It’s fantastic cold or reheated, served with tortilla chips or even as a topping for a baked potato.
Budget-Smart — Feeds 6-8 people for under $15. That’s less than one meal at a sports bar. When you’re feeding a crowd for the game, this saves your wallet and your sanity. It’s the ultimate bang-for-your-buck recipe.
This is my go-to when I need dinner to just work. No complicated techniques, no weird ingredients, just reliable, delicious food that makes everyone happy. And it pairs perfectly with a cold drink or a side of creamy chicken and wild rice soup if you’re really hungry.
Ingredients You’ll Need
Here’s the best part: you probably have most of this already. This isn’t a recipe that requires a trip to three different stores. It’s simple, accessible, and uses ingredients that play nicely together.
For the Meat Layer
Ground beef (1 pound / 450g) — I use 80/20 for maximum flavor. Lean beef is too dry for this. You want that rich, beefy taste. Brown it well—don’t rush this step.
Yellow onion (1 medium, diced / about 200g) — Sweet onions work too, but yellow gives better depth. White onions are too sharp for this dip. Finely diced so it blends in.
Taco seasoning (1 packet / 28g) — I use a standard store-bought packet like Old El Paso. It’s consistent and flavorful. You can make your own, but this is the 5pm shortcut we’re all here for.
Water (¼ cup / 60ml) — Just enough to help the seasoning stick to the meat. Don’t add too much or it gets soupy.
For the Bean & Cheese Layers
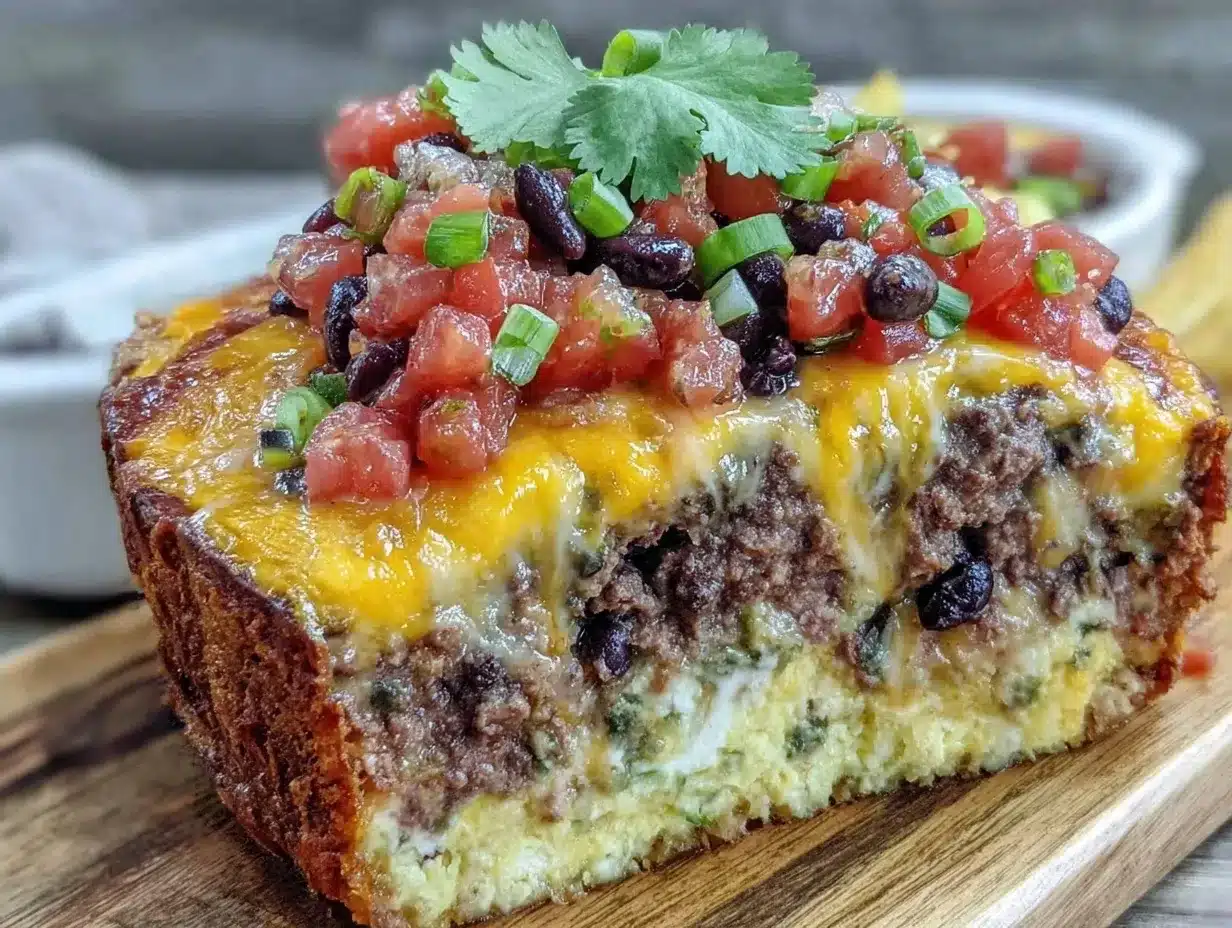
Black beans (1 can / 15oz, drained and rinsed) — Adds protein and texture. Rinsing is crucial—it removes that metallic can taste and stops the dip from being too wet.
Shredded Mexican blend cheese (2 cups / 200g) — I use a pre-shredded blend of cheddar, Monterey Jack, and Queso Blanco for convenience. But if you have time, grate your own block cheese. It melts smoother. Pro tip: buy the block, not the bag.
Cheddar cheese (1 cup / 100g, shredded) — Extra sharp cheddar adds that tangy kick. I always add a bit of extra sharp cheddar on top for that golden-brown crust.
For the Toppings
Salsa (1 cup / 240g) — Use a medium or hot salsa depending on your spice tolerance. I like a chunky salsa for texture. Pico de gallo works too, but it’s wetter.
Sour cream (½ cup / 120g) — Full-fat only. Low-fat splits and looks weird. This adds the creamy contrast to the spicy meat.
Green onions (4-5 stalks, sliced) — For garnish. Adds a fresh, oniony bite that cuts through the richness. Don’t skip this—it makes it look professional.
Jalapeños (optional, sliced) — For extra heat. Fresh or pickled, your call. I add pickled jalapeños for a tangy crunch.
Tortilla chips (for serving) — Thick, sturdy chips are best. Thin ones break. I recommend tortilla chips from the snack aisle, not the fancy grocery store ones. They hold up better to the dip.
Equipment Needed
You don’t need fancy equipment for this. Here’s what I actually use.
Large skillet — 12-inch works best for browning the beef. I prefer cast iron because it gets hot fast and browns the meat evenly. Stainless steel works too, but non-stick might not give that nice crust.
Baking dish — 9×13 inch. Standard Pyrex or ceramic. It needs to be oven-safe and big enough to hold all the layers without overflowing.
Colander — For draining the beans. Or just use the lid to drain—I do this when I’m lazy, but be careful, beans fly everywhere.
Wooden spoon — For stirring the beef. Silicone works too. Don’t use metal on non-stick if you’re using one.
Measuring cups and spoons — Pretty standard stuff. Dollar store versions work fine.
Sharp knife and cutting board — For the onions and green onions. Dull knives make you cry more—learned this the hard way.
How to Make It: Step-by-Step
Alright, let’s make this! I’m walking you through exactly how I do it, including the little tricks I’ve picked up.
Step 1: Prep Your Ingredients (5 minutes)
Before you start cooking, dice your onion and slice your green onions. Drain and rinse your black beans. Grate your cheese if you’re doing it from scratch. I know it seems fussy, but it makes the actual cooking way less stressful. Once you start browning the beef, things move fast.
Step 2: Brown the Beef (8-10 minutes)
Heat your large skillet over medium-high heat. Add the ground beef and diced onion. Break up the meat with your wooden spoon as it cooks. Cook for 5-7 minutes until the beef is no longer pink and the onions are soft. You want some browning on the meat—it adds flavor. Drain any excess grease if there’s too much, but leave a little for richness.
Step 3: Season the Meat (2 minutes)
Add the taco seasoning and ¼ cup of water to the skillet. Stir well to combine. Let it simmer for 1-2 minutes until the liquid thickens and coats the beef. The sauce should be sticky, not watery. This is crucial—too much liquid will make your dip soggy. Remove from heat.
Step 4: Layer the Dip (5 minutes)
Preheat your oven to 350°F (175°C). In your 9×13 baking dish, start with half the ground beef mixture. Spread it evenly. Next, add the drained black beans. Spread them in a layer. Then, sprinkle half of the shredded cheese over the beans. Add the remaining beef on top. This creates a nice sandwich effect.
Step 5: Bake It (15 minutes)
Place the dish in the oven and bake for 15 minutes. You’re looking for the cheese to be melted and the edges to start bubbling. The smell will fill your house—get ready for compliments.
Step 6: Add the Toppings (2 minutes)
Remove the dish from the oven. Carefully spoon the salsa over the top. Spread it evenly, but don’t press it down too hard—you want it to sit on top. Then, dollop the sour cream in spoonfuls across the surface. Sprinkle the remaining cheese over the sour cream and salsa.
Step 7: Broil for the Finish (2-3 minutes)
Switch your oven to broil. Watch it closely! Broil for 2-3 minutes until the cheese is golden brown and bubbly. Do not walk away. I burned my first batch because I went to answer the door. Learn from my mistake. You want that crispy, cheesy top.
Step 8: Garnish and Serve
Let it cool for 5 minutes (it’s hot, I know). Sprinkle the sliced green onions and jalapeños on top. Serve immediately with sturdy tortilla chips. The dip will be thick and creamy, not runny. Perfect for scooping.
Total Time: About 30 minutes (15 minutes active, 15 minutes baking). It’s faster than ordering takeout, and it tastes way better.
Expert Tips & Tricks
Here’s everything I’ve learned from making this dozens of times. These tips will save you from my mistakes.
Drain the Beans Thoroughly
This is the #1 tip. Wet beans = watery dip. I rinse them, then spread them on a paper towel for a minute to absorb extra moisture. It takes 30 seconds but makes a huge difference in texture.
Don’t Skip the Broil
Baking alone makes it cheesy. Broiling makes it *great*. That caramelized, browned cheese on top is what people remember. If your oven doesn’t broil well, just bake a few minutes longer at 400°F.
Room Temperature Sour Cream
Cold sour cream can separate when it hits the hot dip. I take mine out of the fridge 15 minutes before cooking. If I forget, I microwave it for 10 seconds. It blends smoother.
Spice Level Control
If you’re feeding kids or people who can’t handle heat, use mild salsa and skip the jalapeños. Add a pinch of sugar to the meat if the salsa is too acidic. Balance is key.
Make-Ahead Strategy
You can assemble the dip up to the broiling step the night before. Cover and refrigerate. When you’re ready, just broil it. It saves so much stress on game day. I do this all the time.
Variations & Substitutions
Once you’ve nailed the basic version, here’s how you can mix it up. I’ve tried all of these.
Chicken Version
Swap ground beef for cooked, shredded chicken. Season with taco seasoning just like the beef. It’s lighter but still delicious. My wife prefers this version on weekdays.
Turkey Taco Dip
Ground turkey works well too. Just add a little extra olive oil to the pan since turkey is leaner. It’s a bit healthier, though I won’t lie, it’s not as rich.
Vegetarian Power
Skip the meat. Use a mix of black beans and corn. Sauté some bell peppers and onions for bulk. It’s hearty and flavorful. I serve this to my vegetarian sister, and she loves it.
Spicy Jalapeño Bomb
Add diced jalapeños to the meat layer. Use hot salsa. Top with extra pickled jalapeños. This is for the heat-seekers. My brother-in-law requests this version.
Bean Swap
Pinto beans or kidney beans work just as well as black beans. I’ve used both. Pinto beans are creamier, kidney beans are heartier. Both are good.
Dairy-Free Option
Use dairy-free cheese and coconut cream instead of sour cream. It’s different, but it works. My lactose-intolerant friend makes this with almond cheese, and it’s surprisingly tasty.
Serving & Storage
How to Serve:
I usually serve this straight from the baking dish at the dinner table or party. It looks rustic and stays warm. But here are other ways I’ve enjoyed it:
Side Dishes:
– Simple green salad with lime vinaigrette
– Corn on the cob with chili lime butter
– Rice and beans (if you want a full meal)
– Cheesy ground beef taco pasta if you want to turn it into a main dish
Toppings Bar:
When I have guests, I put out: extra sour cream, hot sauce, chopped cilantro, diced tomatoes, and crushed tortilla chips. Everyone customizes their bowl.
Storage Instructions:
Refrigerator:
Store in an airtight container for up to 3 days. The flavors get even better after a day. Reheat in the microwave or oven until warm.
Reheating:
Best method: Oven at 350°F for 15 minutes. It keeps the texture right. Microwave works but can make the sour cream weird. If you microwave, do it in 30-second bursts and stir.
Freezing:
Honestly, this doesn’t freeze well because of the dairy. The sour cream and cheese separate when thawed. Make it fresh or store in the fridge. I wish I could freeze it, but I can’t.
Nutrition Information
I’m not a nutritionist, but here’s the breakdown if you’re tracking. Keep in mind, this is rich, cheesy comfort food, so portions matter.
Per Serving (based on 8 servings, with chips):
- Calories: 380
- Protein: 18g
- Carbs: 22g
- Fiber: 4g
- Sugar: 3g
- Fat: 24g
- Saturated Fat: 12g
- Cholesterol: 50mg
- Sodium: 650mg
What’s Good: High protein from beef and beans. Calcium from cheese. Fiber from beans and chips.
What to Know: Higher in calories and fat from cheese and beef. Use lean beef and low-fat cheese to lighten it up. The sodium is moderate, mostly from the seasoning and salsa.
My Take: Look, this is a treat. It’s not a salad. But it’s way better than processed snacks, and it’s made from real ingredients. When I want to make it lighter, I use turkey and less cheese. But usually? I just eat a reasonable portion and enjoy it.
Final Thoughts
So that’s my go-to football tailgate layered taco dip with ground beef! I’ve probably talked your ear off at this point, but when you make a recipe this often, you have a lot to say about it.
This has saved weeknight dinners more times than I can count. It’s my answer to “what’s for dinner” when I’m tired, don’t want takeout, and still want something that tastes really good. My kids are happy, my husband’s happy, and I’m happy because I’m not stressed about cooking.
Make it yours! Try different add-ins, swap in your favorite vegetables, adjust the spice. The best recipes are the ones you adapt to your family’s tastes. And if you need a drink to go with it, check out my frozen strawberry margarita—it’s a perfect pairing.
If you make this, drop a comment and let me know what you think! I love hearing how recipes turn out in your kitchen. And if something doesn’t work, tell me that too—I’m here to help troubleshoot. Happy cooking! And I hope your kitchen smells half as good as mine does right now.
Frequently Asked Questions
Can I use ground turkey instead of beef?
Absolutely. Ground turkey is leaner, so add a tablespoon of olive oil to the pan to keep it moist. Season it the same way. It’s a bit lighter but still delicious. I use it on weeknights when I want something a little healthier.
Can I make this ahead of time?
Yes! Assemble everything up to the broiling step. Cover and refrigerate for up to 24 hours. When you’re ready, just pop it in the oven. Add 5-10 minutes to the baking time if it’s cold from the fridge. This is my favorite game day hack.
Why is my dip watery?
Usually, it’s because the beans weren’t drained well, or the salsa was too wet. Make sure you rinse and dry the beans. Use a thicker salsa, or drain the salsa in a sieve for a few minutes. Also, don’t add too much water to the meat seasoning.
Can I freeze this dip?
I don’t recommend it. The sour cream and cheese will separate and become grainy when thawed. It’s best made fresh. If you have leftovers, store them in the fridge for up to 3 days and reheat gently.
What kind of chips work best?
Thick, sturdy tortilla chips are best. Thin chips break and make a mess. I like restaurant-style chips or thick-cut blue corn chips. They hold up to the heavy dip without snapping.
Is this dip spicy?
It depends on your salsa and seasoning. I use medium salsa and a standard taco packet, so it’s mildly spicy. If you want it hotter, use hot salsa and add jalapeños. For kids, use mild salsa and skip the jalapeños.
Can I use canned refried beans?
You can, but it changes the texture. Layered refried beans make it very dense and heavy. Drained whole beans are better for layering because they create distinct layers. If you use refried beans, spread them thin.
Pin This Recipe!
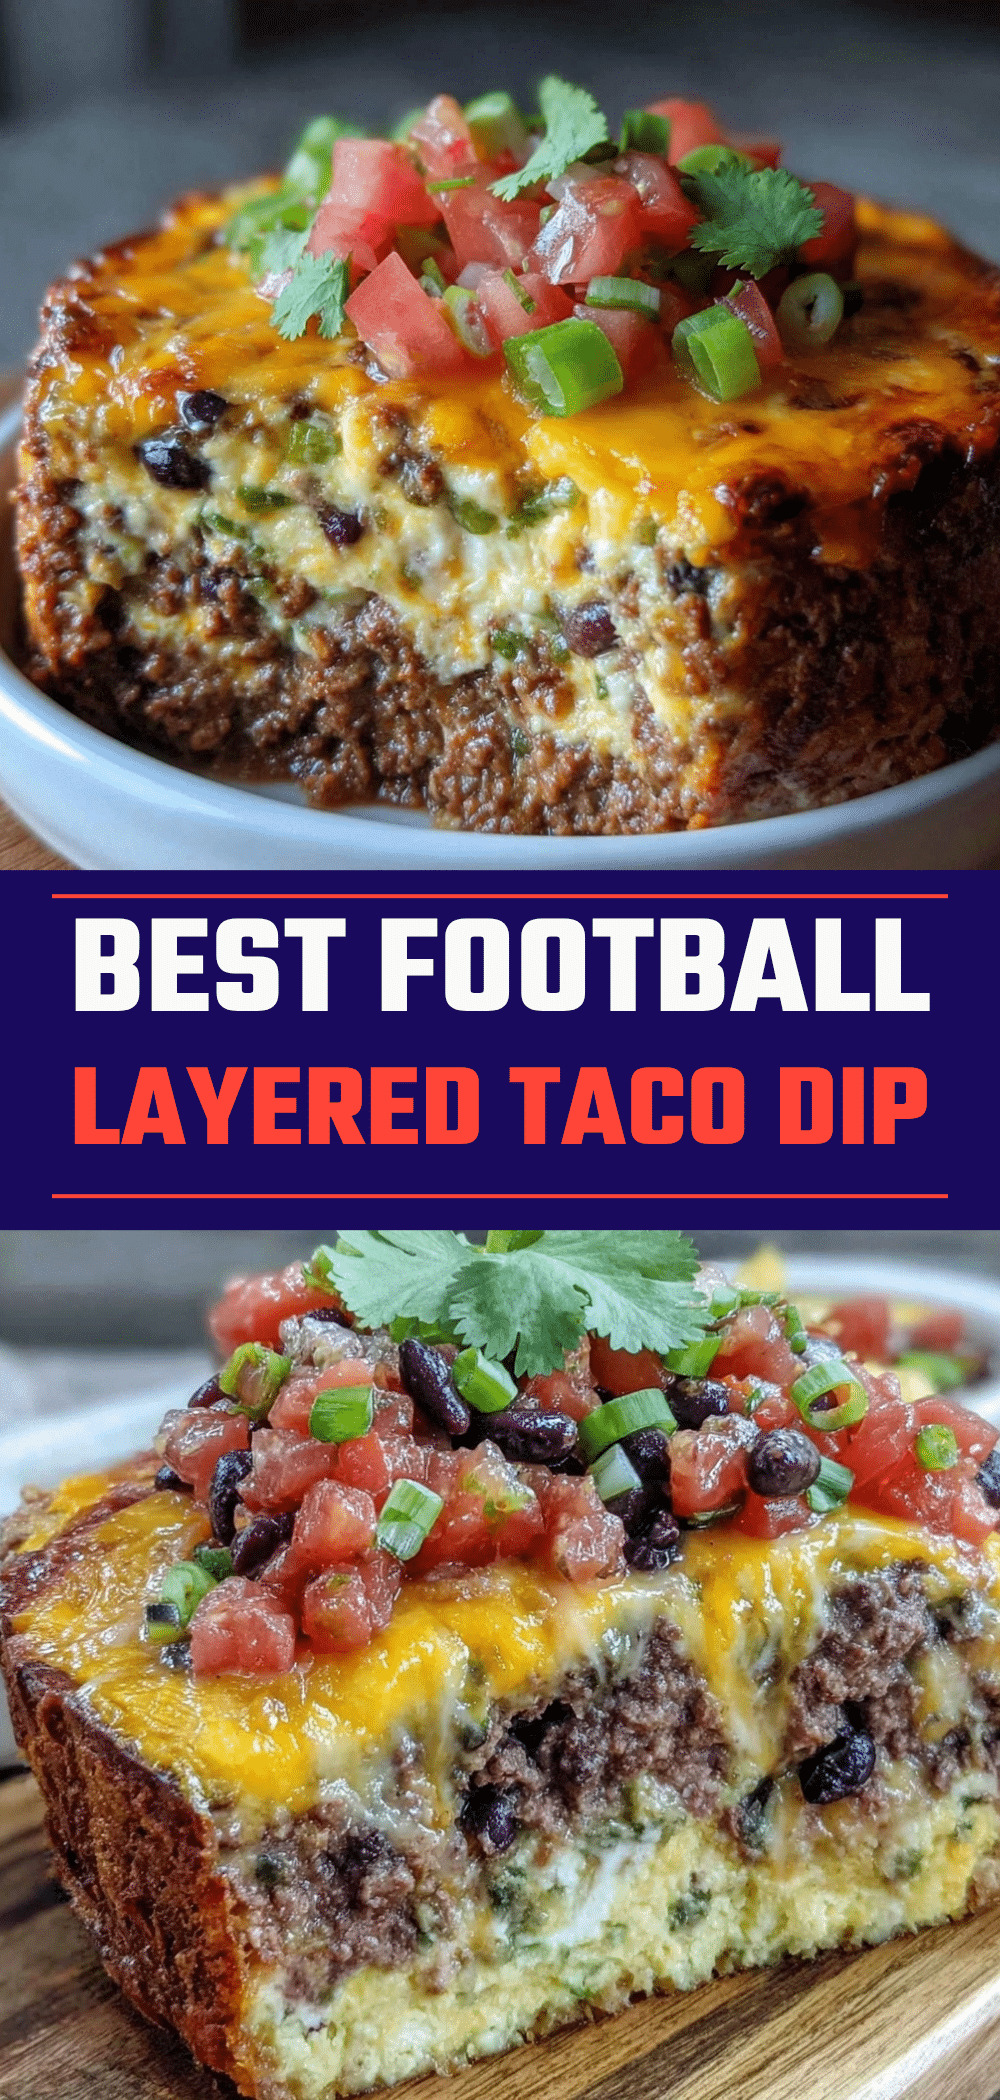
Football Tailgate Layered Taco Dip: Easy 5pm Win
- Total Time: 30 minutes
- Yield: 8 servings 1x
Description
A quick, crowd-pleasing layered taco dip made with ground beef, black beans, and melted cheese. Perfect for game days, parties, or busy weeknights when you need a delicious meal in under 30 minutes.
Ingredients
- 1 pound ground beef (80/20 recommended)
- 1 medium yellow onion, diced
- 1 packet taco seasoning (28g)
- 1/4 cup water
- 1 can (15oz) black beans, drained and rinsed
- 2 cups shredded Mexican blend cheese
- 1 cup shredded extra sharp cheddar cheese
- 1 cup salsa (medium or hot)
- 1/2 cup full-fat sour cream
- 4–5 stalks green onions, sliced
- Jalapeños, sliced (optional)
- Tortilla chips, for serving
Instructions
- Preheat oven to 350°F (175°C). Dice the onion and slice the green onions. Drain and rinse the black beans thoroughly.
- Heat a large skillet over medium-high heat. Add ground beef and diced onion. Break up the meat and cook for 5-7 minutes until beef is browned and onions are soft. Drain excess grease if necessary.
- Add taco seasoning and 1/4 cup water to the skillet. Stir to combine and simmer for 1-2 minutes until the liquid thickens. Remove from heat.
- In a 9×13 inch baking dish, spread half of the beef mixture. Layer the drained black beans on top, followed by half of the Mexican blend cheese. Add the remaining beef mixture.
- Bake for 15 minutes until cheese is melted and edges are bubbling.
- Remove from oven. Spoon salsa evenly over the top. Dollop sour cream across the surface. Sprinkle remaining cheese over the salsa and sour cream.
- Switch oven to broil. Broil for 2-3 minutes until cheese is golden brown and bubbly. Watch closely to prevent burning.
- Let cool for 5 minutes. Garnish with sliced green onions and jalapeños. Serve immediately with sturdy tortilla chips.
Notes
[‘Drain beans thoroughly to avoid a watery dip; pat them dry with a paper towel if needed.’, ‘Use room temperature sour cream to prevent separation when added to the hot dip.’, ‘Do not skip the broiling step for a crispy, golden cheese topping.’, ‘Can be assembled up to the broiling step the night before and refrigerated.’, ‘Does not freeze well due to dairy separation; store leftovers in the fridge for up to 3 days.’]
- Prep Time: 15 minutes
- Cook Time: 15 minutes
- Category: Appetizer
- Cuisine: American
Nutrition
- Serving Size: 1 serving with chips
- Calories: 380
- Sugar: 3
- Sodium: 650
- Fat: 24
- Saturated Fat: 12
- Carbohydrates: 22
- Fiber: 4
- Protein: 18
Keywords: taco dip, football tailgate, layered dip, ground beef recipe, easy appetizer, game day food, 5pm dinner, comfort food, cheesy dip


