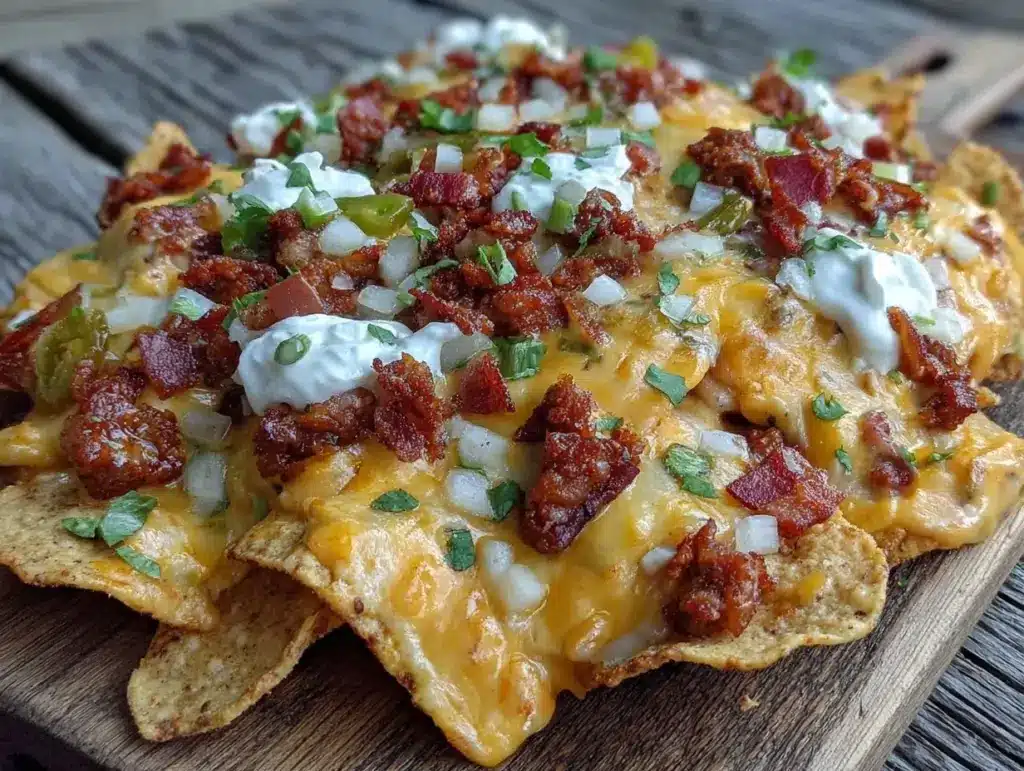
Last Saturday, I was standing in my kitchen at 2 PM on a Saturday, staring at a pantry that felt completely empty, when my phone buzzed. It was my brother-in-law, asking if I had room for his family of four at the tailgate. My heart sank. I had no idea what I was bringing. I didn’t want to buy those sad, store-bought chips that break into dust, and I definitely didn’t have time to cook a full roast or bake something elaborate. I needed something that looked impressive, fed a crowd, and required zero stress until the final minutes before we left.
That’s when I remembered my old college friend Sarah’s secret weapon: the “Nacho Bar.” It’s not just a plate of nachos. It’s a strategic layout of ingredients that lets everyone build their own masterpiece while I stand there looking like a genius who planned everything months in advance. I’ve been perfecting this Football Tailgate Loaded Nacho Bar for five years now, and it has become the undisputed MVP of our game day spread. It’s the answer to “5pm and nothing planned” on a Saturday, scaled up for thirty hungry people.
Here’s the thing about game day snacks: they need to be forgiving. You can’t be hovering over the stove when the big game is about to start. This nacho bar is mostly assembly. You prep the toppings, arrange the chips, and throw the cheesy stuff in the oven right before you leave. By the time you arrive at the parking lot, you’ve got hot, gooey, customizable nachos that beat any concession stand food. And if you’re looking for other easy crowd-pleasers, this method works just as well for a cheesy ground beef taco pasta night, but with way less cleanup.
Why This Nacho Bar Wins Game Day
I’ve tried bringing dips, trays of wings, and even a slow cooker of chili to tailgates. They’re good, but they’re messy. They require spoons, they get cold fast, and half the crowd just stands around looking confused. This loaded nacho bar is different. It’s interactive, it’s hot, and it’s endlessly customizable.
Zero Stress Cooking — Seriously, you’re not cooking a main course. You’re assembling. The only heat involved is the oven melting the cheese. I can prep everything while watching the pre-game show, then throw it in the oven ten minutes before we pull into the lot.
Feeds an Army — I can stretch this to feed 15-20 people easily without breaking the bank. Chips are cheap. Cheese is affordable. And you can load it with veggies to bulk it up without spending a fortune on beef.
The “Something for Everyone” Factor — My nephew is picky. My cousin is spicy-food obsessed. My aunt is vegetarian. With a bar setup, they all get exactly what they want without me having to make three separate dishes. It’s basically a buffet that I don’t have to watch all day.
Stays Hot Longer — Unlike dips that cool down in the cold parking lot air, these nachos are served hot. The cheese stays gooey, the chips stay crisp (mostly), and everyone is happy. Plus, it’s easy to grab a handful and walk around, which is crucial for tailgating.
This is my go-to when I need dinner to just work for a group. No complicated techniques, no weird ingredients, just reliable, delicious food that makes everyone happy.
Ingredients You’ll Need for the Loaded Bar
Here’s the best part: you probably have most of this already, or it’s a quick trip to the store. I’m particular about three ingredients here, and I’ll tell you exactly why.
The Foundation
Restaurant-Style Tortilla Chips (2 large bags / about 1.5 lbs) — Do not use the thin, flimsy chips from the dollar store. You need thick, sturdy, restaurant-style chips. They need to hold up to the weight of the toppings. I always use Kettle Brand or the store brand labeled “thick cut.” If they break, the whole bar collapses.
White Cheddar Cheese (16 oz block, shredded) — This is non-negotiable. Pre-shredded cheese has anti-caking agents that prevent it from melting smoothly. Buy a block and shred it yourself. White cheddar melts better than yellow and has a sharper flavor that cuts through the richness. Trust me on this.
Shredded Mexican Blend Cheese (16 oz bag) — I mix this with the cheddar for that classic gooey stretch. If you’re in a rush, just use a big bag of shredded Mexican blend, but know that the flavor profile will be milder.
The Proteins
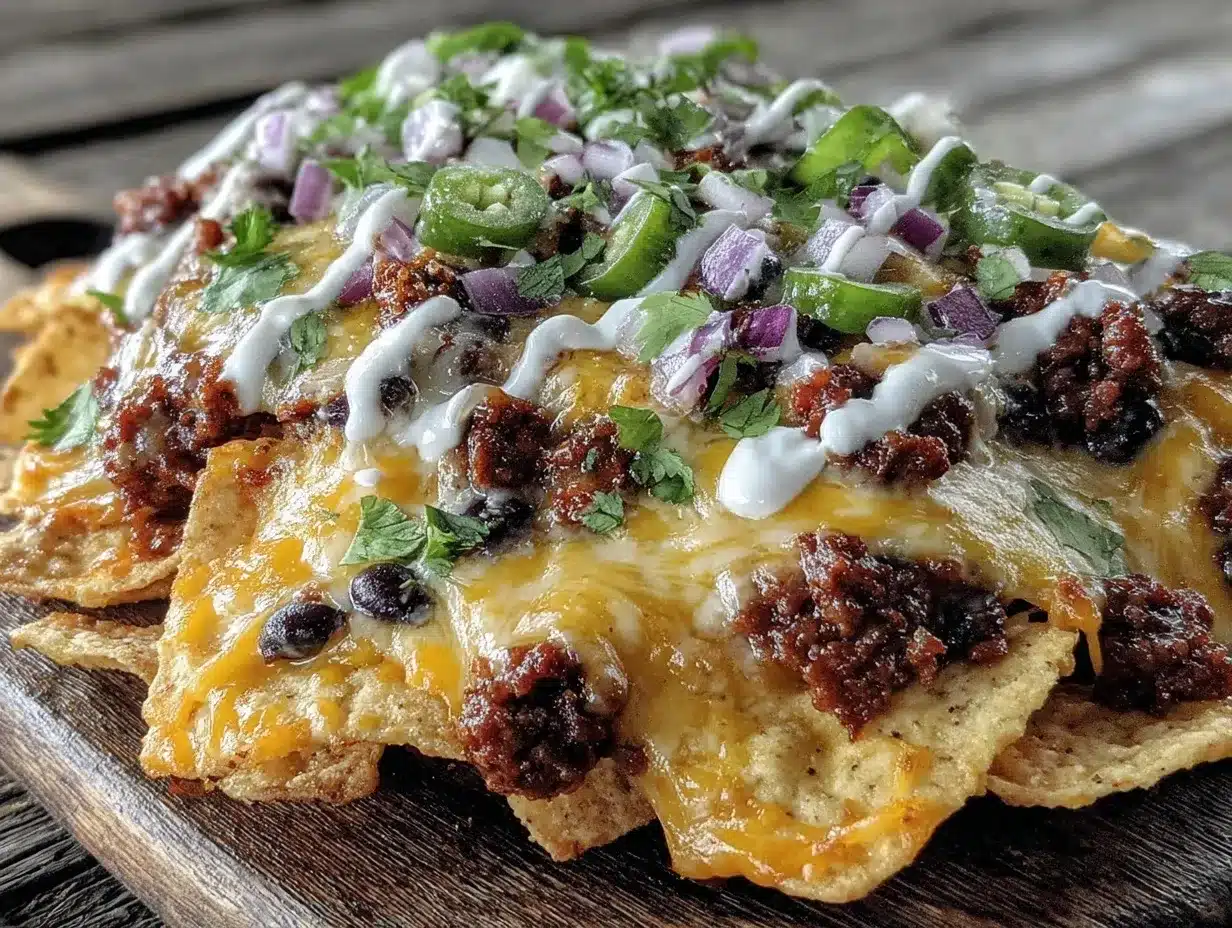
Ground Beef (1 lb) — I use 80/20 for flavor. Brown it with taco seasoning. If you want to save time, use leftover slow cooker meat from a previous meal, but ground beef is traditional. Keep it warm in a small slow cooker or just in the pot until serving.
Black Beans (2 cans, drained and rinsed) — These add texture and make the bar more filling. Rinse them well so they aren’t slimy. I like to toss them in a little cumin and lime juice before adding them to the bar.
Chicken Breast (1 lb, optional) — For the non-beef eaters, I grill or bake some chicken, shred it, and toss it in a little buffalo sauce. It’s a nice variation.
The Fresh Toppings (The “Loaded” Part)
Jalapeños (1 jar, sliced) — I use the pickled ones. Fresh jalapeños can be too raw and bitter for nachos. The pickled ones add that perfect tang and heat.
Black Olives (1 cup, sliced) — Classic nacho topping. Sliced, not whole. Nobody wants to dig for a whole olive.
Tomatoes (2 medium, diced) — I use Roma tomatoes because they’re less watery. Dice them small so they distribute evenly.
Green Onions (1 bunch, sliced) — Adds a fresh crunch and color. I save half for garnish after baking.
Avocados (3 ripe) — Cut into cubes. Do not mash them into guacamole for this bar. Cubes are easier to distribute and don’t turn brown as fast if you add a little lime juice.
Sour Cream (1 cup) — I mix this with a little lime juice and cilantro to make a quick crema. It cuts the heat of the cheese and beef.
Hot Sauce (Your favorite) — Tabasco or Cholula. Keep it in small squeeze bottles for easy dispensing.
Pantry Staples
Taco Seasoning (1 packet or homemade) — I use a homemade mix: chili powder, cumin, paprika, garlic powder, onion powder, salt, and pepper. It’s way better than the packet.
Cilantro (1 bunch, chopped) — Fresh cilantro is the secret weapon. It brightens up the heavy, cheesy dish.
Equipment Needed
You don’t need fancy equipment for this. Here’s what I actually use.
Large Baking Sheets (2 or 3) — This is crucial. Do not try to make this in one big pan. Use multiple large baking sheets. The chips need space to breathe, and you need to get them into the oven in batches if you’re feeding a crowd. I use half-sheet pans (18×13 inches).
Large Skillet — For browning the ground beef. Cast iron is great, but any heavy skillet works.
Sharp Knife and Cutting Board — For chopping tomatoes, onions, and avocados. A dull knife will mash the avocado. Learn this the hard way.
Small Bowls — For holding the toppings while you assemble. I use about 6-8 small bowls for the different ingredients.
Spatula — For spreading the toppings evenly. Silicone works best.
Slow Cooker or Chafing Dish — Optional but nice. Keeps the beef and beans warm at the tailgate. If you don’t have one, just keep the pot covered with foil.
How to Make It: Step-by-Step
Alright, let’s make this! I’m walking you through exactly how I do it, including the little tricks I’ve picked up.
Step 1: Prep the Proteins (15 minutes)
Before you touch the chips, get your meats ready. Brown the ground beef in your skillet over medium-high heat. Break it up with a spoon as it cooks. Once it’s no longer pink, drain the excess grease. This is important—greasy nachos are sad nachos. Stir in your taco seasoning and a splash of water. Let it simmer for 2 minutes to thicken. Keep it warm in a small pot or slow cooker.
If you’re adding chicken, season it with salt, pepper, and a little cumin. Grill or bake it until cooked through, then shred it with two forks. Toss it with a little hot sauce if you want a buffalo twist.
Step 2: Chop Everything (10 minutes)
This is the assembly prep. Dice the tomatoes. Slice the jalapeños. Slice the olives. Chop the green onions. Cube the avocados and toss them with a little lime juice to prevent browning. Grate your cheese if you haven’t already. Measure out your beans. Having everything in small bowls makes the actual assembly line super fast.
Step 3: Build the Base (5 minutes)
Preheat your oven to 375°F (190°C). Take your large baking sheets and lay down a single layer of tortilla chips. Don’t overlap them too much. You want even coverage. If you have gaps, fill them in with a second layer, but try to keep it mostly one layer so they crisp up nicely.
Step 4: Load It Up (5 minutes)
This is where the magic happens. Sprinkle a generous amount of the cheese blend over the chips. Then, add the ground beef. Don’t just pile it in one spot—spread it out. Add the black beans, jalapeños, and olives. You want every chip to have a chance to get topped.
Pro Tip: If you’re making multiple sheets, alternate the toppings. Sheet 1: Beef. Sheet 2: Chicken. Sheet 3: Vegetarian (beans, peppers, corn). This way, everyone has options.
Step 5: Bake Until Gooey (5-7 minutes)
Slide the sheets into the oven. Bake for 5-7 minutes. You’re not cooking the chips; you’re just melting the cheese and warming the toppings. Watch them closely. You want the cheese bubbling and golden, not browned and burnt. If your oven runs hot, check at 5 minutes.
Step 6: The Fresh Finish (2 minutes)
Take the sheets out of the oven. Immediately sprinkle the diced tomatoes, green onions, and fresh cilantro over the hot cheese. The residual heat will wilt the cilantro slightly and release its aroma. Add the avocado cubes last—they should be added right before serving so they don’t get warm and mushy.
Step 7: Serve
Transfer the sheets to a large table or a cooler (if it’s hot outside) to keep them stable. Serve with sour cream crema and hot sauce on the side. Grab a chip and dig in.
Expert Tips & Tricks
Here’s everything I’ve learned from making this dozens of times. These tips will save you from my mistakes.
Double Layer for Crowd — If you’re feeding more than 10 people, make a double layer of chips. One layer isn’t enough for a hungry crowd. Just double all the toppings too.
Keep the Chips Crisp — The biggest risk with nachos is soggy chips. To avoid this, don’t add the wet toppings (tomatoes, sour cream, salsa) until right before serving. Add the dry toppings (beans, olives, jalapeños) before baking, but save the wet stuff for the end.
Prevent Soggy Bottoms — If your chips are thin, line the baking sheet with parchment paper. It helps with cleanup and prevents sticking. But again, use thick chips!
Temperature Control — If you’re tailgating in the cold, keep the nacho sheets in a low-temp oven (200°F) or a warming tray. If it’s hot, keep them in the cooler (unplugged) to keep the chips crisp.
Make It Ahead — You can prep all the toppings the night before. Store them in airtight containers in the fridge. When game day hits, you just have to assemble and bake. This is huge for stress reduction.
Don’t Skimp on Salt — Tortilla chips are bland without salt. Make sure your seasoning is well-distributed. Taste the beef before adding it to the chips.
Variations & Substitutions
Once you’ve nailed the basic version, here’s how you can mix it up. I’ve tried all of these.
Vegetarian Powerhouse — Skip the beef. Add corn, black beans, roasted sweet potatoes, and extra peppers. Top with a dollop of guacamole instead of sour cream. It’s surprisingly filling.
Buffalo Chicken Nachos — Use shredded chicken tossed in buffalo sauce instead of beef. Add blue cheese crumbles and ranch drizzle. This is my husband’s favorite version.
Breakfast Nachos — Swap the ground beef for breakfast sausage. Add scrambled eggs (cooked slightly under so they finish in the oven) and cheddar cheese. Top with hot sauce. Great for Sunday morning games.
Seafood Nachos — This is riskier, but I’ve done it. Use grilled shrimp or crab meat. Top with a garlic butter sauce and lemon zest. It’s fancy and delicious.
Spicy Lovers — Add diced habanero peppers, use spicy chorizo instead of beef, and top with pepper jack cheese. Warning: this one is hot.
Gluten-Free Option — Use corn tortilla chips instead of flour. Most thick-cut corn chips are naturally gluten-free. Double-check the label to be sure.
Serving & Storage
How to Serve: I usually serve these straight from the baking sheets. It’s rustic and easy. But if you’re at a tailgate, transfer them to a large platter or keep them in the pans if you have a stable table.
Side Dishes: These are so filling, you don’t need much else. But if you want sides, try some creamy chicken and wild rice soup for a warm contrast, or a simple green salad. For drinks, I like to serve a frozen strawberry margarita or a simple lemonade.
Refrigerator: Leftovers can be stored in an airtight container for up to 2 days. The chips will get soft, but they’re still edible.
Reheating: Reheat in the oven at 350°F for 5-10 minutes to crisp them back up. The microwave will make them soggy, so avoid it if you can.
Freezing: Do not freeze nachos. The chips will disintegrate when thawed. Make it fresh.
Nutrition Information
I’m not a nutritionist, but here’s the breakdown if you’re tracking. This is per serving (based on 1/8 of one sheet).
| Nutrient | Amount |
|---|---|
| Calories | 380 |
| Protein | 12g |
| Carbs | 35g |
| Fat | 22g |
| Fiber | 3g |
| Sodium | 650mg |
What’s Good: It’s filling! The protein and fiber keep you full. What to Know: It’s higher in calories and sodium due to the cheese and chips. But it’s party food. Enjoy it in moderation. When I want to make it lighter, I use fewer chips and more veggies and lean turkey.
Final Thoughts
So that’s my Football Tailgate Loaded Nacho Bar! I’ve probably talked your ear off at this point, but when you make a recipe this often, you have a lot to say about it. This has saved tailgates more times than I can count. It’s my answer to “what do I bring?” when I’m tired, don’t want to cook a full meal, and still want something that tastes really good.
Make it yours! Try different add-ins, swap in your favorite vegetables, adjust the spice level. The best recipes are the ones you adapt to your crowd’s tastes. If you make this, drop a comment and let me know what you think! I love hearing how recipes turn out in your kitchen. And if something doesn’t work, tell me that too—I’m here to help troubleshoot.
Happy tailgating! And I hope your kitchen smells half as good as mine does right now.
Frequently Asked Questions
Can I make this ahead of time?
Yes! Prep all the toppings the night before. Store them in the fridge. Assemble the nachos on the day of, but don’t bake them until you’re ready to serve. This saves hours of stress.
Why did my chips get soggy?
Usually, this happens because the toppings were too wet or the chips were too thin. Use thick, sturdy chips. Also, avoid adding salsa or sour cream until right before serving. The steam from hot toppings can soften chips quickly.
Can I use pre-shredded cheese?
You can, but the texture won’t be as smooth. Pre-shredded cheese has cornstarch to prevent clumping, which stops it from melting evenly. For the best results, buy a block and shred it yourself. It takes 5 minutes and makes a huge difference.
How do I keep the nachos warm at a tailgate?
If you have a portable burner, keep the baking sheets on it at low heat. Otherwise, transfer them to a large insulated carrier or cooler (unplugged) to retain heat. Avoid leaving them in direct sunlight.
Can I make this in a slow cooker?
Yes! This is called “slow cooker nachos.” Layer chips and toppings in the slow cooker, but don’t bake them first. Just keep it on low and let the cheese melt slowly. It’s great for long games where you want to keep snacking all day.
What’s the best hot sauce for nachos?
It’s personal preference, but I like Cholula or Tabasco. They add vinegar and heat without overpowering the cheese. For a smoky flavor, try chipotle sauce.
Pin This Recipe!
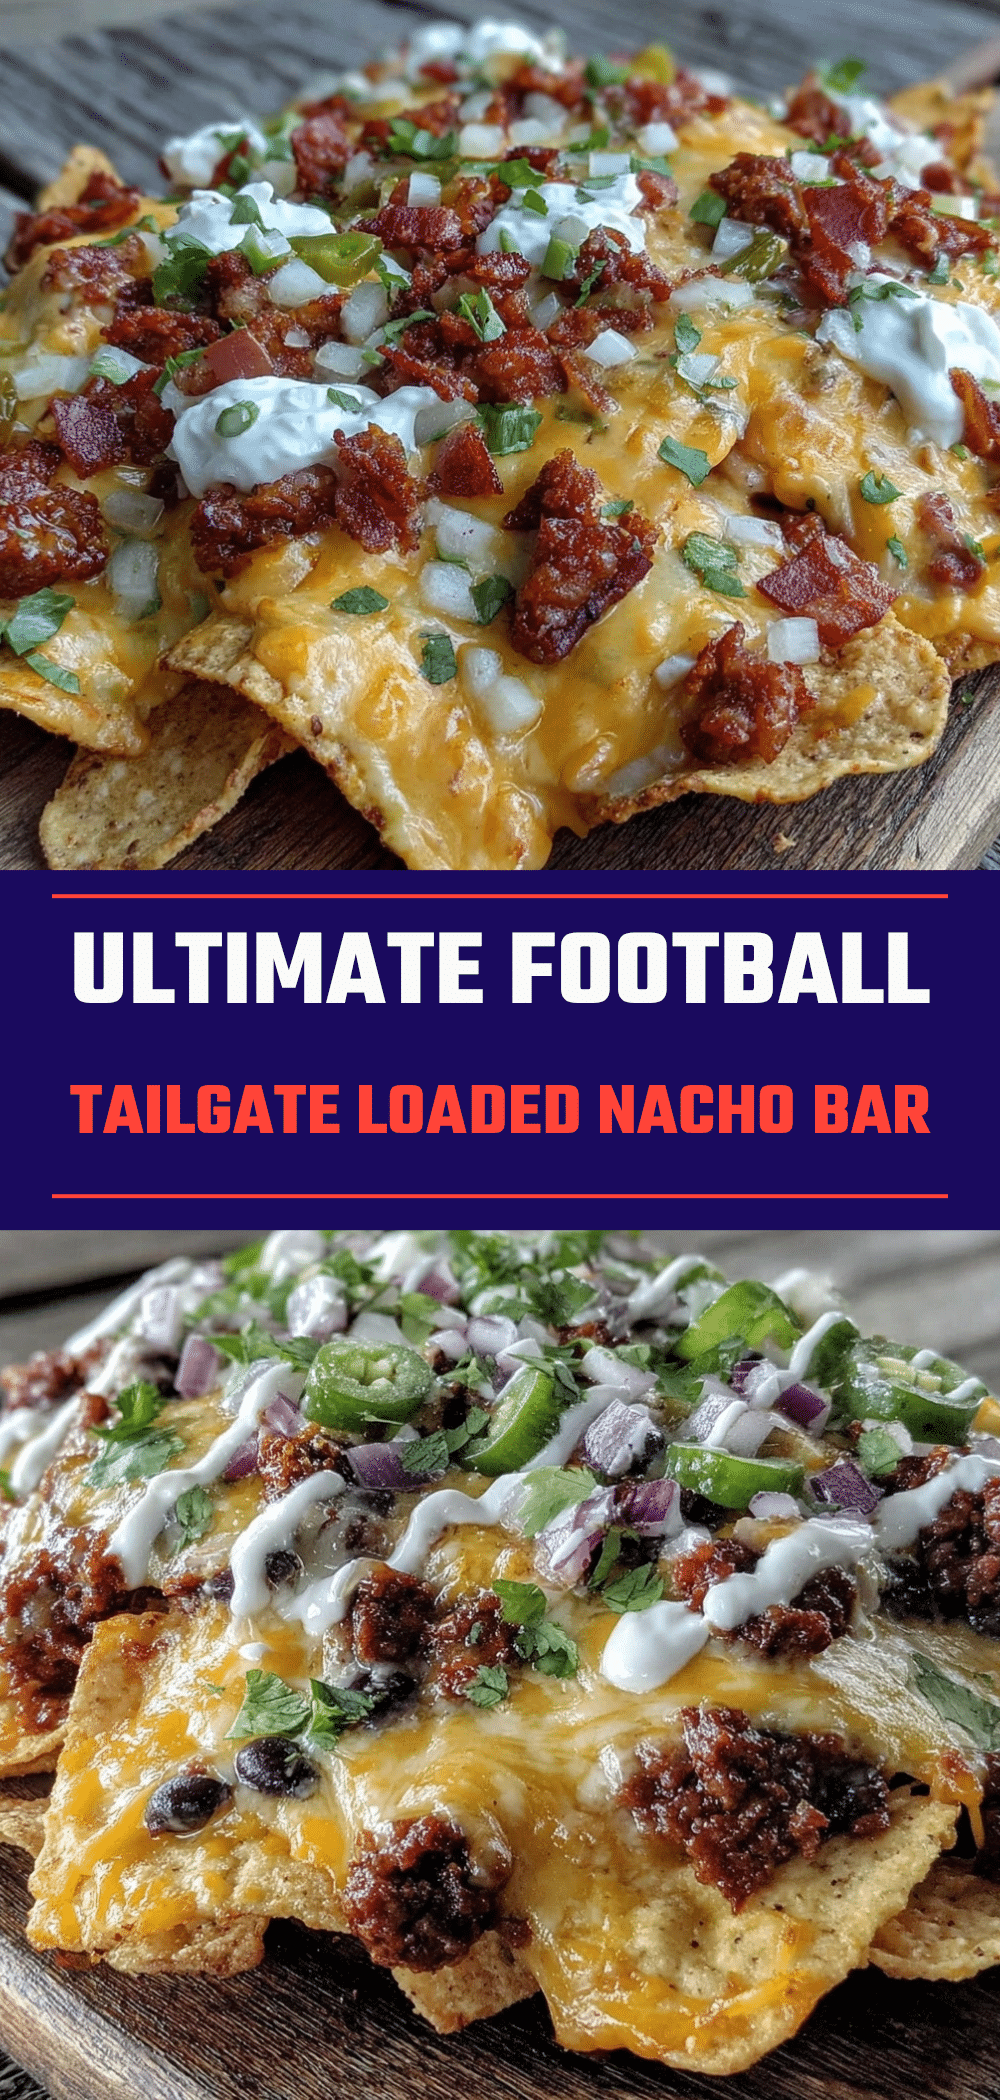
Football Tailgate Loaded Nacho Bar: Best Game Day Snack
- Total Time: 45 minutes
- Yield: 15-20 servings 1x
Description
A stress-free, interactive loaded nacho bar perfect for tailgating and feeding a crowd. This recipe features thick tortilla chips, seasoned ground beef, black beans, and a blend of melted cheeses, topped with fresh vegetables and crema.
Ingredients
- 2 large bags (about 1.5 lbs) thick-cut restaurant-style tortilla chips
- 16 oz block white cheddar cheese, shredded
- 16 oz bag shredded Mexican blend cheese
- 1 lb ground beef (80/20)
- 1 packet taco seasoning (or homemade mix of chili powder, cumin, paprika, garlic powder, onion powder, salt, and pepper)
- 2 cans black beans, drained and rinsed
- 1 lb chicken breast, grilled and shredded (optional)
- 1 jar sliced pickled jalapeños
- 1 cup sliced black olives
- 2 medium Roma tomatoes, diced
- 1 bunch green onions, sliced
- 3 ripe avocados, cubed
- 1 cup sour cream
- 1 bunch fresh cilantro, chopped
- Hot sauce (e.g., Tabasco or Cholula)
- Lime juice
- Cumin
Instructions
- Preheat oven to 375°F (190°C).
- Brown the ground beef in a large skillet over medium-high heat. Drain excess grease, stir in taco seasoning and a splash of water, and simmer for 2 minutes to thicken. Keep warm.
- If using chicken, season with salt, pepper, and cumin, grill or bake until cooked through, shred, and toss with hot sauce.
- Prepare toppings: dice tomatoes, slice jalapeños and olives, chop green onions, cube avocados (toss with lime juice), and shred cheese.
- Place tortilla chips in a single layer on large baking sheets.
- Sprinkle cheese blend over chips, then evenly distribute ground beef, black beans, jalapeños, and olives.
- Bake for 5-7 minutes until cheese is bubbling and golden.
- Remove from oven and immediately top with diced tomatoes, green onions, and fresh cilantro.
- Add avocado cubes and serve with sour cream crema and hot sauce on the side.
Notes
Use thick, sturdy chips to prevent sogginess. Shred cheese from a block for better melting. Add wet toppings like tomatoes and sour cream only after baking to keep chips crisp. Can be made ahead by prepping toppings the night before.
- Prep Time: 30 minutes
- Cook Time: 15 minutes
- Category: Appetizer
- Cuisine: American
Nutrition
- Serving Size: 1/8 of one baking sh
- Calories: 380
- Sodium: 650
- Fat: 22
- Carbohydrates: 35
- Fiber: 3
- Protein: 12
Keywords: tailgate snacks, game day food, loaded nachos, crowd pleaser, easy appetizer, football party, nacho bar, cheesy nachos


