I still remember the first time I made a cheesecake that didn’t end up cracking down the middle like a dried riverbed. It was a Sunday afternoon in 2018, and I had just moved into my first real apartment with an actual oven that didn’t rattle like a diesel truck. I was trying to impress a date who claimed to have “impeccable dessert taste”—a claim I was deeply skeptical of, given his preference for store-bought brownies.
I had followed a recipe to the letter, but somewhere between the water bath and the cooling process, I panicked, opened the oven door too early, and watched the center sink. It was sad. It was dense. It was basically a brick with cream cheese flavor.
But here’s the thing about failure in the kitchen: it teaches you more than success ever could. That failed brick led me down a rabbit hole of temperature science, crust ratios, and the absolute necessity of room-temperature ingredients. I spent the next six months testing, burning, and freezing cheesecakes. I learned that the secret isn’t fancy equipment; it’s patience and precision.
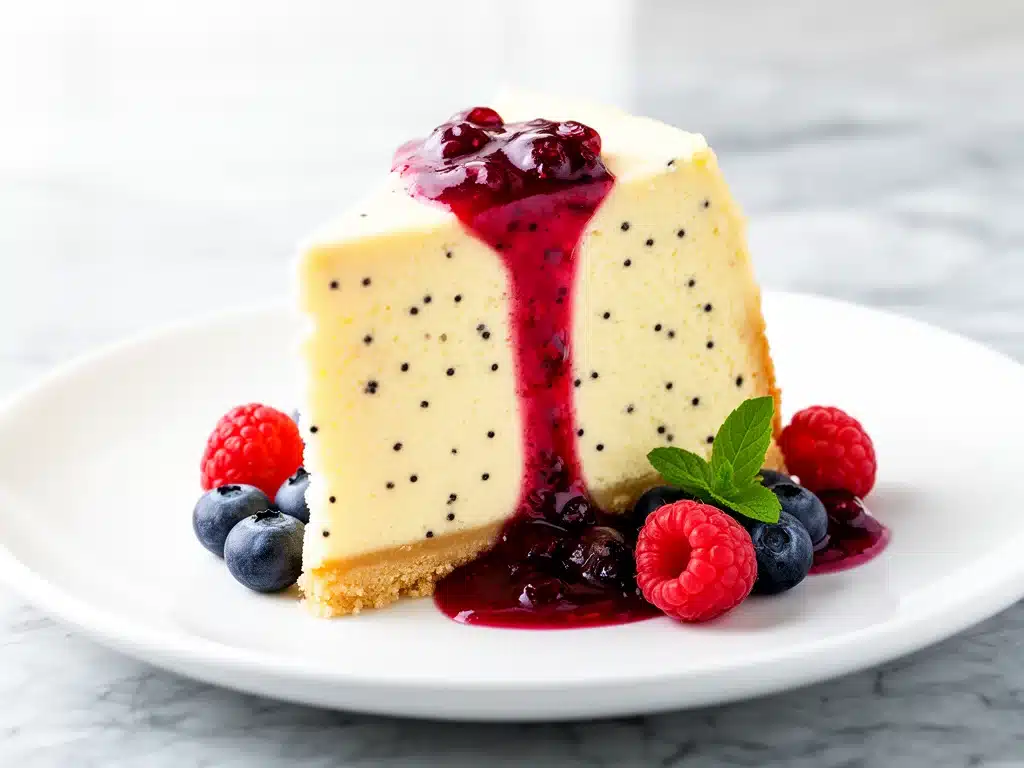
Fast forward to today, and I’ve made this Classic Vanilla Bean Cheesecake with Berry Sauce at least a dozen times. It’s become my go-to for birthdays, holidays, and those random Tuesday nights when I need to remind myself that life is sweet. The first time I served it to my friends, there was no comment about “impeccable taste.” There was just silence, followed by three seconds of pure, unadulterated joy as they took that first bite. That’s the moment you know you’ve nailed it.
This isn’t just another dessert. It’s the kind of cheesecake that gets scraped clean from the plate. The vanilla bean specks add this gorgeous, rustic elegance, while the berry sauce cuts through the richness perfectly. If you’ve been intimidated by cheesecake, trust me: this version is simpler than it looks, and the results are absolutely worth the effort.
Why You’ll Love This Recipe
I’ve tried dozens of cheesecake recipes over the years, from dense New York styles to airy Japanese soufflé types. This classic vanilla bean version sits in the sweet spot—literally and figuratively. It’s creamy without being heavy, flavorful without being overly sweet, and it looks stunning without requiring professional pastry skills.
Here’s why this cheesecake has earned a permanent spot in my rotation:
The Vanilla Bean Difference — I know you can use vanilla extract, and I do sometimes when I’m in a rush. But using actual vanilla bean paste or seeds makes a world of difference. Those tiny black specks aren’t just for show; they add a deeper, more complex floral note that extract just can’t match. It’s the difference between listening to a song on a phone speaker versus good headphones.
Perfect Texture Every Time — The biggest fear people have is cracking. I’ve cracked my share, but this recipe’s method of gentle baking and slow cooling prevents it almost entirely. The center should be set but still have a slight jiggle, like a well-made gelatin dessert. It’s creamy, dense, and smooth.
The Berry Sauce is a Game-Changer — Plain cheesecake is great. Cheesecake with a bright, tart berry sauce? That’s unforgettable. The acidity from the berries cuts through the fat of the cream cheese, balancing every bite. Plus, it looks gorgeous drizzled over the top.
Make-Ahead Friendly — This is the ultimate stress-buster for entertaining. You make it the day before, let it chill overnight, and it actually tastes better the next day as the flavors meld. You can focus on your main course and other desserts while this one does its thing in the fridge.
Simple Ingredients — You don’t need exotic flours or weird stabilizers. Just cream cheese, sugar, eggs, butter, vanilla, and berries. If you can buy these at any grocery store, you can make this.
Ingredients You’ll Need
One of the reasons I love this recipe is how straightforward the ingredient list is. But there are a few specifics that matter. I’m particular about the cream cheese and the vanilla, so pay attention to those details.
For the Crust:
Graham cracker crumbs (1 ½ cups / 150g) — I buy the pre-made crumbs to save time, but if you have graham crackers, just blitz them in a food processor. Don’t use digestive biscuits unless you want a more British-style, slightly sweeter crust. Graham crackers are the classic choice for a reason.
Unsalted butter (6 tablespoons / 85g, melted) — This binds the crust. Make sure it’s fully melted but not hot. If it’s boiling, it’ll cook the crumbs and make them greasy. Cool it down just a bit.
Granulated sugar (2 tablespoons / 25g) — Just a touch to sweeten the crust. It shouldn’t taste like candy; it should just enhance the buttery flavor.
Pinch of salt — Crucial. It balances the sweetness and makes the butter taste more buttery.
For the Filling:
Full-fat cream cheese (32 ounces / 900g, 4 blocks) — This is non-negotiable. Do not use light cream cheese. Do not use the spreadable kind in the tub. You need the dense, brick-style blocks. Let them sit on the counter for at least an hour before you start. Cold cream cheese creates lumps, and nobody wants lumpy cheesecake.
Granulated sugar (1 cup / 200g) — Standard white sugar works best. Brown sugar can make it too moist and dense. I’ve tried both; white sugar gives that clean, classic cheesecake sweetness.
Sour cream (1 cup / 240g) — This adds tang and creaminess. It also helps prevent cracking by adding moisture and fat. Use full-fat, thick sour cream. If it’s runny, drain it in a sieve for 10 minutes.
Vanilla bean paste (2 teaspoons) — Or the seeds from 1 whole vanilla bean. This is where the flavor magic happens. If you can’t find paste, use 1 tablespoon of high-quality vanilla extract, but the seeds are worth the hunt.
Large eggs (4 large, room temperature) — Room temperature eggs incorporate better and bake more evenly. Take them out of the fridge 30 minutes before you start. If you forget, drop them in a bowl of warm water for 5 minutes.
All-purpose flour (2 tablespoons / 15g) — Sounds weird for a cheesecake, right? It stabilizes the filling so it doesn’t rise and crack. It’s a secret weapon I picked up from a professional baker friend.
For the Berry Sauce:
Mixed berries (2 cups / 300g, fresh or frozen) — Strawberries, raspberries, blueberries, or a mix. Frozen works great and is often cheaper. Just don’t thaw them completely before blending; they’ll get too watery.
Granulated sugar (2-3 tablespoons / 25-35g) — Adjust based on how sweet your berries are. Taste them first. If they’re tart, add more sugar.
Lemon juice (1 teaspoon) — Brightens the flavor and balances the sweetness.
Water (2-3 tablespoons) — To adjust consistency. You want it pourable but not watery.
Equipment Needed
You don’t need a fancy kitchen to make this. Here’s what I actually use, along with some honest opinions on what’s essential vs. optional.
9-inch Springform pan — This is the classic cheesecake pan. The sides come off, making it easy to remove the cake. Make sure it’s a good quality one that doesn’t leak. I wrap the bottom in foil just in case, but a tight seal is key.
Food processor or blender — For making the crust crumbs and the berry sauce. A standard blender works fine for the sauce, but a food processor is better for the crumbs if you don’t have pre-made.
Electric mixer — Stand mixer or hand mixer. Mixing by hand is possible but exhausting. You need to beat the cream cheese until it’s perfectly smooth, which takes muscle. Save your arms and use a mixer.
Rubber spatula — Essential for scraping the bowl. You want to get every bit of the filling. Silicone spatulas are best because they’re flexible and heat-resistant.
Large roasting pan — For the water bath. If you don’t have one, a large baking dish works. The idea is to have enough water to come halfway up the sides of your springform pan.
Aluminum foil — To wrap the bottom of the springform pan to prevent water leaks.
Cooling rack — For slow cooling. Don’t skip this step. Sudden temperature changes cause cracks.
How to Make It: Step-by-Step
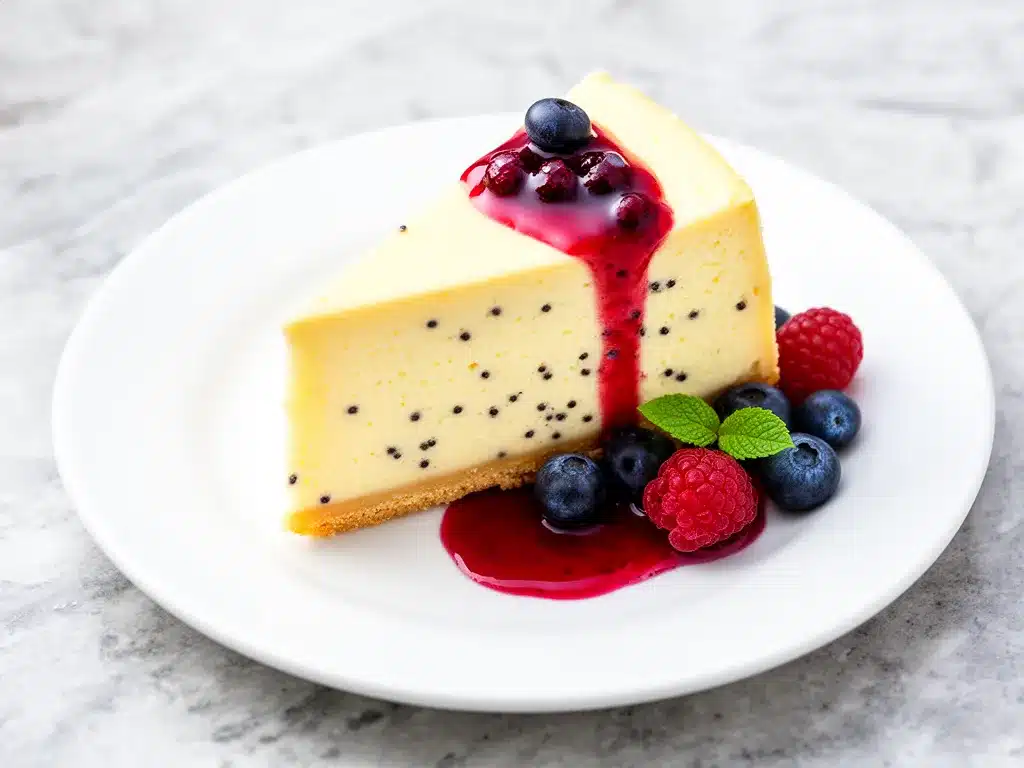
Alright, let’s get into the nitty-gritty. I’m going to walk you through exactly how I make this, including the little tricks that keep it smooth and crack-free. It sounds like a lot of steps, but it’s mostly hands-off time.
Step 1: Prep Your Pan and Oven (10 minutes)
Preheat your oven to 325°F (160°C). This is a low and slow temperature, which is key for even cooking. Take your 9-inch springform pan and wrap the bottom and sides tightly with heavy-duty aluminum foil. You want to make sure no water can seep in. Grease the inside of the pan lightly with butter or non-stick spray.
Step 2: Make the Crust (5 minutes)
In a medium bowl, mix the graham cracker crumbs, melted butter, sugar, and salt. It should look like wet sand. Press this mixture firmly into the bottom of the springform pan. Use the bottom of a measuring cup to pack it down evenly. You want it tight, or the crust will crumble when you slice it. Set it aside.
Step 3: Beat the Cream Cheese (3-5 minutes)
In a large bowl (or stand mixer fitted with the paddle attachment), beat the room-temperature cream cheese on medium-low speed. Beat until it’s completely smooth and creamy, with no lumps. This takes patience. Scrape down the sides and bottom of the bowl frequently. If you see little white lumps, keep beating. They won’t disappear later.
Step 4: Add Sugar and Sour Cream (2 minutes)
Add the sugar and beat until combined. Then add the sour cream and beat until smooth. Again, scrape the bowl. You want a homogeneous mixture. If it’s too thick, you can add a splash of milk, but it shouldn’t be runny.
Step 5: Incorporate Vanilla and Eggs (3 minutes)
Stir in the vanilla bean paste or seeds. Then, add the eggs one at a time, mixing on low speed just until combined. Do not overmix once the eggs are in. Overmixing incorporates too much air, which leads to cracking. Scrape the bowl one last time.
Step 6: Add Flour and Mix Gently (1 minute)
Sprinkle the flour over the top and fold it in gently with a spatula or mix on the lowest speed for just 10 seconds. You’re just distributing it, not beating it in.
Step 7: The Water Bath and Bake (1 hour 15 minutes)
Pour the filling into the prepared crust. Smooth the top with a spatula. Place the springform pan inside the large roasting pan. Pour hot water into the roasting pan until it comes about an inch up the sides of the springform pan. Be careful not to splash water into the cheesecake.
Carefully transfer to the oven. Bake at 325°F for 60-75 minutes. The cheesecake is done when the edges are set but the center (about a 2-inch circle) still jiggles slightly when you shake the pan. It should look puffed up. Do not overbake; it will continue to cook as it cools.
Step 8: The Slow Cool (1-2 hours)
Turn off the oven and crack the door open slightly. Let the cheesecake sit in the oven for 1 hour. This gradual cooling prevents thermal shock, which is the main cause of cracks. After an hour, remove it from the water bath and let it cool completely on a wire rack.
Step 9: Chill Overnight (4+ hours)
Once cool, cover the cheesecake tightly with plastic wrap and refrigerate for at least 4 hours, preferably overnight. This is when the flavors develop and the texture sets perfectly.
Step 10: Make the Berry Sauce (10 minutes)
While the cheesecake chills, make the sauce. Blend the berries, sugar, lemon juice, and water in a blender until smooth. Strain through a fine-mesh sieve if you want a smooth sauce, or leave it chunky for more texture. Taste and adjust sweetness. Refrigerate until ready to serve.
Expert Tips & Tricks
Here’s everything I’ve learned from making this dozens of times. These tips will save you from my biggest mistakes.
Room Temperature is King
I can’t stress this enough. Cold ingredients don’t blend well. Cream cheese that’s cold will have lumps. Eggs that are cold will shock the mixture. Take everything out of the fridge at least an hour before you start. If you’re short on time, the warm water trick for eggs works wonders.
Don’t Overmix
Once you add the eggs, stop beating. Overmixing creates air bubbles. As the cheesecake bakes, those bubbles expand and then collapse, causing cracks. Mix until just combined. It’s okay if the batter isn’t perfectly silky at this stage; the baking process will smooth it out.
The Jiggle Test
Don’t rely on a timer alone. The visual cue is the jiggle. The center should move like gelatin, not like liquid. If it’s solid, you’ve overbaked it. If it’s liquid, it needs more time. When in doubt, take it out. It will firm up as it cools.
Use a Water Bath
I know it sounds intimidating, but it’s just a roasting pan with water. The steam creates a gentle, moist environment that prevents the top from drying out and cracking. It’s the professional secret for a reason.
Patience During Cooling
Resist the urge to take it out of the oven immediately. The gradual cooling in the turned-off oven is crucial. If you rush this step, you risk cracks. Set a timer and walk away. Go watch a TV show. Read a book. It’s worth the wait.
Common Mistakes (and how to avoid them)
Mistake: Cracked top
Fix: Usually caused by overmixing, overbaking, or rapid cooling. Follow the tips above, and you’ll avoid this.
Mistake: Dense, heavy texture
Fix: You likely used light cream cheese or didn’t beat the cream cheese long enough at the start. Use full-fat blocks and beat until smooth.
Mistake: Watery sauce
Fix: Frozen berries release a lot of water. If your sauce is too thin, simmer it on the stove for a few minutes to reduce. Or add a teaspoon of cornstarch mixed with water.
Variations & Substitutions
Once you’ve mastered the basic version, here’s how you can mix it up. I’ve tried all of these, and they’re all delicious in their own way.
Chocolate Chip Cheesecake
Stir 1 cup of mini chocolate chips into the filling before baking. It’s like a cookie in cheesecake form. My kids love this version.
Lemon Blueberry
Add the zest of 2 lemons to the filling. Swap the berry sauce for a blueberry-lemon sauce. It’s bright, tangy, and perfect for spring.
Salted Caramel Swirl
Drizzle ½ cup of salted caramel over the batter before baking. Use a knife to swirl it in. It’s rich, sweet, and salty—a perfect combination.
Gluten-Free
Use gluten-free graham crackers or almond flour for the crust. The rest of the recipe is naturally gluten-free. I’ve used almond flour, and it adds a nice nutty flavor.
Dairy-Free
Use vegan cream cheese blocks (like Kite Hill or Miyoko’s) and coconut cream instead of sour cream. The texture is slightly different but still creamy. For the crust, use oat flour and coconut oil.
Lower-Sugar
Reduce the sugar in the filling by ¼ cup. Use unsweetened almond milk if needed. The berry sauce can be sweetened with stevia or erythritol. It’s not as sweet, but it’s still delicious.
Serving & Storage
How to Serve:
I usually serve this straight from the fridge. The cold temperature makes the texture firmer and more sliceable. Use a sharp, thin-bladed knife. Dip it in hot water and wipe it dry between slices for clean cuts. It makes a huge difference in presentation.
Pairing Ideas:
This cheesecake pairs beautifully with a cup of hot coffee or tea. It’s also great with a glass of dessert wine, like Moscato or Port. For a lighter touch, serve it with a dollop of whipped cream and fresh berries on the side.
Storage Instructions:
Refrigerator: Store covered in the refrigerator for up to 5 days. It actually tastes better on day 2 or 3 as the flavors meld.
Freezer: You can freeze cheesecake! Wrap the whole cake (or individual slices) tightly in plastic wrap and then foil. It will keep for up to 2 months. Thaw overnight in the fridge. Note that the texture might be slightly different after freezing, but it’s still good.
Reheating: Cheesecake is best served cold. If you want it slightly softer, let it sit at room temperature for 15-20 minutes before serving. Do not microwave it; it will become greasy and separated.
Pro Tip: If you’re making this for a party, make it 2 days ahead. It gives you time to relax and enjoy your event instead of stressing about dessert.
Nutrition Information
I’m not a nutritionist, but here’s the breakdown if you’re tracking. Keep in mind that this is a rich dessert, so portion control is key.
Per Serving (based on 12 slices):
- Calories: 450
- Protein: 8g
- Carbs: 35g
- Fiber: 1g
- Sugar: 28g
- Fat: 32g
- Saturated Fat: 18g
- Cholesterol: 120mg
- Sodium: 250mg
What’s Good: It provides some protein from the cheese and eggs. It’s also relatively low in carbs compared to other desserts, thanks to the nutty crust.
What to Know: It’s high in saturated fat and sugar, which is expected for a cream cheese dessert. If you’re watching your intake, stick to a smaller slice and pair it with fresh fruit instead of the sugary sauce.
My Take: Look, this is a treat. It’s not a health food. But it’s homemade, so you know exactly what’s in it. No preservatives, no weird additives. When I make this, I enjoy a small slice and savor it. It’s about quality over quantity.
Final Thoughts
So that’s my go-to Classic Vanilla Bean Cheesecake with Berry Sauce. I’ve probably talked your ear off at this point, but when you make a recipe this often, you have a lot to say about it.
This cheesecake has saved me more times than I can count. It’s my answer to “what’s for dessert” when I want to impress but don’t have hours to spare. My friends are happy, my family is happy, and I’m happy because I know I can pull this off every single time.
Make it yours! Try different berries in the sauce, add chocolate chips, or swap the crust for ginger snaps. The best recipes are the ones you adapt to your tastes. And remember, even if it cracks a little, it still tastes amazing. No one will know unless you tell them.
If you make this, drop a comment and let me know what you think! I love hearing how recipes turn out in your kitchen. And if something doesn’t work, tell me that too—I’m here to help troubleshoot.
Happy baking! And I hope your kitchen smells as good as mine does right now.
Frequently Asked Questions
Can I use vanilla extract instead of vanilla bean paste?
Yes, you can. Use 1 tablespoon of high-quality vanilla extract. The flavor will be slightly less complex, and you won’t get the pretty black specks, but it will still taste great. If you can find vanilla bean paste, I highly recommend it—it’s worth the extra few dollars.
Why did my cheesecake crack?
Cracking is usually caused by overmixing (which adds air), overbaking (which dries it out), or rapid cooling (which causes thermal shock). Follow the tips in this recipe: mix gently, bake until just set, and cool slowly in the oven. It’s the best way to avoid cracks.
Can I make this without a water bath?
You can, but the risk of cracking increases. The water bath creates a gentle, moist environment. If you don’t have a large roasting pan, you can place a pan of hot water on the rack below the cheesecake. It’s not as effective, but it helps.
How long does the berry sauce last?
The berry sauce will last in the refrigerator for up to 1 week in an airtight container. It thickens as it cools, so you may need to add a splash of water or lemon juice when serving if it’s too thick.
Can I freeze the cheesecake?
Yes, it freezes well. Wrap it tightly in plastic wrap and then foil. It will keep for up to 2 months. Thaw it overnight in the fridge before serving. The texture might be slightly softer, but it’s still delicious.
Can I use a different type of crust?
Absolutely. You can use graham crackers, digestive biscuits, or even shortbread cookies. For a gluten-free option, use almond flour or gluten-free crackers. The ratio of butter to crumbs stays the same: 6 tablespoons of butter to 1 ½ cups of crumbs.
Why is my cheesecake dense and heavy?
This usually happens if you use light cream cheese or if you don’t beat the cream cheese long enough at the start. Make sure you use full-fat block cream cheese and beat it until it’s completely smooth and creamy before adding any other ingredients.
Pin This Recipe!
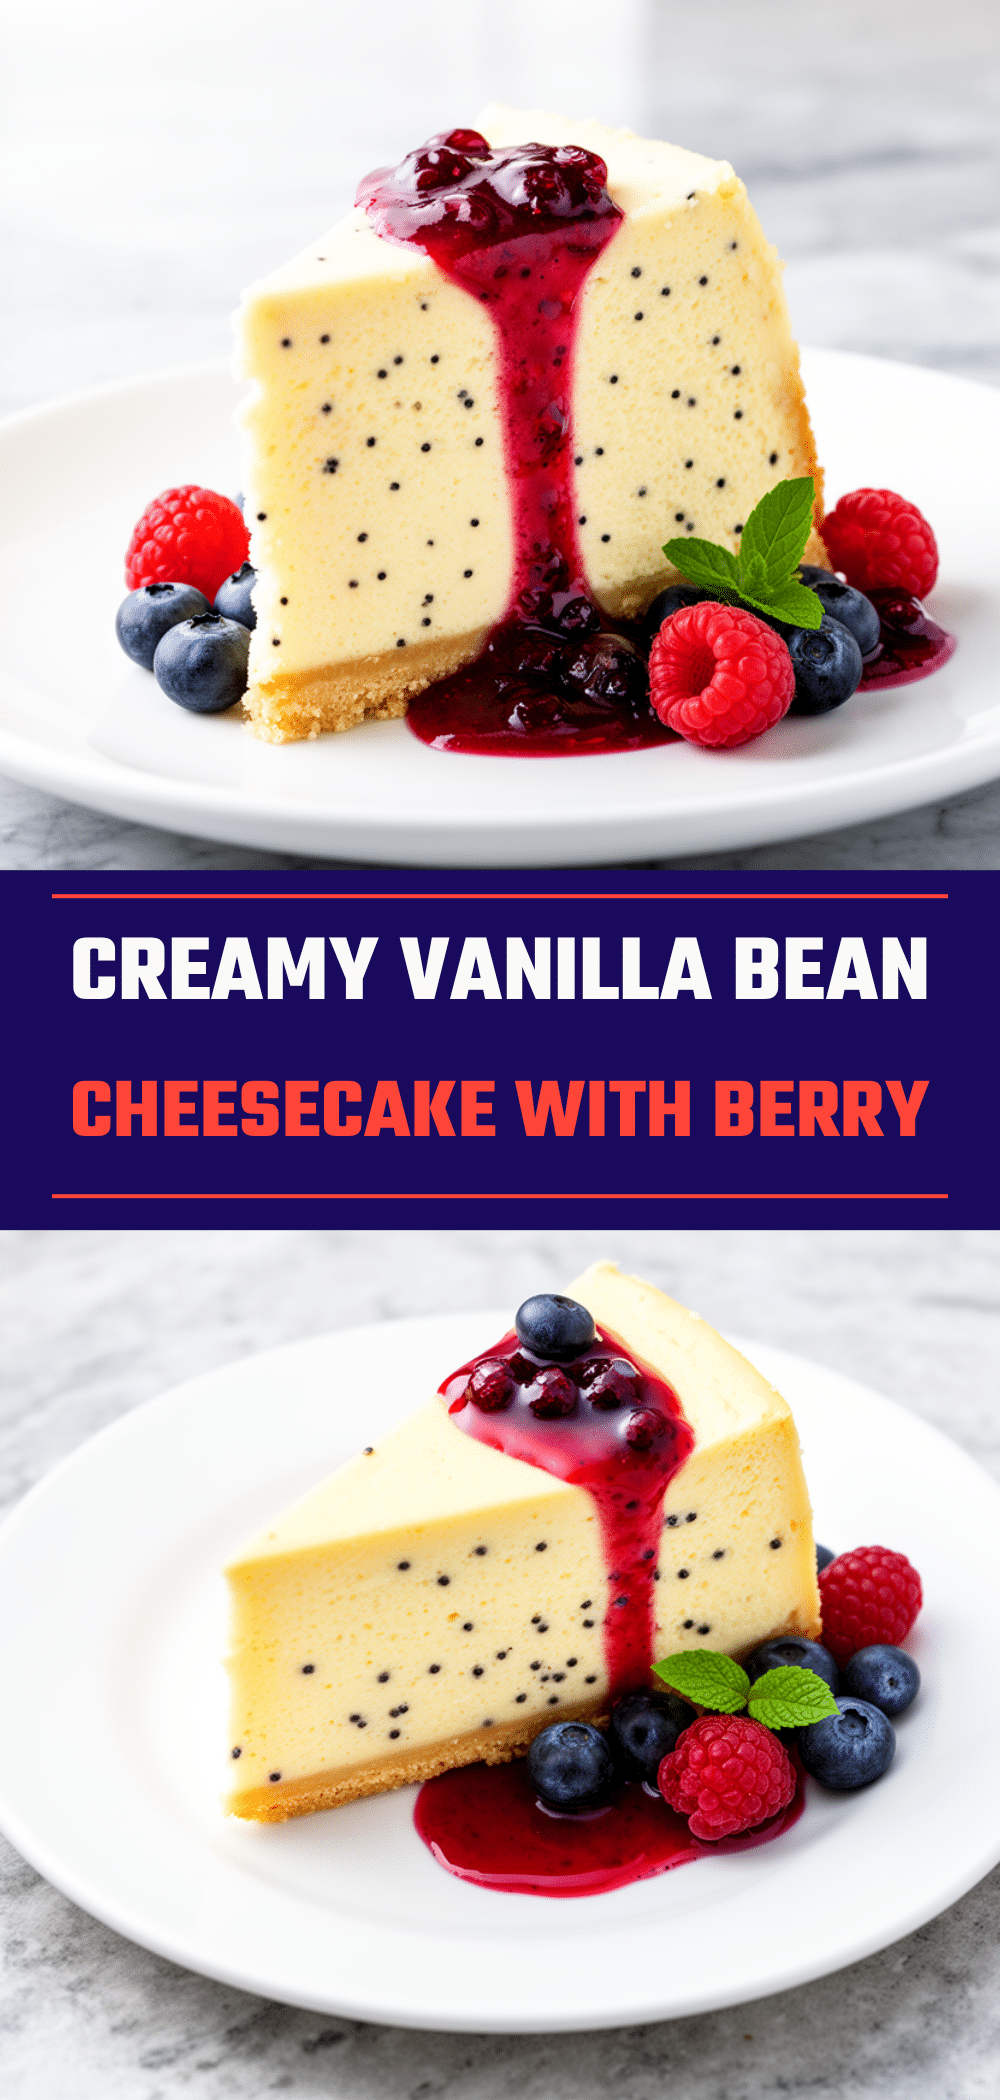
Classic Vanilla Bean Cheesecake with Berry Sauce
- Total Time: 5 hours 45 minutes
- Yield: 12 servings 1x
Description
A creamy, crack-free classic vanilla bean cheesecake with a graham cracker crust and a bright, tart berry sauce. This make-ahead dessert is perfect for impressing guests or enjoying a sweet treat.
Ingredients
- 1 ½ cups (150g) graham cracker crumbs
- 6 tablespoons (85g) unsalted butter, melted
- 2 tablespoons (25g) granulated sugar
- Pinch of salt
- 32 ounces (900g) full-fat cream cheese, room temperature
- 1 cup (200g) granulated sugar
- 1 cup (240g) full-fat sour cream
- 2 teaspoons vanilla bean paste (or seeds from 1 vanilla bean)
- 4 large eggs, room temperature
- 2 tablespoons (15g) all-purpose flour
- 2 cups (300g) mixed berries (fresh or frozen)
- 2–3 tablespoons (25-35g) granulated sugar
- 1 teaspoon lemon juice
- 2–3 tablespoons water
Instructions
- Preheat oven to 325°F (160°C). Wrap the bottom and sides of a 9-inch springform pan tightly with heavy-duty aluminum foil to prevent leaks. Lightly grease the inside of the pan.
- In a medium bowl, mix graham cracker crumbs, melted butter, sugar, and salt until it resembles wet sand. Press firmly into the bottom of the prepared pan. Set aside.
- In a large bowl or stand mixer, beat the room-temperature cream cheese on medium-low speed until completely smooth and creamy, scraping down the sides frequently.
- Add the sugar and beat until combined. Add the sour cream and beat until smooth and homogeneous.
- Stir in the vanilla bean paste or seeds. Add the eggs one at a time, mixing on low speed just until combined. Do not overmix.
- Sprinkle the flour over the top and fold it in gently with a spatula or mix on the lowest speed for 10 seconds.
- Pour the filling into the crust and smooth the top. Place the springform pan inside a large roasting pan. Pour hot water into the roasting pan until it comes about an inch up the sides of the springform pan.
- Bake at 325°F for 60-75 minutes. The edges should be set, but the center (about a 2-inch circle) should still jiggle slightly like gelatin.
- Turn off the oven and crack the door open slightly. Let the cheesecake sit in the oven for 1 hour to cool gradually.
- Remove from the water bath and let cool completely on a wire rack.
- Cover tightly with plastic wrap and refrigerate for at least 4 hours, preferably overnight.
- While the cheesecake chills, blend mixed berries, sugar, lemon juice, and water until smooth. Strain if desired for a smoother sauce. Refrigerate until serving.
Notes
Ensure all dairy ingredients (cream cheese, eggs, sour cream) are at room temperature to prevent lumps and cracking. Do not overmix after adding eggs to avoid incorporating air bubbles. The cheesecake is done when the center jiggles slightly but is not liquid. It tastes better the next day as flavors meld.
- Prep Time: 30 minutes
- Cook Time: 1 hour 15 minutes
- Category: Dessert
- Cuisine: American
Nutrition
- Serving Size: 1 slice
- Calories: 450
- Sugar: 28
- Sodium: 250
- Fat: 32
- Saturated Fat: 18
- Carbohydrates: 35
- Fiber: 1
- Protein: 8
Keywords: cheesecake, vanilla bean, berry sauce, dessert, baking, graham cracker crust, make-ahead dessert


