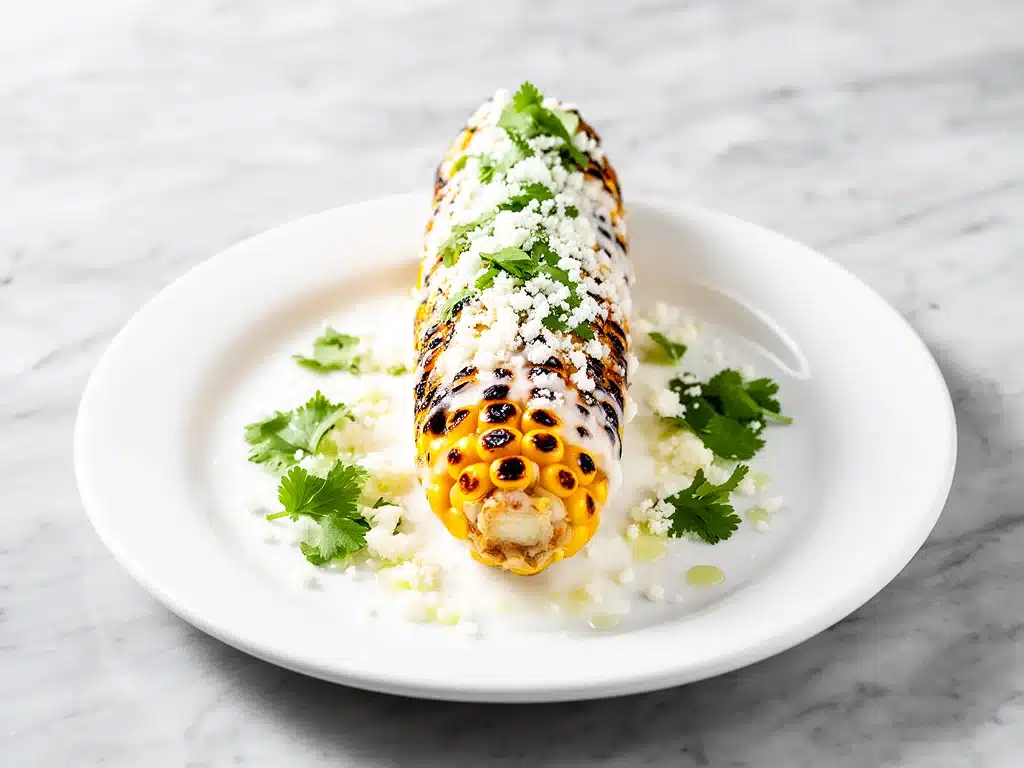
There is a specific kind of hunger that hits you in mid-July. It’s not just about being hungry; it’s a craving for something smoky, creamy, tangy, and salty all at once. It’s the taste of summer street food, the kind you eat with your hands while standing on a sidewalk, juice dripping down your wrist, completely unbothered by the mess. I used to drive across town to find the best elote in the city, waiting in line under the hot sun, only to come home with corn that was good but never quite *that* good. The corn was sometimes a bit dry, the lime flavor got lost under too much mayo, and the cotija cheese was often stale.
Then I figured out the trick. It wasn’t a fancy technique or a secret ingredient from a specialty store. It was simply paying attention to the grill and the balance of flavors. I realized that the best grilled Mexican street corn doesn’t need to be complicated. In fact, the simpler the ingredients, the more they shine. After testing this recipe dozens of times—over charcoal, over gas, and even in a cast-iron skillet when the weather turned rainy—I’ve landed on a version that I genuinely believe beats most street vendors. It’s smoky, it’s bright, and it’s ridiculously easy.
This grilled Mexican street corn with cotija and lime is my answer to those mid-summer cravings. It takes about 15 minutes of active time, uses just five core ingredients, and delivers that addictive street-food vibe right in your backyard. Whether you’re hosting a Fourth of July party, having a casual Tuesday dinner, or just want to treat yourself to something that feels indulgent but is actually pretty wholesome, this is the recipe you need. It’s better than takeout because you control the freshness, and it’s better than canned or frozen corn because it’s grilled fresh. Let’s get into it.
Why You’ll Love This Recipe
I’ve made this corn for everything from backyard barbecues to potlucks where I didn’t even bring a serving spoon because people kept grabbing the cobs with their hands. Here’s why it keeps coming back to the top of my recipe list:
- Five Ingredients, Maximum Flavor — Seriously, look at the list. Corn, mayo, sour cream, cotija, lime. That’s it. You don’t need a pantry full of spices or obscure sauces. The magic is in the ratio, not the complexity. I’ve tried adding chili powder, cumin, and paprika, but honestly? The corn and lime do all the heavy lifting.
- Ready in 15 Minutes — This is a weeknight hero. If you can grill a hot dog, you can make this. I often throw these on while I’m flipping burgers or grilling chicken. It’s the perfect side dish because it doesn’t require babysitting. You just rotate them, brush them, and go.
- Smoky and Charred — There is no substitute for the flavor of charred corn. Whether you’re using a gas grill with a lid or a cast-iron skillet on the stovetop, getting those blackened spots adds a depth of flavor that boiling or steaming just can’t match. It tastes like summer.
- Perfectly Messy — I love that this is messy. It’s supposed to be messy. It’s street food. The creamy coating holds the cheese and lime, and eating it with your hands connects you to the tradition. It’s fun, interactive, and satisfying.
- Vegetarian and Gluten-Free Friendly — Naturally, this recipe is vegetarian and gluten-free (just double-check your cotija brand, though most are safe). It’s a great option for guests with dietary restrictions who still want to feel like they’re eating something indulgent.
It’s the kind of side dish that steals the show. I’ve had people tell me they’d eat this corn even if there was no main course. It’s that good.
Ingredients You’ll Need
The beauty of this grilled Mexican street corn recipe is its simplicity. You don’t need a trip to a specialty market for most of these items. Here’s what you need to make it right:
The Corn
Ear of Corn (4-6 ears, shucked) — Look for fresh, sweet corn. In the summer, local sweet corn is unbeatable. If you’re buying off-season, look for corn that feels heavy for its size and has green, moist husks if they’re still on. I prefer shucking it completely before grilling so the kernels get direct heat, but you can leave a few husks on for a steamed effect (though I don’t recommend it for this specific recipe).
The Creamy Coating
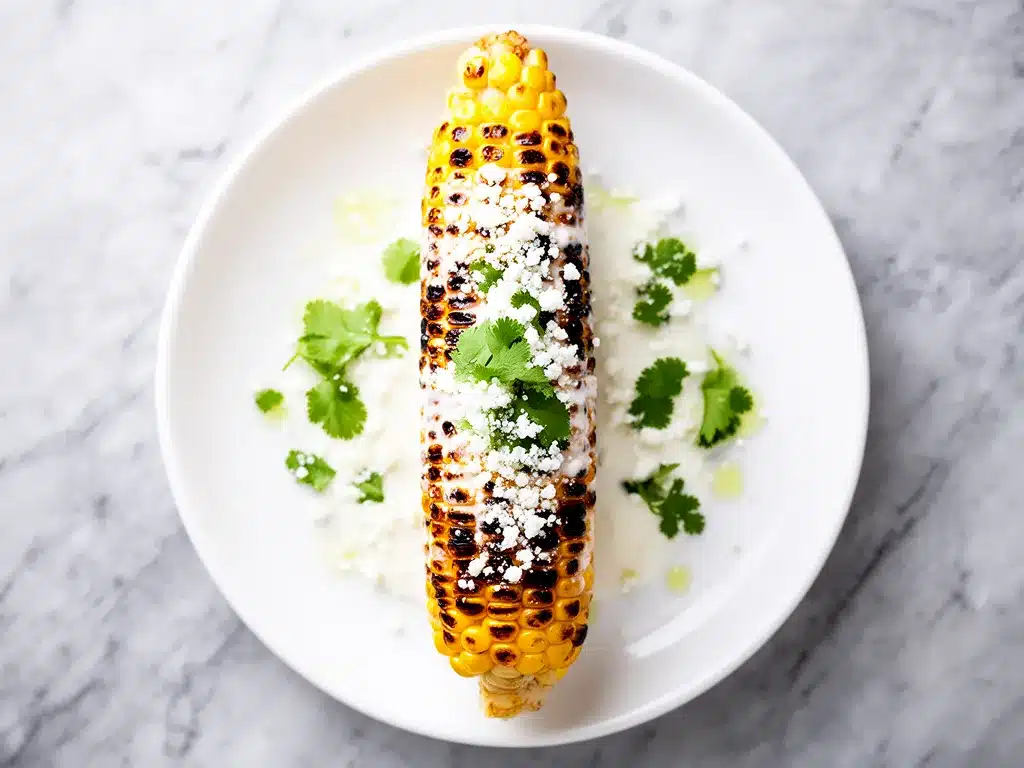
Maionnaise (½ cup / 120g) — This is the base. Use full-fat real mayo. I love Hellmann’s or Duke’s. Do not use light mayo; it’s too thin and lacks the richness needed to coat the corn properly. Some traditional recipes use crema, but mayo is more accessible and gives that familiar tangy richness.
Sour Cream (¼ cup / 60g) — This cuts the richness of the mayo and adds a little extra tang. It helps the sauce stay creamy without being too heavy. If you want a lighter version, you can use all mayo, but I find the 2:1 ratio is the sweet spot.
Butter (2 tablespoons, melted) — Optional, but I highly recommend it. A little melted butter brushed on before the mayo adds a layer of savory richness that ties everything together. I use unsalted butter so I can control the salt.
The Flavor Boosters
Cotija Cheese (½ cup / 60g, crumbled) — This is the star. Cotija is a Mexican aged cheese that is salty, crumbly, and firm. It’s often called “Mexican Parmesan,” but it’s much saltier and drier. If you can’t find cotija, you can use a mix of feta and Parmesan, but the texture won’t be quite the same. Look for it in the cheese section, usually near the feta.
Lime (2-3 limes) — Fresh lime juice is non-negotiable. Bottled lime juice tastes flat and artificial. You need that bright, acidic punch to cut through the fat of the mayo and cheese. I juice them right before serving.
Chili Powder or Tajín (1 teaspoon) — For that classic kick. I use a mild chili powder for heat and smokiness. If you want more heat, add a pinch of cayenne. Tajín is a chili-lime seasoning that is fantastic here if you want a pre-mixed option.
Cilantro (2 tablespoons, chopped) — Optional, but it adds a fresh, herbal note that balances the heavy flavors. If you hate cilantro (the soap gene is real), skip it. It’s not essential.
Salt — To taste. Cotija and chili powder are salty, so taste before adding extra salt.
Equipment Needed
You don’t need fancy gear for this. Here’s what I actually use:
- Grill — Gas or charcoal both work. I prefer charcoal for that extra smoky flavor, but gas is more convenient. If you don’t have a grill, a cast-iron skillet works great on the stovetop over medium-high heat.
- Grill Basket or Tongs — A grill basket keeps the corn from falling through the grates and makes turning easier. If you’re grilling directly on the grates, use tongs to rotate.
- Basting Brush — A silicone basting brush is perfect for applying the mayo mixture. It’s heat-resistant and easy to clean.
- Mixing Bowl — A small bowl for mixing the mayo, sour cream, and butter.
- Zester or Microplane — For getting some lime zest into the mixture. The zest adds intense aroma that the juice alone doesn’t provide.
How to Make It: Step-by-Step
Alright, let’s get grilling. I’m going to walk you through exactly how I do it, including the little tricks that make the difference between okay corn and amazing corn.
Step 1: Prep the Corn
Shuck all the corn and remove the silks. Rinse the ears under cold water and pat them dry. If your corn is particularly dry, you can soak the ears in cold water for 10-15 minutes before grilling to prevent them from drying out on the grill. This isn’t strictly necessary if your corn is fresh, but it’s a good safety net. Preheat your grill to medium-high heat (about 400°F / 200°C). If using a stovetop, heat a cast-iron skillet over medium-high heat.
Step 2: Char the Corn
Place the corn directly on the grill grates. Grill for 10-12 minutes, turning every 2-3 minutes, until the kernels are tender and have nice char marks on all sides. You want about 4-5 distinct charred spots per ear. This charring is where the flavor lives. If you’re using a skillet, cook for about 8-10 minutes, rotating frequently. Remove the corn from the grill and let it cool slightly—just enough so you can handle it, but still warm.
Step 3: Make the Sauce
While the corn is grilling, mix the mayonnaise, sour cream, melted butter, and lime zest in a small bowl. Whisk until smooth. Taste and add salt if needed. The mixture should be thick and creamy, like a heavy dressing. If it’s too thick, add a teaspoon of lime juice. If it’s too thin, add a bit more mayo.
Step 4: Coat the Corn
Using your basting brush, generously coat each ear of corn with the mayo mixture. You want a thick, even layer. Don’t be shy—this is street corn, it’s supposed to be loaded. Roll the corn in the bowl to ensure full coverage. Place the coated corn back on the grill for 1-2 minutes just to warm the sauce through and let it set slightly. You don’t want to cook it further, just warm it.
Step 5: Add the Toppings
Remove the corn from the grill. While it’s still warm and sticky, sprinkle the crumbled cotija cheese over the top. The heat from the corn will help the cheese adhere slightly but keep it crumbly. Squeeze fresh lime juice over each ear—you want a good squirt, not just a drop. Finally, dust with chili powder or Tajín and sprinkle with chopped cilantro if using.
Step 6: Serve Immediately
Serve right away on a platter. These are best eaten with your hands. Have napkins ready! They are messy and delicious.
Expert Tips & Tricks
Here’s everything I’ve learned from making this dozens of times. These tips will save you from my mistakes.
- Don’t Skip the Char — The smoky flavor from the charred kernels is what makes this taste like street food, not just corn with toppings. If your corn isn’t charred, it won’t have that depth. Don’t be afraid of the black spots.
- Use Fresh Cotija — Pre-crumbled cotija is often too dry and dusty. Buy a block of cotija and crumble it yourself with your fingers. It has a better texture and melts slightly better against the warm corn.
- Lime Zest is Key — Many people just use lime juice, but the zest contains essential oils that add a bright, aromatic flavor that juice alone can’t provide. Zest your limes into the mayo mixture.
- Keep It Warm — The cheese and sauce adhere best to warm corn. If the corn cools down too much before topping, the toppings will slide off. Grill, sauce, and top in quick succession.
- Adjust the Heat — Chili powder varies in heat. If you’re serving kids or people who don’t like spice, use a mild chili powder or paprika. If you want a kick, add cayenne or use a spicy Tajín.
Variations & Substitutions
Once you’ve nailed the basic version, here’s how you can mix it up. I’ve tried all of these.
- Elote en Vaso (Cup Style) — Instead of keeping the corn on the cob, cut the kernels off the cob into a bowl. Mix the kernels with the mayo mixture, cheese, and lime. Serve in cups with a spoon. This is easier to eat and share at parties.
- Avocado Version — Add diced avocado to the corn before topping. It adds creaminess and healthy fats. Great for a lunch box or lighter meal.
- Spicy Jalapeño — Mix finely minced jalapeño into the mayo sauce. Add more chili powder on top. For those who like it hot, this is a must.
- Dairy-Free Option — Swap mayo for vegan mayo and sour cream for dairy-free sour cream or cashew cream. Use nutritional yeast instead of cotija for a cheesy, salty flavor. It’s not identical, but it’s tasty.
- Grilled Corn Salad — Cut the kernels off the grilled corn and toss with black beans, red onion, cilantro, and lime vinaigrette. It’s a different dish, but uses the same grilled corn base.
Serving & Storage
This corn is best served immediately while it’s warm and the cheese is fresh. However, here’s how to handle leftovers.
How to Serve
I usually serve this straight from the platter at the dinner table. It looks rustic and inviting. Pair it with grilled proteins like crispy garlic chicken or grilled shrimp. It also goes great with burgers and hot dogs. For a full Mexican feast, serve it with rice, beans, and tacos.
Storage
Refrigerator: Store leftover grilled corn in an airtight container for up to 2 days. The corn will lose some of its charred texture, but it will still taste good. Reheating: Reheat in the microwave for 30-60 seconds, or in a skillet over low heat. Add a splash of water if it looks dry. Note that the mayo topping may separate slightly when reheated, so it’s best enjoyed fresh.
Freezing: I don’t recommend freezing this dish. The corn can become mushy, and the mayo-based sauce will break and separate upon thawing. It’s best made fresh.
Nutrition Information
I’m not a nutritionist, but here’s the breakdown if you’re tracking. Keep in mind that this is a rich, indulgent side dish.
Per Serving (1 ear of corn with toppings):
- Calories: 250-300
- Protein: 8g
- Carbs: 25g
- Fat: 18g
- Fiber: 4g
- Sugar: 6g
The calories come from the corn, mayo, and cheese. It’s higher in fat and calories, but it’s also satisfying. If you’re watching your intake, you can reduce the mayo or use a lighter version. But honestly, this is a treat. Enjoy it as part of a balanced meal.
Final Thoughts
So that’s my go-to grilled Mexican street corn! I’ve probably talked your ear off at this point, but when you make a recipe this often, you have a lot to say about it. This has saved my summer barbecues more times than I can count. It’s my answer to “what’s a simple side dish that will impress everyone?” when I’m tired, don’t want to cook a complicated meal, and still want something that tastes amazing.
Make it yours! Try different chilies, add avocado, or serve it in cups. The best recipes are the ones you adapt to your family’s tastes. If you make this, drop a comment and let me know what you think! I love hearing how recipes turn out in your kitchen. And if something doesn’t work, tell me that too—I’m here to help troubleshoot.
Happy grilling! And I hope your backyard smells half as good as mine does right now.
Frequently Asked Questions
Can I make this without a grill?
Yes! You can use a cast-iron skillet on the stovetop over medium-high heat. Cook the corn, turning frequently, until charred. You can also use a grill pan. The key is getting those charred spots, so high heat is important.
What if I can’t find cotija cheese?
You can use feta cheese as a substitute. It’s saltier and tangier than Parmesan, which is closer to cotija. For a better texture match, mix crumbled feta with a little grated Parmesan. Avoid using pre-grated cheese; crumble it yourself.
Can I use frozen corn?
I don’t recommend it. Fresh corn has a sweetness and texture that frozen corn can’t match. If you must use frozen, thaw it and pat it very dry. Sauté it in a hot skillet to get some char before proceeding. But fresh is always better.
How do I keep the toppings from falling off?
The key is to apply the toppings while the corn is still warm and the mayo sauce is slightly sticky. Also, don’t overload it. A thin layer of mayo and a light sprinkle of cheese and chili powder will adhere better than a thick pile.
Can I make this ahead of time?
You can grill the corn ahead of time and store it in the fridge. Reheat it before adding the toppings. The mayo and cheese should be added just before serving to maintain texture and freshness.
Is this recipe gluten-free?
Yes, naturally. Just double-check your chili powder and cotija cheese to ensure they don’t have any added gluten (though this is rare). Most brands are safe.
Pin This Recipe!
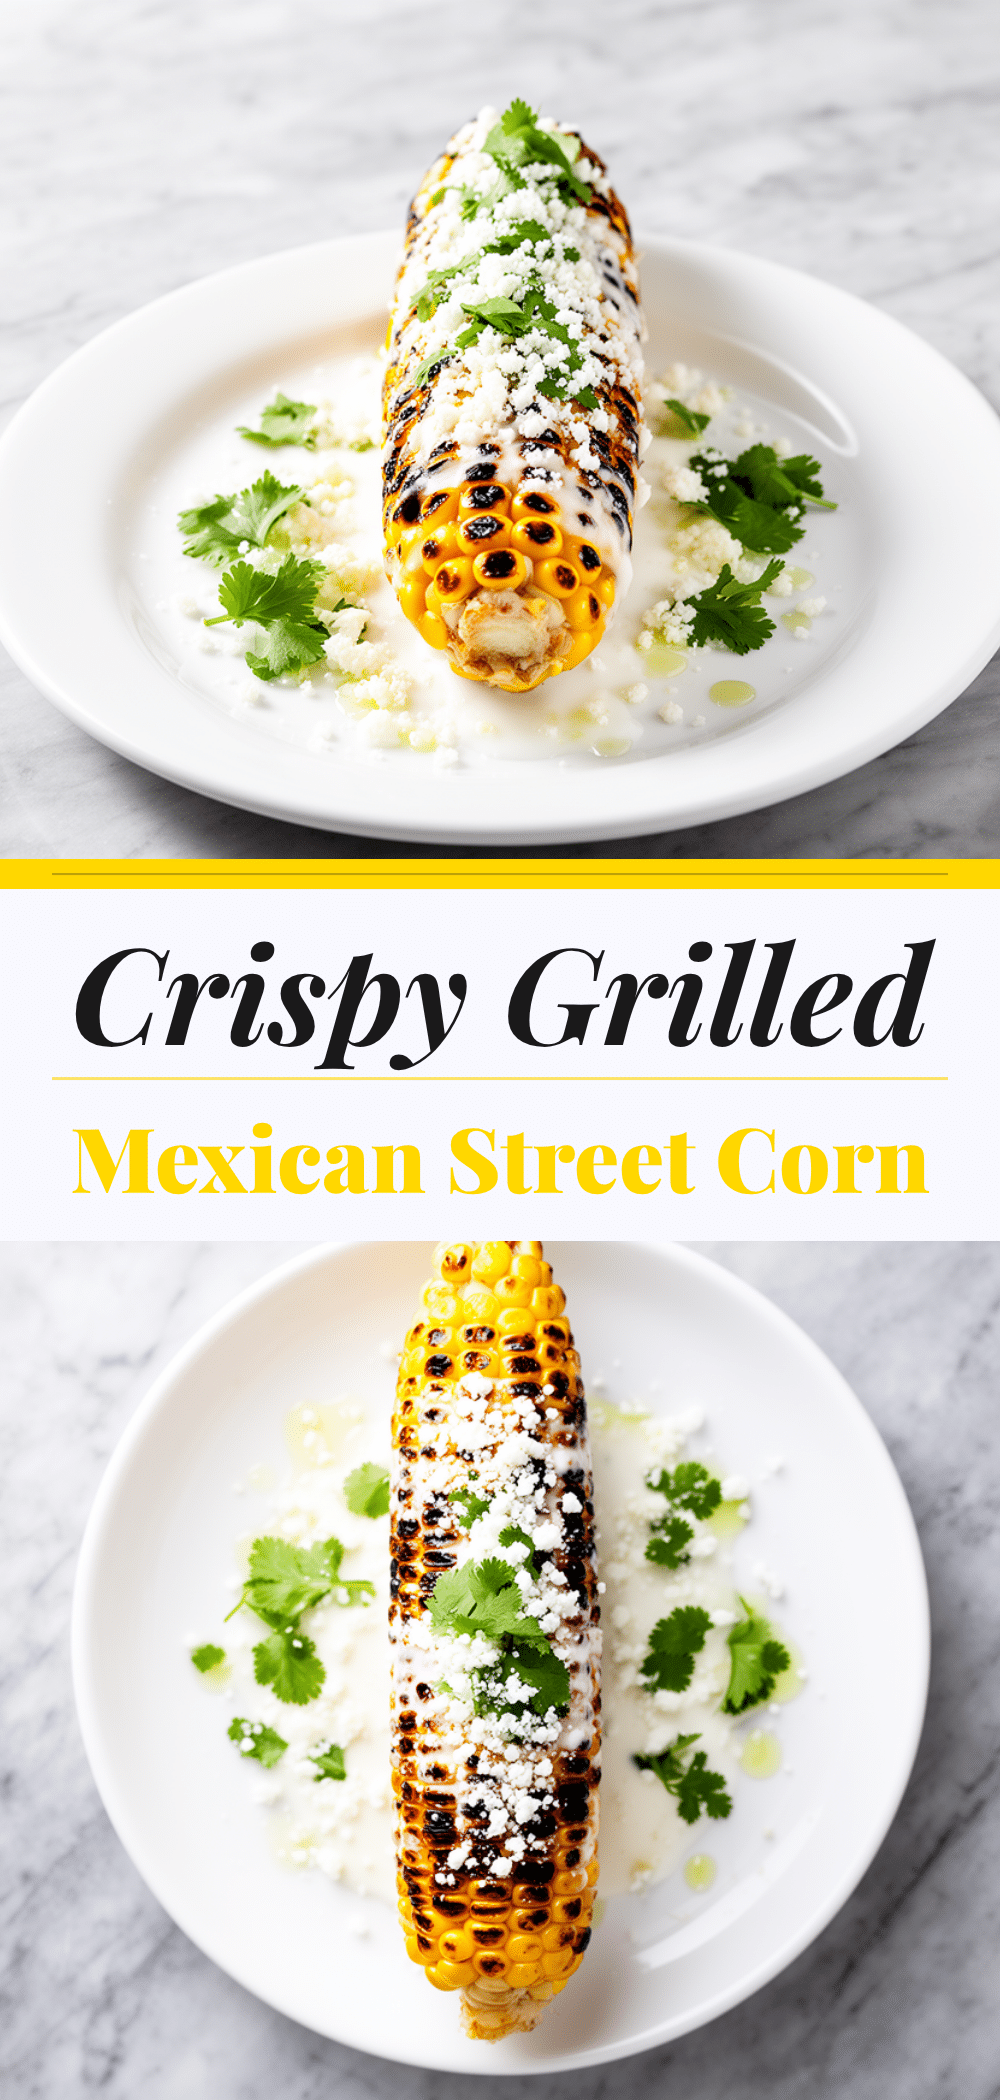
Grilled Mexican Street Corn: 5-Ingredient Best Recipe
- Total Time: 27 minutes
- Yield: 4 servings 1x
Description
A smoky, creamy, and tangy grilled Mexican street corn recipe that uses just five core ingredients. This vegetarian and gluten-free side dish delivers authentic street-food flavor with charred corn, cotija cheese, and lime.
Ingredients
- 4–6 ears of corn, shucked and silks removed
- ½ cup (120g) full-fat mayonnaise
- ¼ cup (60g) sour cream
- 2 tablespoons unsalted butter, melted
- ½ cup (60g) cotija cheese, crumbled
- 2–3 limes (for juice and zest)
- 1 teaspoon chili powder or Tajín
- 2 tablespoons fresh cilantro, chopped (optional)
- Salt to taste
Instructions
- Shuck the corn, remove silks, rinse, and pat dry. If corn is dry, soak in cold water for 10-15 minutes. Preheat grill to medium-high heat (400°F / 200°C) or heat a cast-iron skillet over medium-high heat.
- Place corn directly on grill grates or in the skillet. Grill for 10-12 minutes, turning every 2-3 minutes, until kernels are tender and have char marks on all sides. Remove and let cool slightly.
- While corn grills, mix mayonnaise, sour cream, melted butter, and lime zest in a small bowl. Whisk until smooth. Taste and add salt if needed.
- Generously coat each ear of corn with the mayo mixture using a basting brush. Roll to ensure full coverage.
- Place coated corn back on the grill for 1-2 minutes to warm the sauce through.
- Remove corn from heat. While still warm, sprinkle with crumbled cotija cheese, squeeze fresh lime juice over the top, and dust with chili powder or Tajín. Add cilantro if using.
- Serve immediately while warm.
Notes
For best results, use fresh corn and fresh cotija cheese crumbled by hand. Lime zest is key for aroma. If you cannot find cotija, substitute with a mix of feta and Parmesan. This recipe is naturally gluten-free, but check labels on chili powder and cheese. Do not freeze leftovers as the mayo sauce will separate.
- Prep Time: 15 minutes
- Cook Time: 12 minutes
- Category: Side Dish
- Cuisine: Mexican
Nutrition
- Serving Size: 1 ear of corn with t
- Calories: 275
- Sugar: 6
- Sodium: 450
- Fat: 18
- Saturated Fat: 8
- Carbohydrates: 25
- Fiber: 4
- Protein: 8
Keywords: grilled corn, elote, Mexican street corn, cotija cheese, summer recipes, vegetarian side dish, gluten-free, barbecue sides


