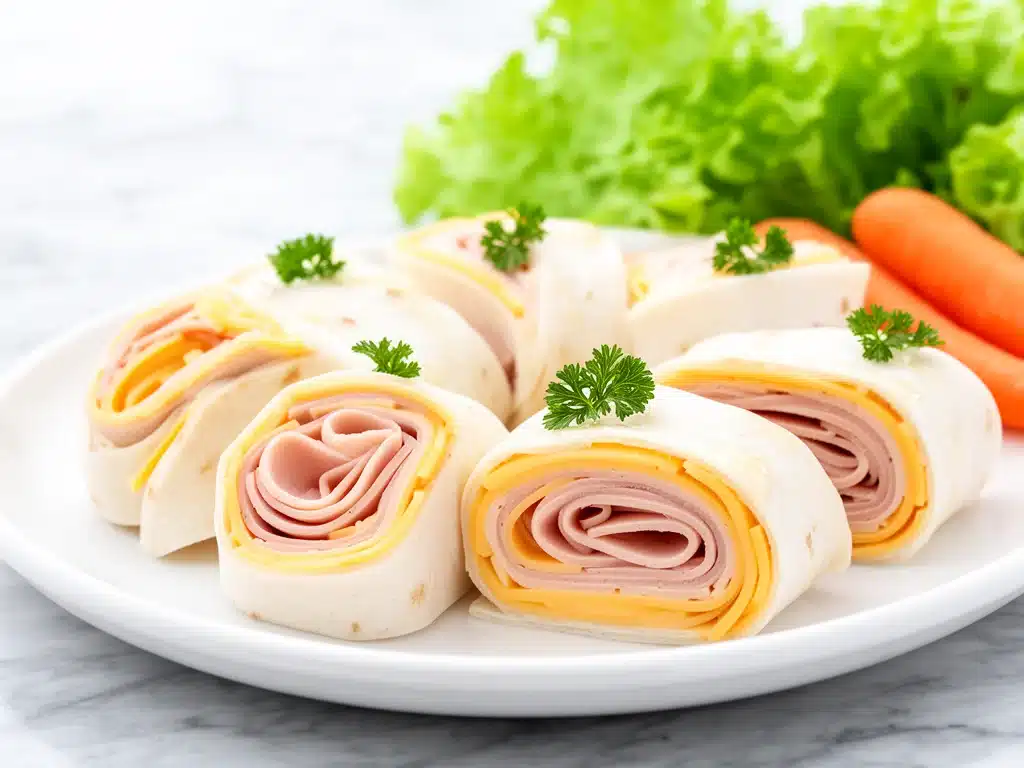
The morning of the first day of school, I stood in my kitchen at 6:45 AM with a cold cup of coffee and a rising sense of panic. My kids were dressed, backpacks were zipped, and the bus was due in twenty minutes. But my lunchbox game? Non-existent. I stared at the empty Tupperware containers on the counter like they were judging me. Last year, I’d packed the same sad sandwich for three months straight. This year, I knew I had to do better—or risk sending them off with nothing but a granola bar and a prayer.
That’s when I remembered these Back-to-School Turkey Pinwheel Wraps. I’d stumbled across the concept years ago, but I’d never quite nailed the formula until this summer. The trick isn’t just about putting turkey in a tortilla. It’s about creating little rolls of flavor that are easy for small hands to eat, impossible to argue with, and surprisingly nutritious. I tested this recipe about a dozen times in July, tweaking the cream cheese ratio and testing different veggie crunch levels, until I hit the sweet spot. Now, it’s the first thing I make when the school year starts.
These pinwheels are my secret weapon. They look festive, they taste great, and most importantly, my kids actually eat them. No more digging through the lunchbox at 1 PM to find the untouched sandwich underneath a pile of carrot sticks. These are designed to be eaten in one or two bites, rolled up tight so nothing falls out. If you’re tired of the lunchbox blues, trust me, you need to try this. It’s simple, it’s cheap, and it’s a total win.
Why You’ll Love This Recipe
There are a lot of lunch ideas out there, but few deliver the convenience and appeal of these pinwheels. Here’s why they’ve become a staple in our house:
- Five Minutes Active Time — Seriously. If you can spread cream cheese and roll a tortilla, you can make this. I make a batch while the kids are doing homework or watching TV. It’s the ultimate low-effort, high-reward lunch.
- Kid-Approved Crunch — The combination of crisp lettuce and sharp cheddar gives them the texture kids love, but hidden inside a soft wrap, it feels like a treat rather than a vegetable. Even my pickiest eater, who usually refuses anything green, asks for these daily.
- Meal Prep Friendly — You can make a dozen at once and store them in the fridge for up to three days. This means no lunch packing stress in the morning rush. Grab, drop in the bag, and go.
- Customizable for Allergies — Need gluten-free? Swap the tortilla. Dairy-free? Use a vegan spread. These pinwheels adapt to your family’s needs without losing their charm.
- Perfect for Pickers — The spiral shape is fun and visually appealing. It breaks the monotony of the standard sandwich. My kids love the “reveal” when they bite into the colorful swirl.
Bottom line: This is my go-to when I need a lunch that feels special but takes zero effort. It’s reliable, delicious, and keeps the lunchbox peace treaty intact.
Ingredients You’ll Need
Here’s the best part: you probably have most of this already. I’m not asking you to hunt down exotic ingredients. This is about pantry staples and fridge basics.
For the Wrap Base
Flour Tortillas (Large, 10-12 inch) — You need large ones. The bigger the tortilla, the more room you have for fillings without it bursting. I prefer the soft, pliable kind found in the bakery aisle, not the stiff bakery-style ones that crack when rolled.
Cream Cheese (8 oz, softened) — This is the glue. It keeps the wrap moist and helps the fillings stick. Soften it ahead of time—cold cream cheese is hard to spread evenly. If you’re short on time, microwave it in 10-second bursts.
For the Filling

Sliced Turkey Breast (6-8 oz) — Go for deli-sliced if you can. It layers better than pre-packaged slices. Look for a variety with a bit of flavor, not the blandest white meat you can find. Turkey thigh meat is juicier if you can find it.
Shredded Cheddar Cheese (1 cup) — Sharp cheddar adds a punch of flavor that balances the mild turkey. You can use mild if your kids prefer, but sharp cheddar makes the pinwheels taste more “grown-up” and satisfying. Pre-shredded works, but block cheese shreds better and melts more smoothly.
Butter Lettuce or Spinach Leaves (1 cup) — I use butter lettuce because the leaves are large and tender. They don’t get soggy as quickly as iceberg. Spinach is a great alternative if your kids are open to it—it adds color and nutrition without much taste.
For the Spread & Seasoning
Mayonnaise or Mayo-Based Spread (2 tablespoons) — This adds richness and helps the cream cheese spread smoothly. If you’re avoiding mayo, you can skip it, but the texture will be slightly drier.
Dijon Mustard (1 teaspoon) — Just a tiny bit. It adds a zesty kick that cuts through the richness of the cheese and cream. Don’t skip this—it’s the secret flavor booster.
Salt and Black Pepper — To taste. A little goes a long way.
Optional Add-ins — Sliced cucumbers for extra crunch, or roasted red peppers for a sweet twist. I sometimes add a thin layer of hummus for extra protein and flavor.
Equipment Needed
You don’t need fancy gadgets for this. Here’s what I actually use:
Large Cutting Board — You need enough space to lay out the tortilla flat. A small board will make this frustrating.
Butter Knife or Offset Spatula — For spreading the cream cheese mixture. An offset spatula makes it easier to get even coverage without tearing the tortilla.
Sharp Knife — Essential for clean cuts. A dull knife will squish the pinwheels and make the spirals look messy. I use my chef’s knife for this.
Plastic Wrap or Parchment Paper — To wrap the rolled log before slicing. This keeps the shape intact.
Airtight Container — For storing the cut pinwheels in the fridge. Rectangular containers work best so they stack neatly.
How to Make It: Step-by-Step
Alright, let’s make these! I’m walking you through exactly how I do it, including the little tricks I’ve picked up to ensure perfect rolls.
Step 1: Prep the Cream Cheese Spread (2 minutes)
In a small bowl, combine the softened cream cheese, mayonnaise, Dijon mustard, salt, and pepper. Mix until smooth and creamy. If it’s too thick, add a splash of milk. If it’s too thin, add a bit more cream cheese. You want a spreadable consistency, like frosting.
Step 2: Lay Out the Tortillas (1 minute)
Place a tortilla flat on your cutting board. If you’re making multiple, lay them out side by side. This is where patience pays off—make sure the board is clean and dry.
Step 3: Spread the Mixture (2 minutes)
Using your butter knife or offset spatula, spread the cream cheese mixture evenly over the tortilla, leaving a 1-inch border at the top edge. Go thin and even. You don’t want a thick layer that makes the roll bulky. Just a light, consistent coating.
Step 4: Layer the Fillings (3 minutes)
Start with the turkey slices. Lay them flat, slightly overlapping, covering the entire surface. Next, add the shredded cheese. Then, the lettuce leaves. If using cucumber or peppers, add them now. Layering is key—keep it neat so the roll stays tight.
Step 5: Roll It Up (2 minutes)
Starting from the bottom edge, tightly roll the tortilla up. Use your fingers to tuck the fillings in as you go. Roll it like a jelly roll—tight enough to hold together, but not so tight that the tortilla tears. Once rolled, use the plastic wrap to tighten the roll slightly if needed.
Step 6: Chill and Slice (10 minutes chilling + 5 minutes slicing)
Wrap the rolled tortilla tightly in plastic wrap or parchment paper. Chill in the fridge for at least 10 minutes. This firms up the cream cheese and makes slicing much easier. Once chilled, unwrap and slice into 1-inch rounds using a sharp knife. Wipe the knife between cuts for clean spirals.
Step 7: Pack and Serve
Place the pinwheels in an airtight container. They’re ready to go into the lunchbox! If packing for school, keep them cool with an ice pack.
Expert Tips & Tricks
Here’s everything I’ve learned from making these dozens of times. These tips will save you from my early mistakes.
Don’t Skip the Chill
This is the #1 tip. If you slice immediately, the pinwheels will fall apart. The 10-minute chill time is non-negotiable. It firms up the filling and makes clean cuts possible.
Use Soft Tortillas
Hard tortillas will crack when you roll. Always buy the soft, pliable kind. If yours are a bit dry, microwave them for 10 seconds to soften them up.
Drain Your Veggies
If you’re adding cucumbers or tomatoes, pat them dry first. Excess moisture makes the tortilla soggy and weak. Wet tortillas = broken pinwheels.
Keep it Tight
Roll tightly from the start. A loose roll will unravel in the lunchbox. If it’s too loose, re-roll it with plastic wrap to tighten.
Customize the Spread
Feel free to add herbs to the cream cheese. Chives, dill, or green onions add a fresh flavor that kids often love. It’s a easy way to sneak in more veggies.
Variations & Substitutions
Once you’ve nailed the basic version, here’s how you can mix it up. I’ve tried all of these.
Ham and Cheese
Swap turkey for sliced ham and cheddar for Swiss. A classic combo that’s equally delicious.
Veggie Delight
Use hummus as the base spread, add roasted red peppers, spinach, and feta cheese. A vegetarian version that’s packed with flavor.
Chicken Salad Pinwheels
Use leftover chicken salad as the spread. Add celery and grapes for a sweet and savory twist. This is great for using up leftovers.
Turkey and Avocado
Add sliced avocado for healthy fats. It adds a creamy texture that complements the cream cheese well.
Gluten-Free Option
Use gluten-free tortillas. They can be more brittle, so handle with care when rolling. Chill longer to ensure they hold together.
Dairy-Free Option
Use a dairy-free cream cheese alternative and check that your turkey and cheese are dairy-free. Many vegan cheeses work well in this recipe.
Serving & Storage
How to Serve:
I usually serve these cold, straight from the fridge. They’re perfect for lunchboxes, picnics, or quick snacks. Pair them with a piece of fruit or a handful of nuts for a complete meal.
Storage Instructions:
Store in an airtight container in the fridge for up to 3 days. They stay fresh and tasty. If they start to look dry, you can mist them lightly with water before serving.
Freezing:
These don’t freeze well. The cream cheese and lettuce don’t thaw nicely. Make them fresh for best results.
Meal Prep:
Make a batch on Sunday and store in the fridge. Grab and go all week. This is my go-to for busy mornings.
Nutrition Information
I’m not a nutritionist, but here’s the breakdown if you’re tracking. Note that values can vary based on specific brands and portion sizes.
Per Pinwheel (approx. 1/12 of a large tortilla):
- Calories: 120
- Protein: 6g
- Carbs: 10g
- Fat: 6g
- Fiber: 1g
These are a balanced snack or lunch component. They provide protein from the turkey and cheese, carbs from the tortilla, and some fiber from the veggies. Adjust portion sizes to fit your family’s needs.
Final Thoughts
So that’s my go-to Back-to-School Turkey Pinwheel Wraps! I’ve probably talked your ear off at this point, but when you find a recipe that works this well, you want to share it. These pinwheels have saved our lunch routine. They’re easy, tasty, and my kids actually look forward to lunch now.
Make it yours! Try different veggies, swap the cheese, or add a new spread. The best recipes are the ones you adapt to your family’s tastes. If you make these, drop a comment and let me know what you think! I love hearing how recipes turn out in your kitchen.
Happy cooking! And I hope your kitchen smells half as good as mine does right now.
Frequently Asked Questions
Q: Can I make these ahead of time?
A: Yes! You can roll and chill them up to 24 hours in advance. Just keep them wrapped tightly in the fridge. Slice them right before packing to ensure the best presentation.
Q: Why did my pinwheels fall apart?
A: Usually, this happens if you didn’t chill them long enough or if the roll wasn’t tight enough. Make sure to chill for at least 10 minutes and roll tightly from the start.
Q: Can I use whole wheat tortillas?
A: Absolutely. Whole wheat tortillas are a great option for added fiber. They might be slightly thicker, so be gentle when rolling.
Q: How do I keep the lettuce from getting soggy?
A: Pat the lettuce dry before adding it. Also, ensure the cream cheese spread is even and covers the entire surface, creating a moisture barrier.
Q: Can I freeze these?
A: No, freezing is not recommended. The cream cheese and lettuce will change texture and become watery upon thawing. Make fresh for best results.
Q: What’s a good side dish for these?
A: Apple slices, carrot sticks, or a small bag of chips pair well. You can also add a piece of fruit or a yogurt tube for a complete lunch.
Q: Can I use other meats?
A: Yes! Ham, roast beef, or chicken work great. Just ensure the meat is sliced thinly for easy rolling.
Pin This Recipe!
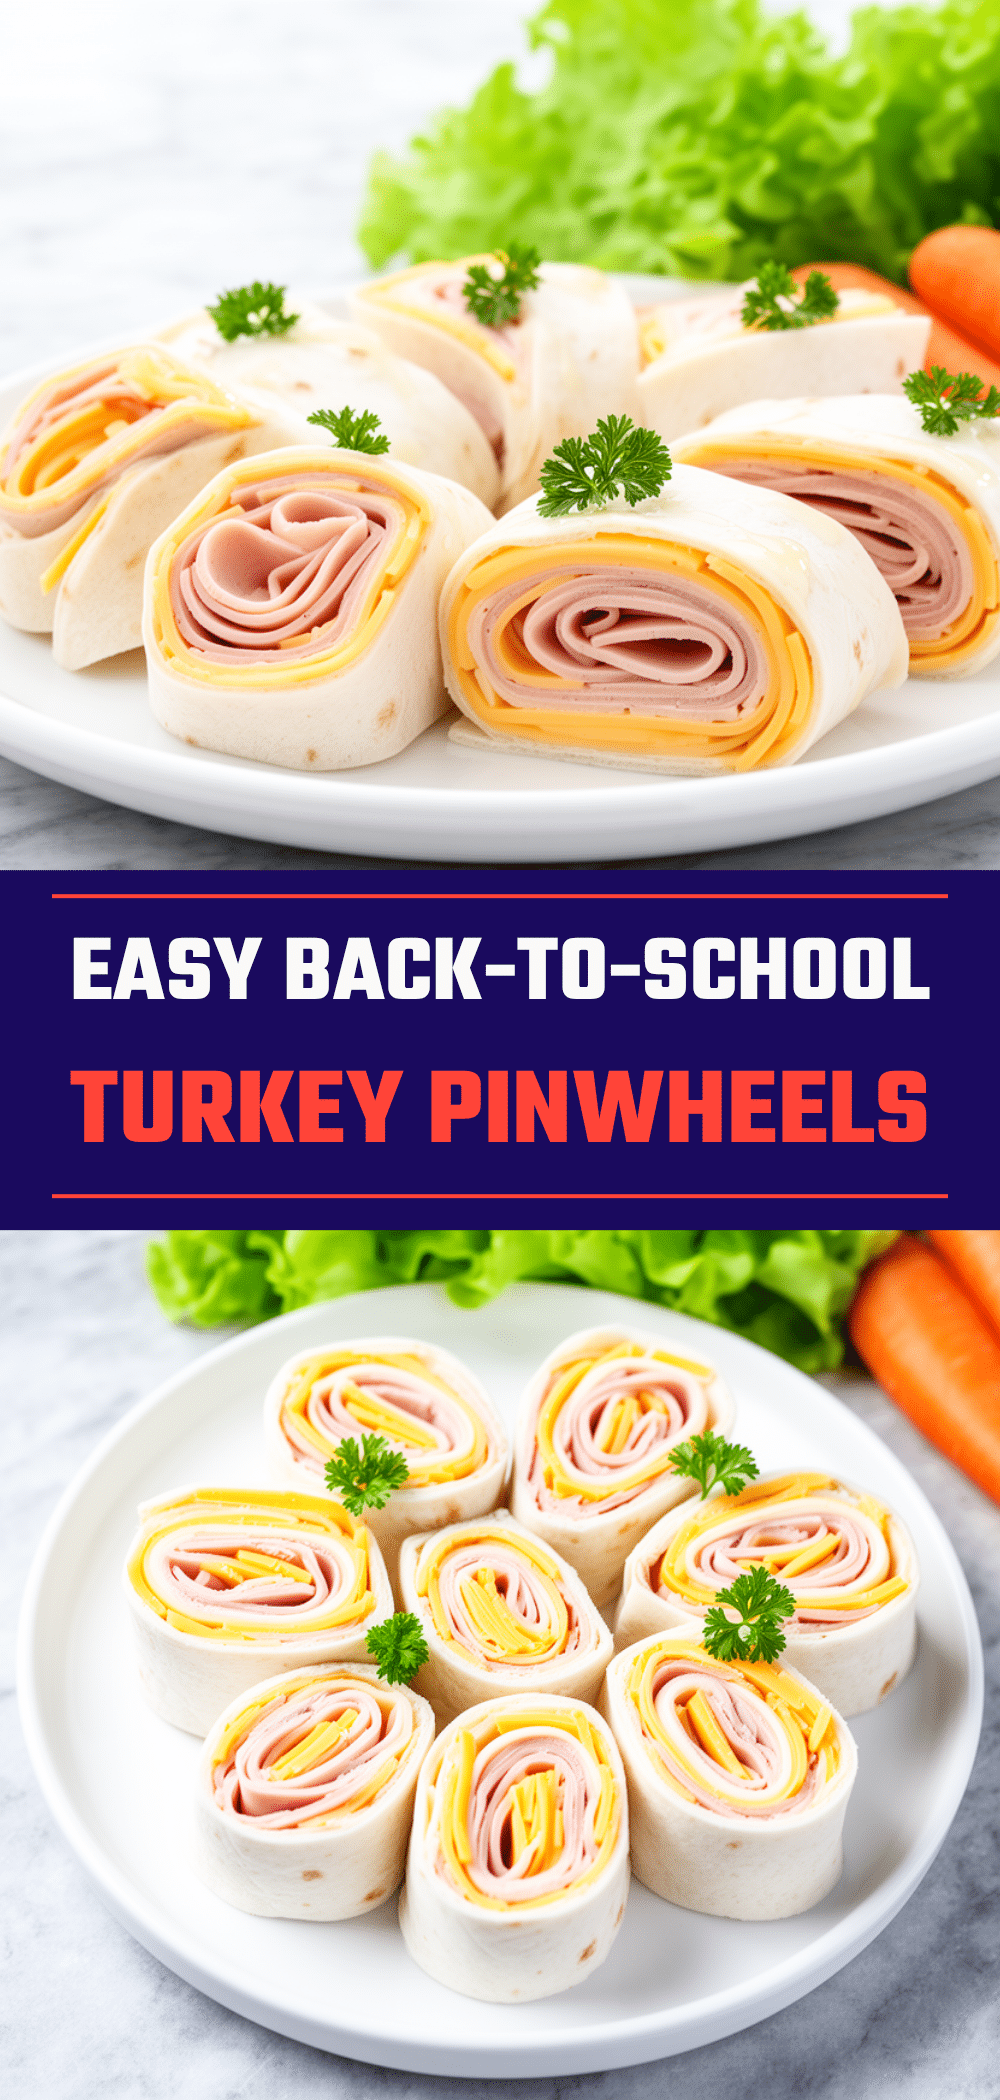

Back-to-School Turkey Pinwheel Wraps
- Total Time: 10 minutes
- Yield: 12 servings 1x
Description
Easy, kid-approved turkey pinwheel wraps that are perfect for school lunches. These festive, customizable rolls are simple to make, meal-prep friendly, and designed to be eaten in one or two bites.
Ingredients
- 4 large flour tortillas (10–12 inch)
- 8 oz cream cheese, softened
- 2 tablespoons mayonnaise or mayo-based spread
- 1 teaspoon Dijon mustard
- Salt and black pepper to taste
- 6–8 oz sliced turkey breast
- 1 cup shredded cheddar cheese
- 1 cup butter lettuce or spinach leaves
- Optional: sliced cucumbers, roasted red peppers, or hummus
Instructions
- In a small bowl, combine softened cream cheese, mayonnaise, Dijon mustard, salt, and pepper. Mix until smooth and creamy.
- Lay a tortilla flat on a large cutting board.
- Spread the cream cheese mixture evenly over the tortilla, leaving a 1-inch border at the top edge.
- Layer the turkey slices, shredded cheese, and lettuce leaves over the spread.
- Starting from the bottom edge, tightly roll the tortilla up, tucking in fillings as you go.
- Wrap the rolled tortilla tightly in plastic wrap or parchment paper.
- Chill in the fridge for at least 10 minutes to firm up.
- Unwrap and slice into 1-inch rounds using a sharp knife.
- Place pinwheels in an airtight container and pack with an ice pack for lunch.
Notes
Do not skip the chilling step; it is essential for clean cuts and preventing the pinwheels from falling apart. Use soft tortillas to prevent cracking. Pat vegetables dry to avoid soggy wraps. These do not freeze well due to the cream cheese and lettuce texture.
- Prep Time: 10 minutes
- Cook Time: 0 minutes
- Category: Lunch
- Cuisine: American
Nutrition
- Serving Size: 1 pinwheel (approx.
- Calories: 120
- Sugar: 1
- Sodium: 350
- Fat: 6
- Saturated Fat: 3
- Carbohydrates: 10
- Fiber: 1
- Protein: 6
Keywords: back to school lunch, turkey pinwheels, kid friendly lunch, easy lunch ideas, meal prep, turkey wraps, school lunchbox


