Last Tuesday, I came home from work feeling completely hollowed out. You know that feeling? Where your brain is still buzzing with emails, your shoulders are up by your ears, and the idea of standing over a stove sounds like a punishment. I didn’t want to cook. I definitely didn’t want to order takeout and sit in silence scrolling through my phone until I fell asleep.
I wanted something warm. Something that tasted like a hug. Something that said, “It’s okay to just be here for a minute.”
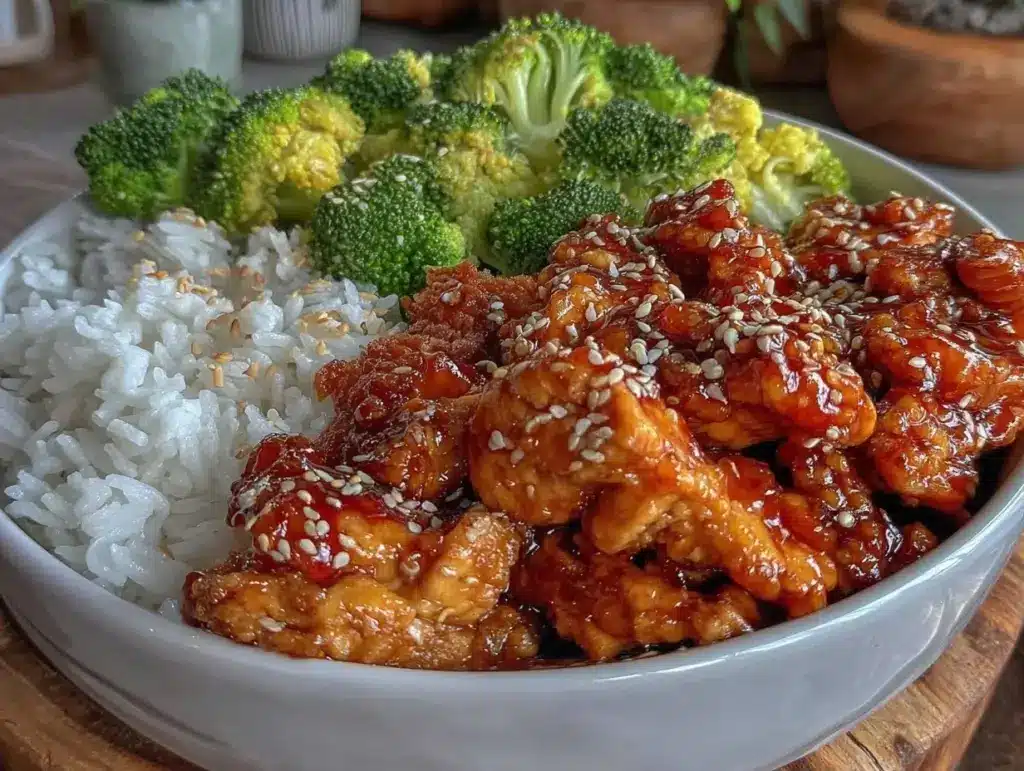
That’s when I made these meal prep chicken teriyaki rice bowls. Not the sticky, overly sweet version from the takeout place down the street, but the real deal—silky, savory, and deeply comforting. I chopped the veggies, simmered the sauce, and let the steam from the rice fog up the kitchen windows. It took about 40 minutes, but it felt like an hour of meditation. By the time I sat down with a steaming bowl, my shoulders had dropped. My breathing had slowed. I felt human again.
Now, these bowls have become my anchor. Whenever the week gets loud or my energy gets low, I make a batch of these chicken teriyaki rice bowls. They’re not just dinner; they’re a small act of self-care. They’re easy enough to make when you’re tired, but nourishing enough to remind you that you’re worth the effort.
If you’ve been looking for a way to bring a little more gentleness into your weeknight routine, this is it. It’s simple, it’s forgiving, and it tastes like comfort.
Why These Bowls Are Your New Self-Care Ritual
There’s something deeply satisfying about knowing exactly what’s in your food, especially when you’re running on empty. Making your own meal prep chicken teriyaki rice bowls isn’t about efficiency—it’s about intention. It’s about taking a few quiet moments to nourish yourself.
Here’s why I keep coming back to this recipe:
It’s Gentle on the Brain — Seriously, if you can chop a chicken breast and stir a pot, you can make this. There are no complex techniques, no delicate timing that will stress you out. It’s just simple, honest food. I’ve made this on days when I could barely focus, and it still turned out perfect.
It Tastes Better with Time — I know, I know, people say teriyaki is best fresh. But I’ve found that the flavors actually meld beautifully overnight. The chicken gets more tender, the sauce gets richer. I deliberately make extra on Sunday so I have these ready for Wednesday when I need a little pick-me-up.
It’s a Comforting Ritual — The process itself is calming. The smell of ginger and soy sauce simmering is like an aromatherapy session for your kitchen. It slows you down. It reminds you to breathe. It’s not about getting dinner on the table fast; it’s about creating a moment of peace.
It’s Nourishing, Not Heavy — Unlike a heavy pasta dish or a greasy burger, these bowls leave you feeling satisfied but light. The combination of lean protein, fluffy rice, and crisp veggies is exactly what my body craves when I’m tired. It’s fuel, but it feels like a gift.
It’s Flexible — Maybe you want extra veggies. Maybe you want to swap the rice for quinoa. Maybe you just want to eat it straight from the pan because you’re too tired to plate it. That’s the beauty of this recipe—it bends to your needs.
This is my go-to when I need to take care of myself. No fancy ingredients, no stress, just reliable, delicious food that makes me feel good.
Ingredients for Gentle, Nourishing Bowls
Here’s the thing about this recipe: it uses simple, wholesome ingredients that you probably already have, or can grab easily on your way home. I’m particular about a few things here, not because they’re fancy, but because they make the flavor taste like *real* food.
For the Chicken
Chicken thighs (1.5 lbs / 700g) — I use boneless, skinless thighs because they stay juicy even if I overcook them slightly (which happens when I’m tired). Breast works too, but thighs are more forgiving. Look for ones that feel plump and fresh.
Neutral oil (1 tablespoon) — I use avocado oil or grapeseed oil. Something with a high smoke point so it doesn’t burn while I’m searing the chicken. Olive oil works, but it has a stronger flavor that might clash with the teriyaki.
Salt and black pepper — Just a pinch of each to season the chicken before cooking. Don’t skip the salt—it brings out the flavor of the meat.
For the Teriyaki Sauce
Soy sauce (½ cup / 120ml) — I use low-sodium soy sauce so I can control the saltiness. Regular soy sauce works, but you might need to reduce the added salt in the recipe. Tamari is a great gluten-free option.
Mirin (¼ cup / 60ml) — This is the secret weapon. It’s a sweet rice wine that adds depth and gloss to the sauce. If you can’t find mirin, use a mix of 2 tablespoons rice vinegar and 2 tablespoons sugar, but real mirin makes a huge difference.
Dark brown sugar (3 tablespoons) — I love dark brown sugar because it has a molasses richness that pairs beautifully with the soy. Light brown sugar works too, but dark is more comforting.
Fresh ginger (1 tablespoon, grated) — Yes, fresh. Grated ginger adds a bright, spicy warmth that ground ginger just can’t match. It’s anti-inflammatory too, which is nice when you’re feeling under the weather.
Garlic (3 cloves, minced) — Fresh garlic only. Jarred garlic has a metallic taste that doesn’t belong in this gentle, wholesome sauce.
Water (¼ cup / 60ml) — To thin out the sauce slightly so it coats the chicken without being too thick.
Cornstarch (1 tablespoon) — Mixed with 1 tablespoon of cold water to make a slurry. This thickens the sauce into that silky, glossy coating we love.
For the Bowls
Short-grain white rice (1.5 cups dry / 300g) — I use Japanese short-grain rice because it’s sticky and tender, perfect for soaking up the sauce. Jasmine rice works too, but it’s fluffier and less cohesive. Sushi rice is also great.
Broccoli florets (2 cups) — I steam or roast the broccoli until it’s tender-crisp. It adds a nice crunch and a pop of green. You can also use cauliflower if you prefer.
Cucumber (1 medium, sliced) — Raw cucumber adds a cool, refreshing contrast to the warm, savory chicken. It’s like a palate cleanser in every bite.
Avocado (1 ripe, sliced) — Creamy avocado adds healthy fats and a luxurious texture. It makes the bowl feel extra special.
Green onions (2-3 stalks, thinly sliced) — For a fresh, oniony bite and a beautiful garnish. I save some for the sauce and some for the top.
Sesame seeds (1 tablespoon, toasted) — Toasted sesame seeds add a nutty aroma and a little crunch. It’s the final touch that makes the bowl look complete.
Optional: Sesame oil (1 teaspoon) — A drizzle of toasted sesame oil at the end adds an incredible aroma. It’s optional, but I highly recommend it.
Equipment You’ll Need
You don’t need anything fancy for this. Here’s what I actually use:
Rice cooker or medium pot — I love my rice cooker because I can set it and forget it while I make the rest of the meal. But a medium pot with a tight-fitting lid works perfectly fine.
Large skillet — 12-inch is ideal for searing the chicken and simmering the sauce. I use a stainless steel skillet because it gives a nice sear, but non-stick works too.
Sharp knife — For slicing the chicken and chopping veggies. A dull knife is frustrating and dangerous. Keep yours sharp.
Grater — For the fresh ginger. A microplane is nice, but a box grater works too.
Small bowl — For mixing the cornstarch slurry. Don’t add dry cornstarch directly to the sauce—it’ll clump.
Measuring cups and spoons — Standard stuff. Accuracy matters a bit here for the sauce balance.
Steamer basket or microwave-safe bowl — For cooking the broccoli. I usually steam it in the microwave with a splash of water for 2-3 minutes.
How to Make It: Step-by-Step
Alright, let’s make this. I’m walking you through exactly how I do it, including the little tricks that make it so soothing.
Step 1: Cook the Rice (Start This First)
Wash the rice until the water runs clear. This removes excess starch and prevents the rice from being gummy. Add it to your rice cooker or pot with the appropriate amount of water (usually a 1:1 ratio for short-grain). Cook according to package directions. Once it’s done, let it sit covered for 10 minutes to steam. This makes the rice fluffy and tender. While it rests, you can prep the other ingredients.
Step 2: Prep the Chicken
Pat the chicken thighs dry with paper towels. This is important—it helps them sear nicely instead of steaming. Season both sides with a little salt and pepper. Slice the chicken into bite-sized pieces or keep them whole if you prefer. I usually cut them into strips so they cook evenly and are easy to eat with a fork.
Step 3: Make the Teriyaki Sauce
In a small bowl, whisk together the soy sauce, mirin, brown sugar, grated ginger, minced garlic, and water. Set aside. In another tiny bowl, mix the cornstarch with 1 tablespoon of cold water until smooth. This is your slurry. Don’t skip this step—if you add dry cornstarch to the hot sauce, it’ll form lumps.
Step 4: Sear the Chicken
Heat the neutral oil in your large skillet over medium-high heat. Once the oil shimmers, add the chicken in a single layer. Don’t crowd the pan—if you do, the chicken will steam instead of sear. Cook for 3-4 minutes per side, or until golden brown and cooked through. Remove the chicken from the skillet and set it aside on a plate. Don’t worry if it’s not 100% done yet; it’ll finish cooking in the sauce.
Step 5: Simmer the Sauce
Reduce the heat to medium. Pour the soy sauce mixture into the same skillet. Let it simmer for 2-3 minutes, stirring occasionally, until it starts to bubble and smell amazing. The ginger and garlic will infuse the sauce, filling your kitchen with a warm, inviting aroma.
Step 6: Thicken the Sauce
Give the cornstarch slurry a quick stir (it settles fast) and pour it into the simmering sauce. Stir constantly. The sauce will thicken quickly—within 1-2 minutes. It should be glossy and coat the back of a spoon. If it’s too thick, add a splash of water. If it’s too thin, let it simmer a bit longer.
Step 7: Combine and Finish
Return the chicken to the skillet. Toss it in the sauce until every piece is coated. Let it sit for a minute to absorb the flavors. Turn off the heat. Drizzle with a little sesame oil if you’re using it.
Step 8: Assemble the Bowls
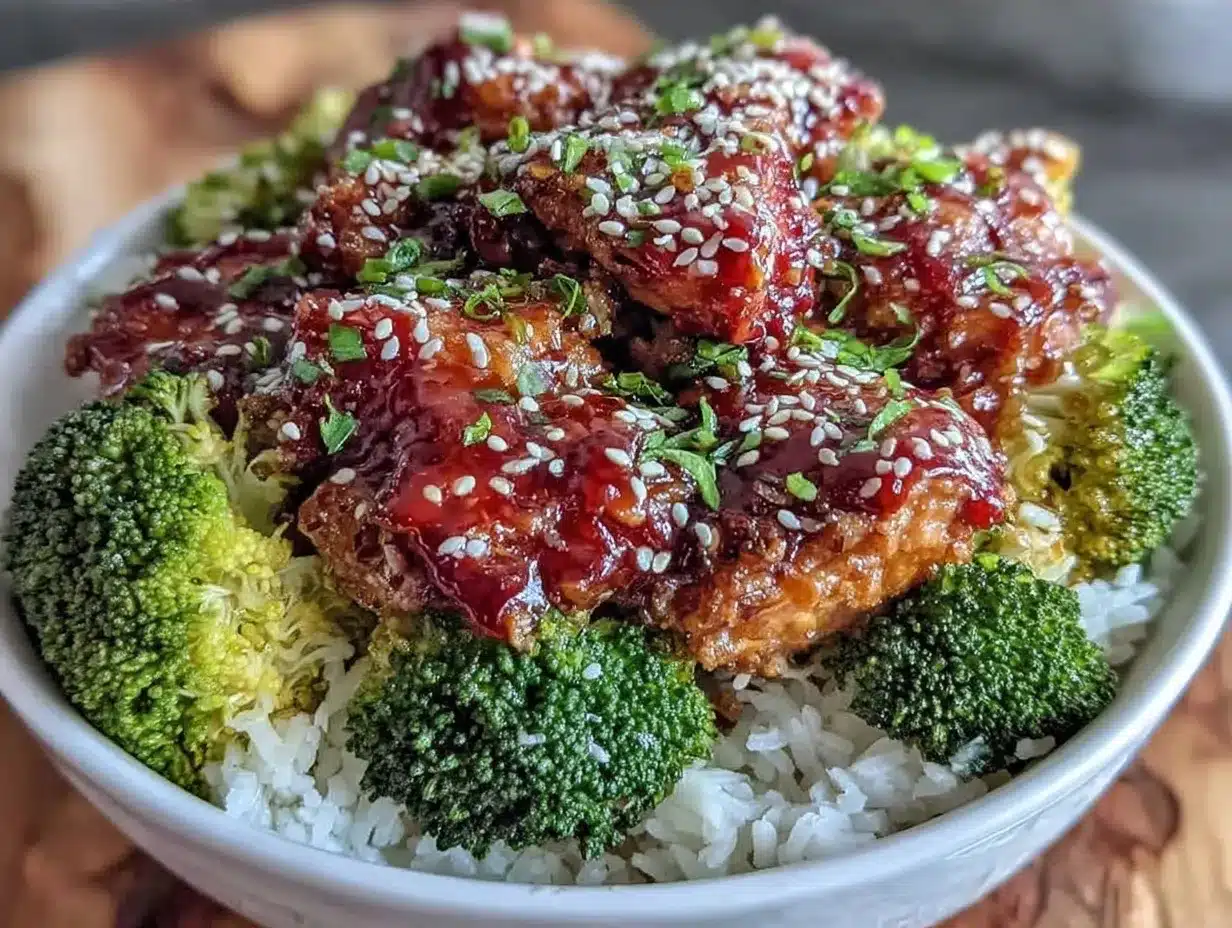
Fluff the rice with a fork. Divide it among bowls. Top with the saucy chicken, steamed broccoli, sliced cucumber, and avocado. Sprinkle with green onions and toasted sesame seeds. Serve warm.
Total Time: About 40 minutes (mostly hands-off while the rice cooks).
Expert Tips for Perfect Bowls
Here’s everything I’ve learned from making these dozens of times. These tips will save you from my mistakes.
Wash Your Rice — I can’t stress this enough. Washing the rice until the water is clear makes a huge difference in texture. Unwashed rice can be gummy and sticky in a bad way. Washed rice is fluffy and separate.
Pat the Chicken Dry — Wet chicken doesn’t sear. It steams. Dry chicken gets a beautiful golden crust. It’s a small step, but it changes everything.
Use Fresh Ginger — Ground ginger is fine for baking, but for this sauce, fresh ginger is essential. It has a bright, spicy kick that ground ginger just can’t replicate. Grate it on a microplane for the smoothest texture.
Don’t Rush the Sauce — Let the sauce simmer before adding the cornstarch. This allows the flavors to meld and the alcohol in the mirin to cook off. It makes the sauce taste more balanced and less sharp.
Toast Your Sesame Seeds — Dry toast them in a small pan for 1-2 minutes until they’re fragrant and lightly golden. It adds a nutty depth that raw seeds just don’t have.
Cook the Broccoli Right — Don’t overcook it. You want it tender-crisp, not mushy. Steam it for 2-3 minutes or roast it at 400°F for 15 minutes. It should still have a bit of bite.
Variations & Substitutions
Once you’ve nailed the basic version, here’s how you can mix it up. I’ve tried all of these.
Shrimp Teriyaki — Swap chicken for large shrimp. Cook them for 2-3 minutes until pink. They cook faster, so add them to the sauce at the end.
Tofu Teriyaki — Use extra-firm tofu, pressed and cubed. Pan-fry until crispy, then add to the sauce. It’s a great vegetarian option that soaks up the flavor beautifully.
Brown Rice or Quinoa — Swap white rice for brown rice or quinoa. Brown rice takes longer to cook, so start it 20 minutes earlier. Quinoa is quicker and adds a nice nutty flavor.
Spicy Teriyaki — Add 1 teaspoon of sriracha or chili flakes to the sauce. It adds a nice kick if you like a little heat.
More Veggies — Add sliced bell peppers, snap peas, or carrots. Sauté them with the chicken or steam them with the broccoli.
Gluten-Free — Use tamari instead of soy sauce and ensure your mirin is gluten-free (some brands contain wheat). Everything else is naturally gluten-free.
Serving & Storage
How to Serve: I usually serve these bowls warm, straight from the skillet. It feels cozy and rustic. But here are other ways I’ve enjoyed them:
Side Dishes: A simple side salad with sesame dressing, or some miso soup if you have time. Sometimes I just eat it plain, because it’s complete enough.
Toppings Bar: When I have guests, I put out extra sesame seeds, green onions, chili flakes, and lime wedges. Everyone customizes their bowl.
Storage Instructions:
Refrigerator: Store in airtight containers for up to 4 days. The rice will firm up in the fridge, which is normal. The flavors actually get better as they meld.
Reheating: Best method: Add a splash of water or broth to the bowl, cover, and microwave for 1-2 minutes. The steam rehydrates the rice. Alternatively, reheat in a skillet over low heat with a splash of water. Avoid the oven—it dries out the chicken.
Freezing: I don’t recommend freezing these. The rice texture changes, and the veggies can get mushy. It’s best enjoyed fresh or refrigerated.
Meal Prep Strategy: Make a big batch on Sunday. Portion into containers. Grab one on busy weeknights when you need a nourishing, easy meal. It’s my secret weapon for self-care nights.
Nutrition Information
I’m not a nutritionist, but here’s the breakdown if you’re tracking. This is per serving (based on 4 servings).
Calories: 450
Protein: 30g
Carbs: 55g
Fiber: 4g
Sugar: 12g
Fat: 12g
Sodium: 800mg (varies with soy sauce)
What’s Good: High in protein, good fiber from veggies and rice, healthy fats from avocado. It’s a balanced meal.
What to Know: Sodium can be high depending on the soy sauce. Use low-sodium soy sauce to reduce this. The sugar comes from the mirin and brown sugar, but it’s not excessive.
My Take: This is comfort food that’s actually nourishing. It’s not a diet recipe, but it’s way better than takeout. When I want to make it lighter, I use less rice and more veggies. But usually? I just eat a reasonable portion and enjoy it.
Final Thoughts
So that’s my go-to meal prep chicken teriyaki rice bowls. I’ve probably talked your ear off at this point, but when you make a recipe this often, you have a lot to say about it.
This has saved me on more tired evenings than I can count. It’s my answer to “what’s for dinner” when I’m drained, don’t want takeout, and still want something that tastes really good. It’s gentle, it’s simple, and it makes me feel cared for.
Make it yours! Try different veggies, swap the rice, adjust the spice. The best recipes are the ones you adapt to your needs. And if you’re looking for other ways to nourish yourself, you might enjoy my cozy fall white chicken chili for a different kind of comfort, or my fall sheet pan maple dijon chicken when you want something easy and hands-off.
If you make this, drop a comment and let me know how it went. I love hearing how recipes turn out in your kitchen. And if something doesn’t work, tell me that too—I’m here to help.
Happy cooking. And I hope your kitchen smells half as good as mine does right now.
Frequently Asked Questions
Can I use chicken breast instead of thighs?
Yes, but breast meat can dry out easily. If you use breast, cook it just until done and don’t over-sear. Thighs are more forgiving and stay juicier, which is nice when you’re meal prepping.
What is mirin, and can I skip it?
Mirin is a sweet rice wine used in Japanese cooking. It adds sweetness and gloss. If you can’t find it, you can substitute with a mix of rice vinegar and sugar, but real mirin is worth seeking out. It’s usually in the Asian aisle of most grocery stores.
Can I make this ahead for the week?
Absolutely. That’s the point of meal prep! Make it on Sunday, store in containers in the fridge for up to 4 days. Reheat gently with a splash of water.
Why did my sauce turn out too thick?
Cornstarch thickens quickly. If it’s too thick, add a splash of water and stir. If it’s too thin, let it simmer a bit longer or add a tiny bit more slurry.
Can I freeze the rice?
I don’t recommend it. Rice texture changes when frozen and reheated—it can become grainy or hard. It’s best made fresh or stored in the fridge for a few days.
Is this recipe gluten-free?
Not as written, because soy sauce contains wheat. To make it gluten-free, use tamari (gluten-free soy sauce) and ensure your mirin is gluten-free. Everything else is naturally gluten-free.
Can I add other vegetables?
Yes! Bell peppers, snap peas, carrots, and mushrooms all work well. Just make sure to cook them appropriately—some need more time than others.
Pin This Recipe!
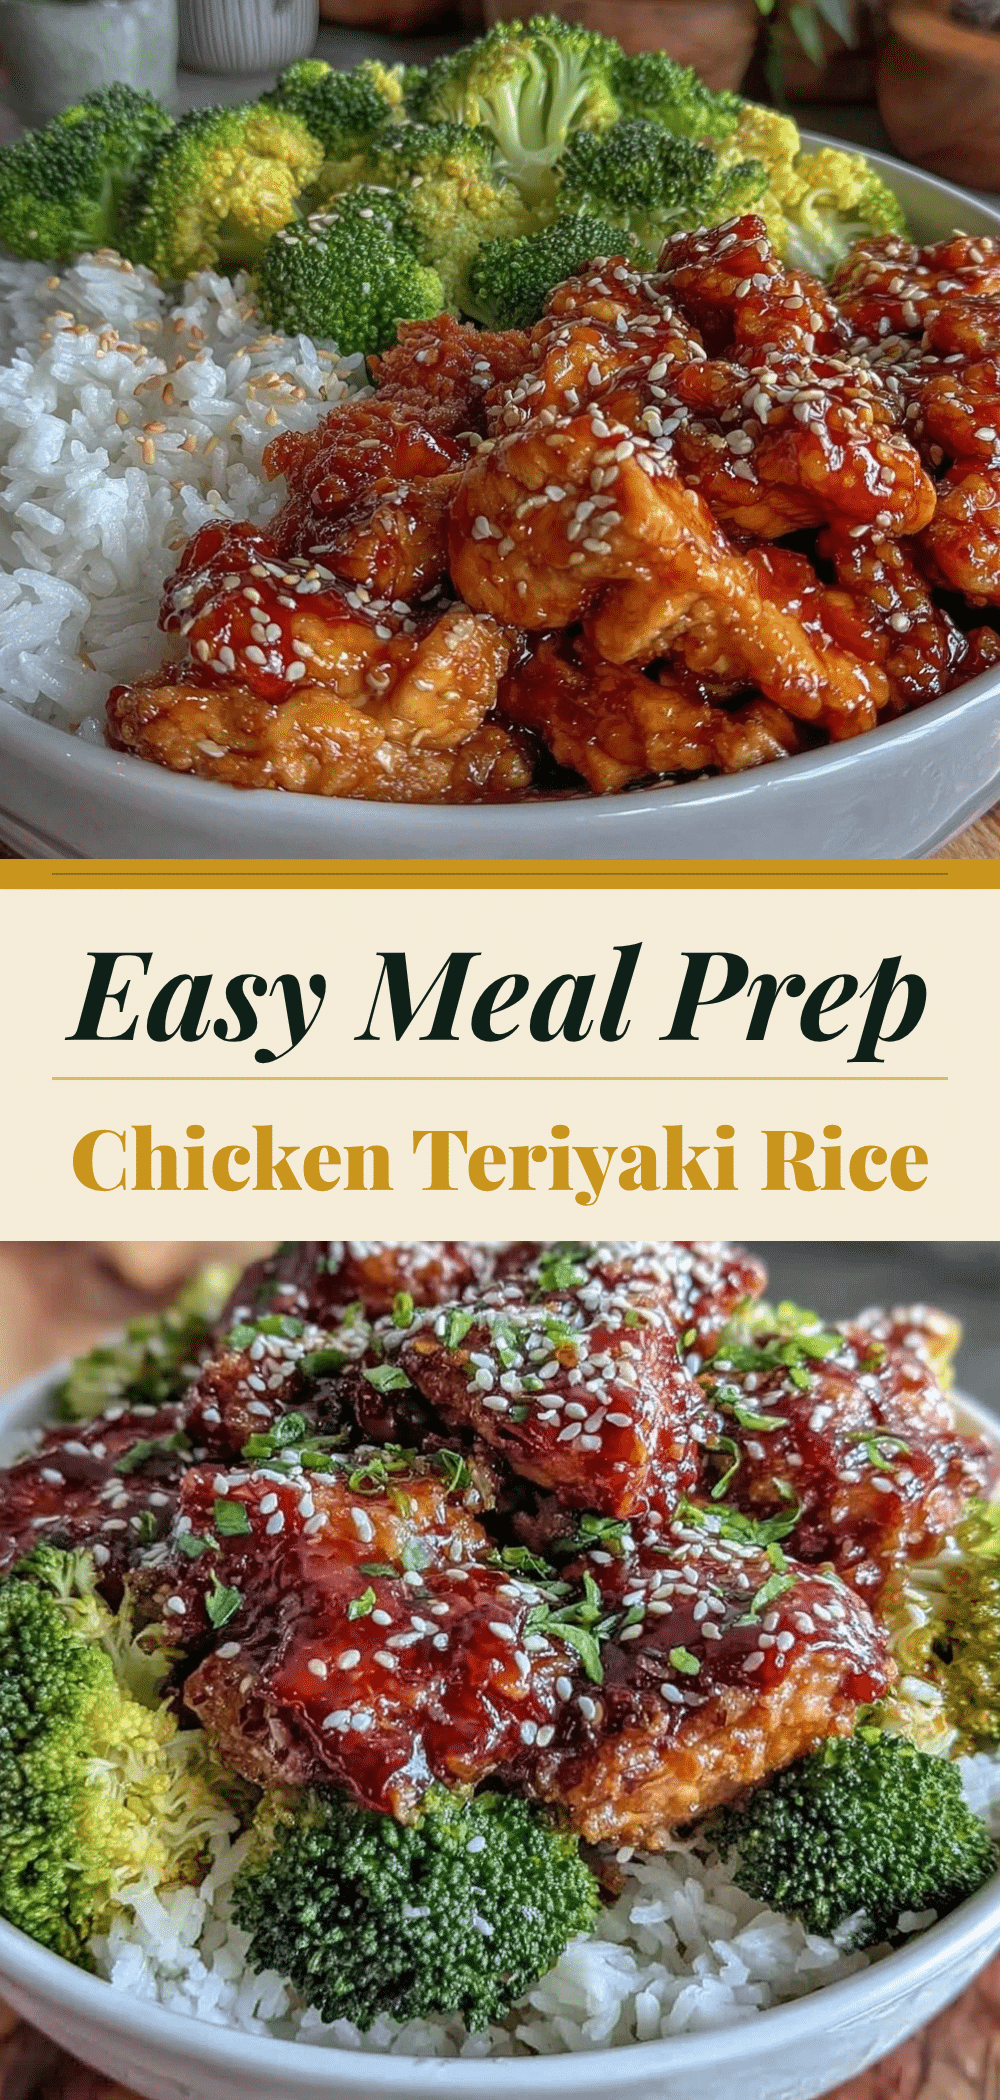
Meal Prep Chicken Teriyaki Rice Bowls: Easy Self Care Dinner
- Total Time: 40 minutes
- Yield: 4 servings 1x
Description
A comforting, nourishing meal prep recipe featuring silky chicken thighs in a homemade teriyaki sauce served over fluffy rice with fresh vegetables. Perfect for busy weeknights when you need a gentle, self-care dinner.
Ingredients
- 1.5 lbs boneless, skinless chicken thighs
- 1 tablespoon neutral oil (avocado or grapeseed)
- Salt and black pepper
- 1.5 cups short-grain white rice
- ½ cup low-sodium soy sauce
- ¼ cup mirin
- 3 tablespoons dark brown sugar
- 1 tablespoon fresh ginger, grated
- 3 cloves garlic, minced
- ¼ cup water
- 1 tablespoon cornstarch mixed with 1 tablespoon cold water
- 2 cups broccoli florets
- 1 medium cucumber, sliced
- 1 ripe avocado, sliced
- 2–3 stalks green onions, thinly sliced
- 1 tablespoon toasted sesame seeds
- 1 teaspoon toasted sesame oil (optional)
Instructions
- Wash rice until water runs clear. Cook in rice cooker or pot with 1:1 water ratio. Let sit covered for 10 minutes to steam.
- Pat chicken thighs dry and season with salt and pepper. Slice into bite-sized pieces or strips.
- In a small bowl, whisk together soy sauce, mirin, brown sugar, ginger, garlic, and water. Set aside.
- In another small bowl, mix cornstarch with 1 tablespoon cold water to create a slurry.
- Heat neutral oil in a large skillet over medium-high heat. Sear chicken in a single layer for 3-4 minutes per side until golden brown. Remove chicken and set aside.
- Reduce heat to medium. Pour soy sauce mixture into the skillet and simmer for 2-3 minutes.
- Stir the cornstarch slurry and pour into the simmering sauce. Stir constantly until the sauce thickens and becomes glossy (1-2 minutes).
- Return chicken to the skillet and toss to coat in the sauce. Let sit for a minute to absorb flavors. Drizzle with sesame oil if using.
- Fluff rice and divide among bowls. Top with chicken, steamed broccoli, cucumber, avocado, green onions, and sesame seeds. Serve warm.
Notes
Wash rice thoroughly to prevent gumminess. Pat chicken dry for a better sear. Use fresh ginger for best flavor. Toast sesame seeds for nutty aroma. Sauce thickens quickly, so watch closely. Rice texture changes when frozen, so store in fridge for up to 4 days.
- Prep Time: 15 minutes
- Cook Time: 25 minutes
- Category: Main Course
- Cuisine: Japanese
Nutrition
- Serving Size: 1 bowl
- Calories: 450
- Sugar: 12
- Sodium: 800
- Fat: 12
- Saturated Fat: 2
- Carbohydrates: 55
- Fiber: 4
- Protein: 30
Keywords: chicken teriyaki, meal prep, rice bowls, self care dinner, healthy dinner, easy weeknight meals, teriyaki sauce, comfort food


