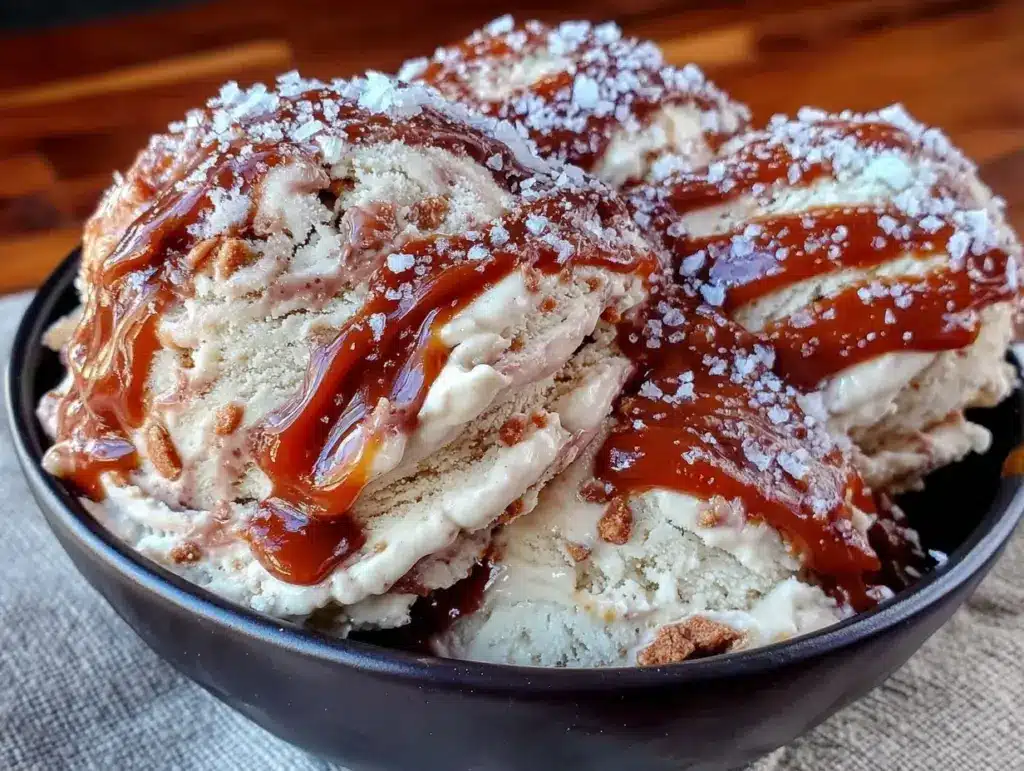
There is a specific kind of panic that hits around 4:30 PM on a Tuesday. You know the one. You’re staring into the open freezer, and it’s empty except for a bag of frozen peas and that half-eaten box of waffle cones from three weeks ago. You want dessert. You want something sweet, something comforting, something that doesn’t require turning on the stove or dealing with a 45-minute bake time. But you also don’t want to run to the store.
For years, I lived in that panic. Then, I started batch-prepping. Not just meals, but desserts. Specifically, this no-churn salted caramel ice cream.
It sounds counterintuitive. Ice cream is usually a “make it the day you want to eat it” thing, right? Wrong. Once I figured out the ratio of sweetened condensed milk to whipped heavy cream and perfected my homemade caramel, this became my secret weapon for weeknight sanity. I make one big batch on Sunday afternoon. I portion it out. And suddenly, I have four days of premium, creamy, homemade dessert waiting in the freezer. No churning. No ice cream maker. Just pure, organized indulgence.
If you’ve ever felt guilty about buying store-bought pints because they’re full of weird stabilizers and cost $6 a pop, this is your answer. I’ve tested this recipe enough times to know exactly how long it lasts, how it freezes, and the one trick that keeps it from getting icy. It’s efficient, it’s delicious, and it’s going to save your dessert game this week.
Why This Batch-Prep Ice Cream Will Change Your Week
I don’t make this because I’m a pastry chef. I make this because I’m a human being who needs a little joy at the end of a long day, and I refuse to spend my Sunday evening scrubbing an ice cream maker or waiting for a custard to temper. This method is stupidly simple, and here is why it fits perfectly into a meal-prep mindset.
- Zero Equipment Needed — Seriously. If you have a mixing bowl and a whisk (or an electric mixer), you’re good to go. No ice cream machine to clean. No special parts to store. Just two bowls and a loaf pan.
- Make It Once, Eat It Four Times — The yield is perfect for a week’s worth of nightly treats. You make the base, pour it in, freeze it, and you’re done. You don’t need to think about dessert until Wednesday.
- Texture That Actually Works After Freezing — Many no-churn recipes turn into rock-hard ice blocks. This one doesn’t. The fat content in the cream and the sugar in the condensed milk keep it scoopable, even after 48 hours in the freezer. I’ve eaten day 1 and day 4 versions, and the texture is consistent.
- Customizable Portions — You can freeze the whole loaf, or you can split it into smaller containers. I like to make individual portions in small glass containers so I can grab one and go without digging through a big pan.
- Better Than Store-Bought — I’m not being dramatic. Homemade caramel has a depth of flavor that store-bought just can’t touch. And because you control the salt level, you get that perfect sweet-salty balance without the metallic aftertaste of some commercial brands.
This isn’t just a recipe. It’s a strategy. It’s the difference between eating cereal for dinner because you’re tired and having a proper, satisfying end to your meal. Plus, it pairs beautifully with other batch-prepped treats. If you’re into making ahead desserts, you might also enjoy my creamy banana pudding or my foolproof creme brulee for when you want something a bit more elegant for guests.
Ingredients You’ll Need (And What to Buy)
Here’s the best part: you probably have most of these ingredients already. This isn’t a grocery list that requires a specialty trip. It’s pantry staples and fridge basics. I’m particular about three things here, and I’ll tell you exactly why.
For the Caramel Base
Granulated sugar (1 cup / 200g) — This is your caramel foundation. Don’t use brown sugar for the base; it has molasses that can make the caramel taste too much like molasses candy rather than pure caramel. White sugar gives you that classic, clean caramel flavor.
Water (¼ cup / 60ml) — Just helps the sugar dissolve evenly before it starts melting. Don’t skip it, or you’ll get clumps.
Heavy whipping cream (½ cup / 120ml) — This is for the caramel sauce itself. It must be heavy cream, not half-and-half. It needs the fat to emulsify with the hot sugar. I use whatever is on sale, but it must be at least 36% fat.
Kosher salt (1 teaspoon) — For the caramel. I use kosher because it dissolves easily. If you use table salt, reduce to ¾ teaspoon because it’s denser.
For the Ice Cream Base
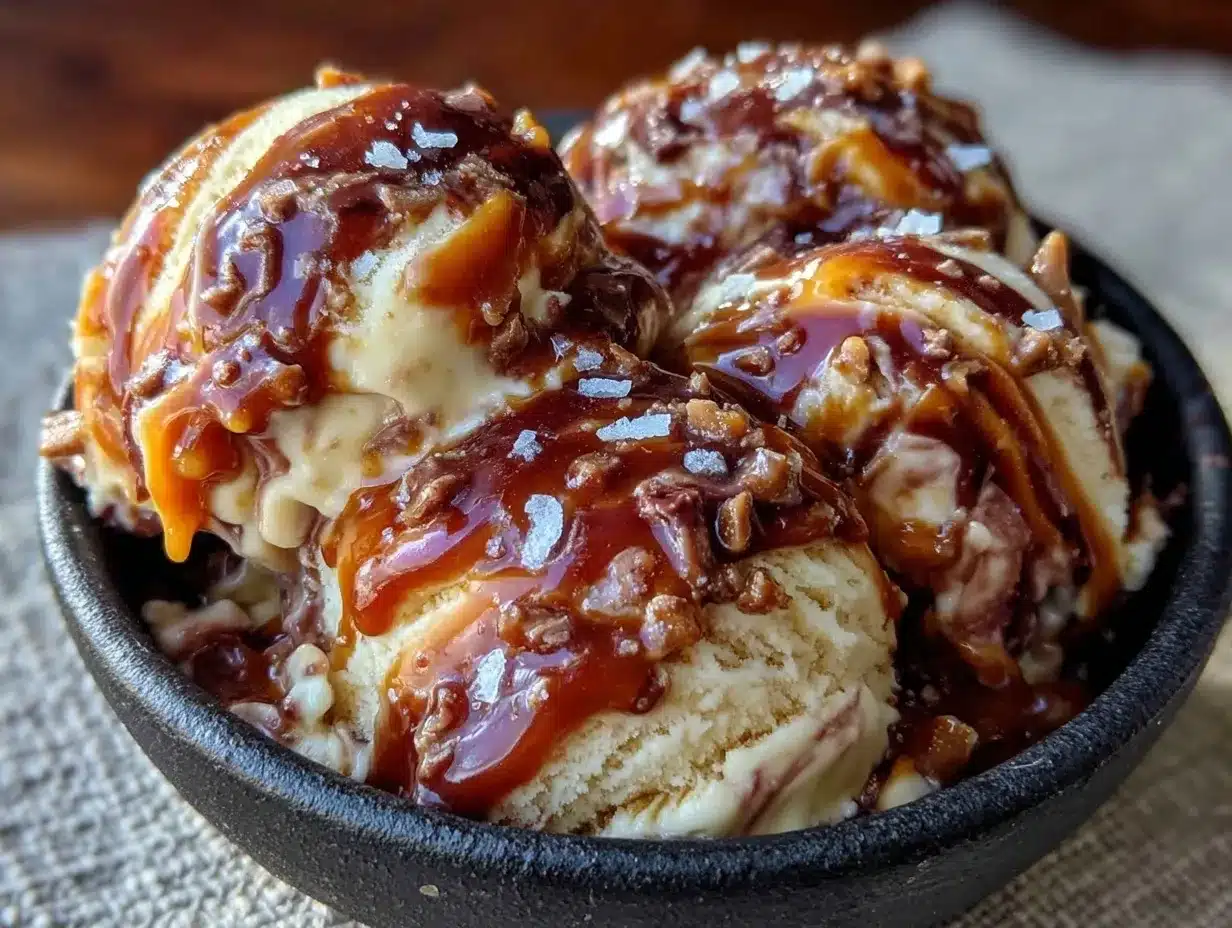
Heavy whipping cream (2 cups / 480ml) — This is the big batch. It must be cold. I mean, fridge-cold. If your cream is warm, it won’t whip. I take it out of the fridge 10 minutes before I start, not more.
Sweetened condensed milk (14 oz / 397g can) — Do not use evaporated milk. They are not the same. Condensed milk is thick, sugary, and keeps the ice cream soft. Buy the full-fat version. Low-fat versions change the texture too much.
Vanilla extract (2 teaspoons) — Use real vanilla extract, not imitation. It makes a huge difference in the final flavor. I keep a good bottle of Nielsen-Massey in my pantry.
Flaky sea salt (for topping) — Maldon is my go-to. It gives you those pretty, crunchy salt crystals on top. If you can’t find flaky salt, just use a pinch of kosher salt when serving.
Optional: Dark chocolate chips (½ cup) — I like to swirl these in for a rocky road vibe. It adds a nice crunch and bitterness to cut the sweetness.
Shopping Shortcuts
- Pre-peeled garlic? Not needed here, but if you make the cozy fall white chicken chili on Monday, you’ll be glad you bought it.
- Store-bought caramel? You can use it, but homemade is better. If you’re in a rush, buy a jar of salted caramel sauce and skip the caramel-making step. It’s a valid hack.
Equipment You Actually Need
You don’t need fancy gear. Here’s what I use, and what I’d use if I were forced to improvise.
Medium saucepan — For making the caramel. I use a 2-quart saucepan with a thick bottom. A thin bottom will burn the sugar. Stainless steel is best because you can see the color change clearly.
Large mixing bowl — For whipping the cream. Glass or stainless steel works best. Plastic can retain odors.
Electric hand mixer or stand mixer — You *can* whip by hand, but it takes 10 minutes and your arm will hurt. I use a hand mixer. It’s faster and less tiring.
Loaf pan or 9×9 baking dish — This is your mold. A standard 9×5 loaf pan gives you nice rectangular slices. A 9×9 square pan gives you squares. Both work. Grease it lightly with butter or spray it with non-stick spray so it comes out easily.
Whisk and spatula — A silicone spatula is essential for folding the cream into the condensed milk without deflating it.
Measuring cups and spoons — Standard stuff. Don’t eyeball the sugar for the caramel; it needs to be accurate for the chemistry to work.
How to Make It: Step-by-Step Batch Prep
Alright, let’s make this. I’m walking you through exactly how I do it, including the little tricks I’ve picked up over years of freezing desserts.
Step 1: Make the Salted Caramel (10 minutes)
Start by adding the sugar and water to your saucepan over medium heat. Do not stir it. Just let it sit. You’ll see it bubble and turn amber. If you stir, it might crystallize. Once it’s a deep golden color (about 5-7 minutes), remove it from the heat.
Caution: The sugar is extremely hot. Do not touch it. Carefully pour in the heavy cream. It will bubble up violently. That’s normal. Stir gently until the bubbles settle.
Return to low heat and stir in the kosher salt. Cook for 1 more minute until smooth. Pour into a heat-proof bowl and let it cool completely. If you put hot caramel into the cream, you’ll melt the whipped cream. I usually make the caramel first and let it sit while I prep the rest.
Step 2: Whip the Cream (5 minutes)
In your large mixing bowl, whip the cold heavy cream until you have stiff peaks. This means when you lift the beater, the cream stands up straight. Don’t over-whip it into butter, but don’t under-whip it either. Stiff peaks are key for structure.
Step 3: Fold the Base (3 minutes)
Add the sweetened condensed milk and vanilla extract to the whipped cream. Gently fold them together using your spatula. Use a figure-eight motion. You want to combine them without losing all that air you just whipped in. It should look uniform and fluffy.
Step 4: Add the Caramel Swirl (2 minutes)
Now, here’s the fun part. Pour in about half of your cooled caramel. Fold it in gently—you’ll get a marbled effect. Then, pour the remaining caramel on top. Do not mix it all in. Just let it sit on top. This creates those beautiful ribbons of caramel throughout the ice cream.
If you’re adding chocolate chips, fold them in now.
Step 5: Freeze and Portion (4+ hours)
Pour the mixture into your prepared loaf pan. Smooth the top with a spatula. If you want, sprinkle a little flaky sea salt on top now for that professional look.
Cover tightly with plastic wrap or aluminum foil. Freeze for at least 4 hours, but overnight is best. I usually freeze it Sunday night, and by Wednesday, it’s perfectly set.
Bonus Tip: If you want grab-and-go portions, pour the mixture into small glass jars or containers before freezing. You’ll have four individual servings ready to go. Just thaw for 5 minutes before eating.
Expert Tips for Perfect Texture
Here’s everything I’ve learned from making this dozens of times. These tips will save you from my mistakes.
- Cold Cream is Non-Negotiable — If your cream is warm, it won’t whip. I keep my bowls in the fridge if it’s a hot day. Cold cream whips faster and holds its shape better.
- Cool the Caramel Completely — I can’t stress this enough. If the caramel is warm, it will melt the whipped cream. You’ll end up with a soup, not ice cream. I usually make the caramel the day before, or at least 2 hours ahead.
- Don’t Over-Mix the Caramel — When you fold the caramel into the cream, stop when you see streaks. If you mix it too much, you lose the marbled look and the flavor becomes uniform. I like the contrast of sweet cream and salty caramel.
- Use a Loaf Pan for Slices — If you want neat slices for serving, use a loaf pan. If you want scoops, use a square pan or individual cups. The shape dictates how you eat it.
- Let It Sit Before Scooping — Ice cream gets hard in the freezer. If you take it out and try to scoop it immediately, you’ll struggle. Let it sit on the counter for 5-10 minutes. It will soften just enough to scoop easily.
For more tips on making ahead desserts, check out my ultra creamy no-churn salted caramel ice cream guide, which goes deeper into the science of no-churn textures.
Variations & Substitutions
Once you’ve nailed the basic version, here’s how you can mix it up. I’ve tried all of these.
- Mocha Version — Add 2 tablespoons of instant espresso powder to the condensed milk. It pairs amazingly with the caramel.
- Cookie Dough Swirl — Fold in ½ cup of mini chocolate chips and ½ cup of edible cookie dough bits. It’s like a dessert within a dessert.
- Butterscotch — Swap the white sugar for brown sugar in the caramel step. It gives a deeper, molasses-like flavor.
- Dairy-Free — Use coconut cream (the thick part from a can of full-fat coconut milk) instead of heavy cream, and dairy-free condensed milk. It’s richer and has a coconut flavor, but it works.
- Gluten-Free — This recipe is naturally gluten-free. Just ensure your vanilla extract and chocolate chips (if using) are certified GF.
Serving & Storage
How to Serve:
I usually serve this straight from the loaf pan at the dinner table—it looks rustic and stays cold. But here are other ways I’ve enjoyed it:
- With Warm Brownies — Serve a scoop over a warm ultra-fudgy one-bowl brownie. The contrast of hot and cold is incredible.
- With Apple Crisp — It pairs perfectly with warm fruit desserts like my fall honeycrisp apple crisp.
- With Pie — A scoop on top of carrot cake or pumpkin pie is classic.
Storage Instructions:
Refrigerator: This doesn’t store well in the fridge. It will melt. Keep it in the freezer.
Freezer: Store in an airtight container for up to 2 weeks. The caramel might harden slightly, but it’ll soften when you take it out. Wrap the pan tightly in plastic wrap and then foil to prevent freezer burn.
Reheating: No reheating needed. Just let it sit on the counter for 5-10 minutes before scooping. If it’s too hard, let it sit longer. If you’re using individual portions, just take them out 5 minutes before you want to eat.
Nutrition Information
I’m not a nutritionist, but here’s the breakdown if you’re tracking. This is a rich, calorie-dense dessert, so portion control is key.
Per Serving (based on 8 slices from a loaf pan):
- Calories: 320
- Protein: 4g
- Carbs: 35g
- Fiber: 0g
- Sugar: 32g
- Fat: 18g
- Saturated Fat: 11g
What’s Good:
– Real ingredients (cream, sugar, salt)
– No artificial preservatives
– Can be made dairy-free or gluten-free
What to Know:
– High in sugar and fat (it’s ice cream)
– Contains dairy
– Not suitable for vegan (unless modified)
My Take:
Look, this is a treat. It’s not a health food. But it’s way better than store-bought, and you know exactly what’s in it. When I want to make it lighter, I use half-and-half instead of heavy cream, but the texture suffers. Usually? I just eat a reasonable portion and enjoy it.
Final Thoughts
So that’s my go-to no-churn salted caramel ice cream! I’ve probably talked your ear off at this point, but when you make a recipe this often, you have a lot to say about it.
This has saved weeknight desserts more times than I can count. It’s my answer to “what’s for dessert” when I’m tired, don’t want to bake, and still want something that tastes really good. My family is happy, and I’m happy because I’m not stressed about cooking.
Make it yours! Try different swirls, swap in your favorite mix-ins, adjust the salt (though more is always better in my opinion). The best recipes are the ones you adapt to your family’s tastes.
If you make this, drop a comment and let me know what you think! I love hearing how recipes turn out in your kitchen. And if something doesn’t work, tell me that too—I’m here to help troubleshoot.
Happy cooking! And I hope your kitchen smells half as good as mine does right now.
Frequently Asked Questions
Q: Can I use light cream instead of heavy cream?
A: You can, but the ice cream will be icier and less creamy. Heavy cream has the fat content needed to create that smooth, rich texture. If you must use light cream, add a tablespoon of cornstarch to help stabilize it, but it won’t be the same.
Q: Why did my ice cream turn out icy?
A: Usually means you didn’t whip the cream enough, or you didn’t freeze it quickly enough. Make sure your cream is cold and whip it to stiff peaks. Also, ensure your freezer is at 0°F (-18°C) or colder. If your freezer is too warm, the ice crystals will form.
Q: Can I make this ahead for a dinner party?
A: Absolutely! Make it 2-3 days ahead. It actually gets better after 24 hours as the flavors meld. Just keep it covered tightly to prevent freezer burn. I make it the night before my parties and it’s always a hit.
Q: Why did my caramel seize up?
A: If you added cold cream to hot sugar, it might have seized. Always add the cream slowly and stir gently. If it seizes, add a splash of warm water and stir until it smooths out. It happens, but it’s fixable.
Q: Can I freeze this in ice cream containers?
A: Yes! In fact, I prefer small containers for portion control. Just fill them to the top to minimize air exposure. They’ll thaw faster than a big loaf pan, which is nice for quick servings.
Q: How long does this last in the freezer?
A> Up to 2 weeks. After that, it might start to develop freezer burn or lose its creamy texture. I usually eat it within 4-5 days, so I don’t have to worry about that.
Q: Can I use brown sugar for the caramel?
A> You can, but it will change the flavor. Brown sugar caramel is more like butterscotch. If you want classic salted caramel, stick with white sugar. If you want a deeper, molasses flavor, use brown sugar.
Pin This Recipe!
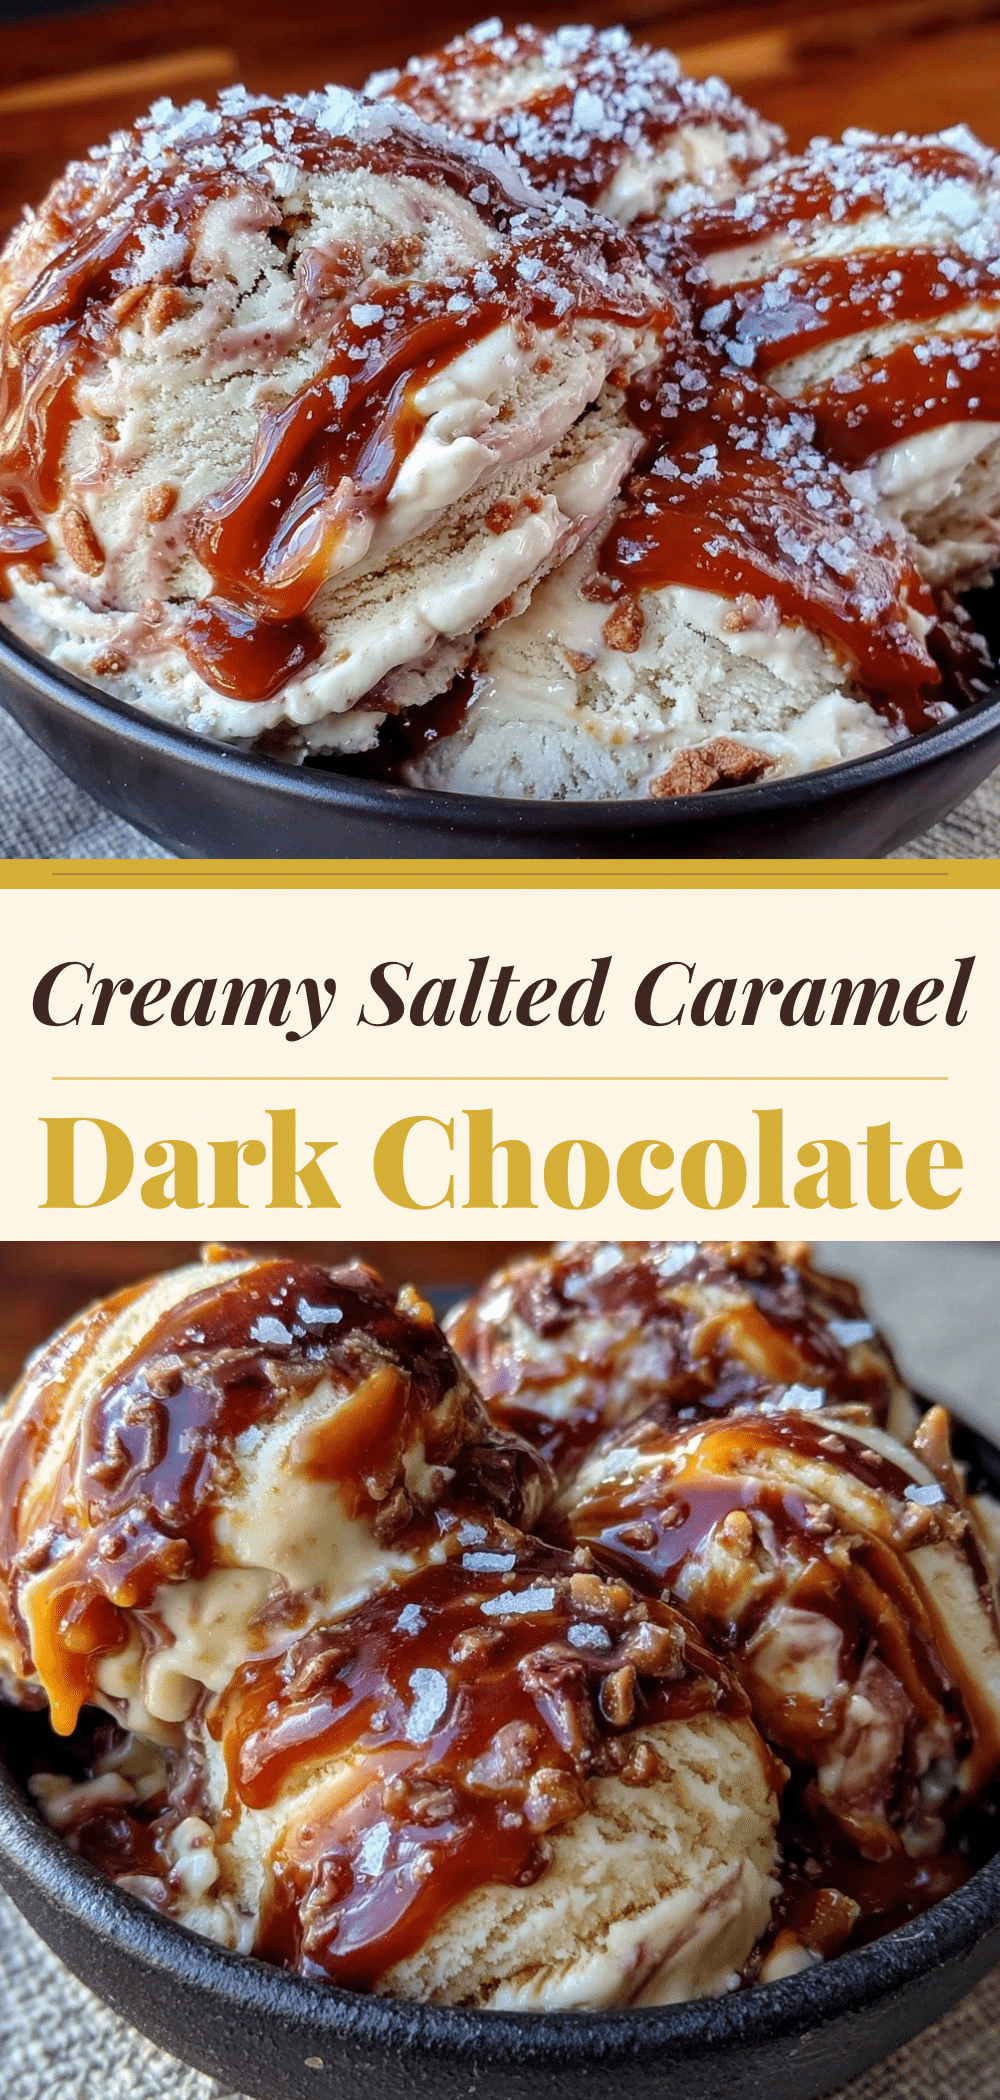
No-Churn Salted Caramel Ice Cream
- Total Time: 4 hours 30 minutes
- Yield: 8 servings 1x
Description
A simple, batch-prepped no-churn salted caramel ice cream that requires no ice cream maker. Make one big batch on Sunday to enjoy four days of creamy, homemade dessert throughout the week.
Ingredients
- 1 cup (200g) granulated sugar
- 1/4 cup (60ml) water
- 1/2 cup (120ml) heavy whipping cream (for caramel)
- 1 teaspoon kosher salt (for caramel)
- 2 cups (480ml) heavy whipping cream (for ice cream base, cold)
- 14 oz (397g) can sweetened condensed milk
- 2 teaspoons vanilla extract
- Flaky sea salt (for topping)
- 1/2 cup dark chocolate chips (optional)
Instructions
- In a medium saucepan over medium heat, combine sugar and water. Do not stir; let it bubble and turn amber (5-7 minutes) until deep golden.
- Remove from heat and carefully pour in the 1/2 cup heavy cream. It will bubble violently. Stir gently until bubbles settle.
- Return to low heat, stir in kosher salt, and cook for 1 minute until smooth. Pour into a heat-proof bowl and let cool completely.
- In a large mixing bowl, whip the 2 cups of cold heavy cream until stiff peaks form.
- Add sweetened condensed milk and vanilla extract to the whipped cream. Gently fold together using a spatula until uniform and fluffy.
- Pour half of the cooled caramel into the cream mixture and fold gently for a marbled effect. Pour remaining caramel on top without mixing it all in.
- Fold in chocolate chips if using.
- Pour mixture into a greased 9×5 loaf pan or 9×9 baking dish. Smooth top and sprinkle with flaky sea salt.
- Cover tightly and freeze for at least 4 hours, preferably overnight.
- Let sit on counter for 5-10 minutes before scooping or serving.
Notes
Ensure cream is very cold for proper whipping. Cool caramel completely before adding to cream to prevent melting. For grab-and-go portions, freeze in small individual containers. Can be made dairy-free using coconut cream and dairy-free condensed milk.
- Prep Time: 20 minutes
- Cook Time: 10 minutes
- Category: Dessert
- Cuisine: American
Nutrition
- Serving Size: 1 slice or scoop
- Calories: 320
- Sugar: 32
- Fat: 18
- Saturated Fat: 11
- Carbohydrates: 35
- Protein: 4
Keywords: no-churn ice cream, salted caramel, batch prep, freezer dessert, easy ice cream, homemade caramel, weeknight dessert


