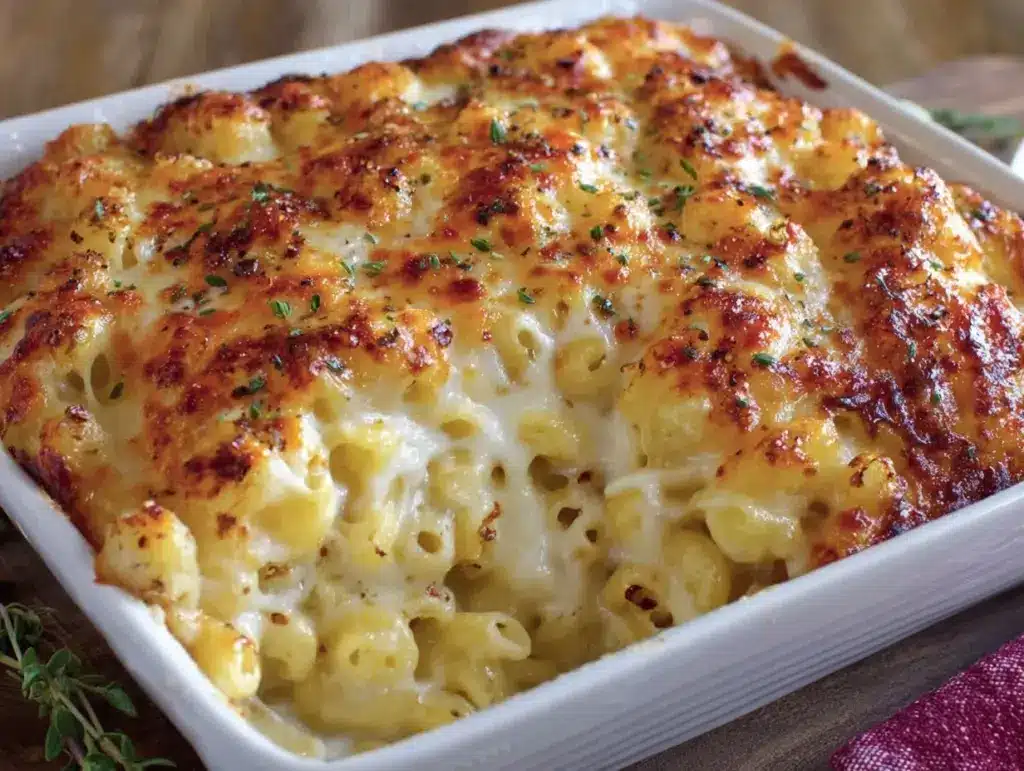
I still remember the first time I made this mac and cheese. I was twenty-two, living in a apartment with a stove that had one burner that worked consistently, and I had exactly three dollars in my wallet. I bought a box of macaroni, a block of cheddar, some milk, and a tiny tub of cream cheese because I wanted it to be fancy. I thought I was making a gourmet meal.
It was a disaster. The sauce broke. It was oily, grainy, and tasted like regret. I stared at that pot for ten minutes, wondering if I had any life left in me for cooking.
Fast forward to today. I’ve made this ultra-creamy baked mac and cheese with three cheese blend dozens of times. I’ve made it for Thanksgiving, for game day, for Tuesday nights when I just want comfort without the stress, and for when I need to impress a date who thinks they’re too cool for pasta.
Here’s the thing: it’s never failed me. Not once. And I’m going to tell you exactly why. It’s not about fancy techniques. It’s not about buying the most expensive cheese. It’s about understanding how cheese behaves and using a few simple tricks to keep that sauce silky, smooth, and absolutely addictive.
This is the kind of dish that makes people stop talking. You know the moment. You’re serving it, the steam rises, the smell hits the room, and suddenly everyone is leaning in. It’s the kind of recipe you make once, and then your family expects it every month. It’s my answer to “what’s for dinner” when I want something that feels indulgent but is actually surprisingly simple to pull together.
If you’ve ever been scared of making mac and cheese from scratch, or if you’ve tried recipes that turned out dry or clumpy, this is the one. It’s foolproof. It’s forgiving. And it tastes like a hug on a plate.
Why You’ll Love This Ultra-Creamy Baked Mac and Cheese
There are a lot of mac and cheese recipes out there. Some are too thin. Some are too thick. Some require a cheese sauce that separates into oil and solids (gross). This one hits the sweet spot every single time. Here’s why it’s my go-to:
- Actually Creamy, Not Just Cheesy — I’ve tested this with just cheddar, and it’s good. But the three-cheese blend creates a depth of flavor that’s unmatched. The sharp cheddar gives bite, the Gruyère adds nuttiness, and the cream cheese keeps it ultra-luxurious. It’s the perfect balance.
- Beginner-Proof — Seriously, if you can boil water and stir a pot, you can make this. There are no complicated roux techniques that might burn. No tempering eggs that might scramble. Just melt, mix, bake. It’s hard to mess up.
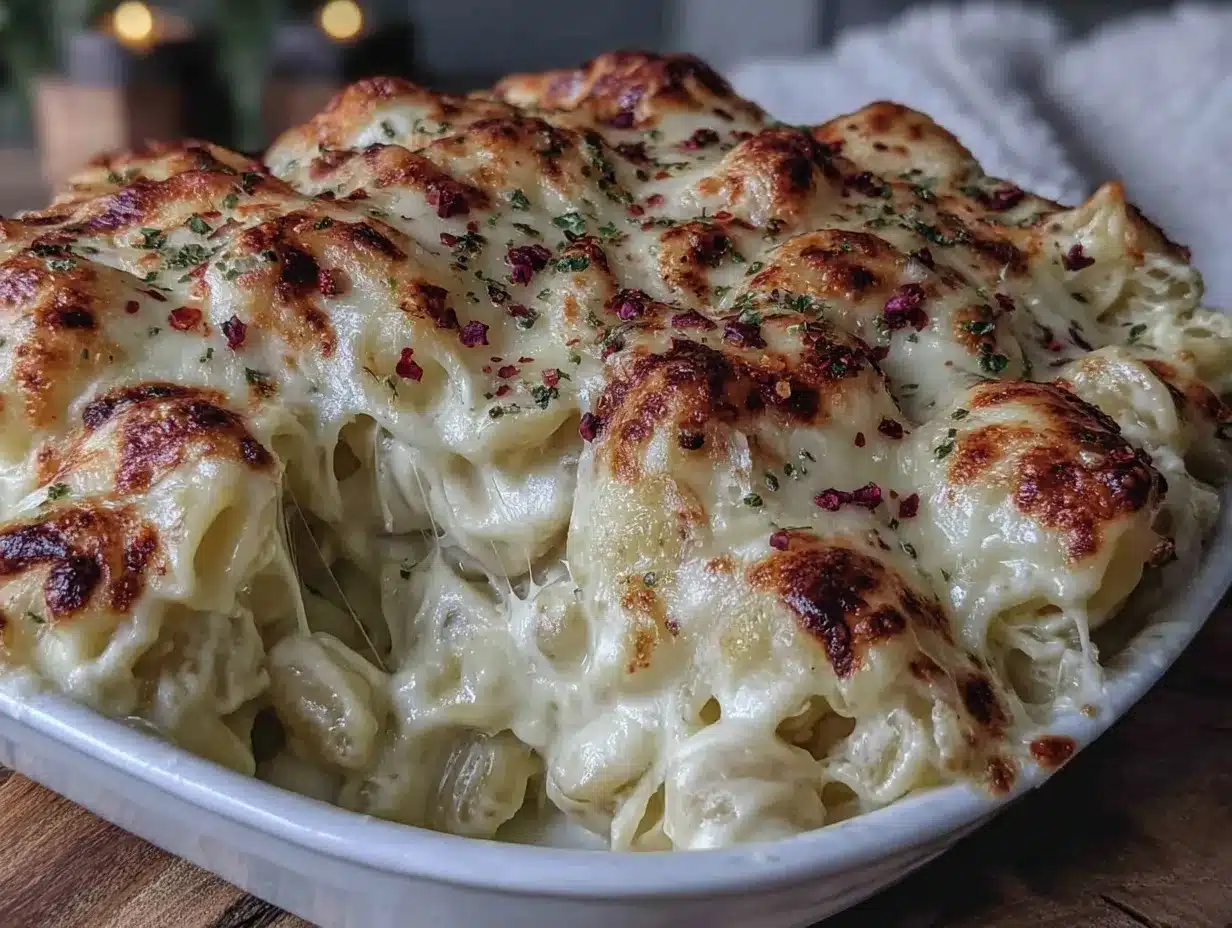
- Cheese Pull Goals — When you pull a fork out of this, it stretches. It pulls. It’s dramatic. My kids fight over the last bite because of the cheese pull. It’s that good.
- Uses Pantry Staples — You probably have most of this already. Pasta, milk, butter, and cheese. No weird ingredients you need to drive to three different stores to find.
- Freezes Like a Dream — Unlike some baked pasta dishes that turn to mush, this one holds up well. I make extra, freeze it, and reheat it for lunch. It tastes just as good as day one.
This isn’t just dinner. It’s comfort. It’s the kind of food that makes you feel safe. And it’s easier than you think.
Ingredients You’ll Need
Here’s the best part: this recipe doesn’t ask for much. But what it does ask for, it needs to be good quality. You can’t skimp on the cheese here. That’s the star of the show.
For the Pasta
Elbow Macaroni (1 pound / 450g) — I stick to elbows because they hold the sauce in their little curves. Cavatappi or penne work too, but elbows are classic. Don’t use whole wheat unless you want a nuttier, denser texture. Regular is best for that soft, creamy bite.
Salt (1 tablespoon) — For the pasta water. It should taste like the ocean. This is the only chance to season the pasta itself, so don’t skip it.
For the Cheese Sauce
Butter (4 tablespoons / ½ stick) — Unsalted is best so you control the salt. I use real butter, not margarine. It adds flavor and helps emulsify the sauce.
All-Purpose Flour (¼ cup / 30g) — This is what thickens the sauce. It’s a simple roux, but we keep it light so the sauce isn’t pasty. Don’t overcook it; you just want it to lose the raw flour taste.
Milk (2 cups / 480ml) — Whole milk is best for richness. I’ve tried 2% and it works, but whole milk makes it creamier. If you want to try a lighter version, you could swap in half-and-half, but whole milk is the standard here.
Sharp Cheddar Cheese (2 cups / 200g, shredded) — Buy a block and shred it yourself. Pre-shredded cheese has anti-caking agents that prevent it from melting smoothly. I’ve made this with pre-shredded before, and the sauce was grainy. It’s not worth the shortcut. Sharp cheddar gives that classic tang.
Gruyère Cheese (1 cup / 100g, shredded) — This is the secret weapon. It’s nutty, earthy, and melts beautifully. If you can’t find Gruyère, Fontina is a good substitute. It adds complexity that cheddar alone can’t provide.
Cream Cheese (4 oz / 115g, softened) — This is what makes it “ultra-creamy.” It adds tang and body. Don’t skip it. It helps stabilize the sauce so it doesn’t separate in the oven.
Garlic Powder (½ teaspoon) — Just a little bit for background flavor. Fresh garlic can burn in the roux, so powder is safer and more even.
Dijon Mustard (1 teaspoon) — This is the secret ingredient. It doesn’t make it taste like mustard. It enhances the cheese flavor and adds a little kick. Trust me.
Salt and Black Pepper (to taste) — Adjust at the end. Cheese is salty, so taste before adding more.
For the Topping
Panko Breadcrumbs (½ cup / 50g) — For that crispy top. Regular breadcrumbs work too, but Panko stays crunchier.
Melted Butter (2 tablespoons) — To toss with the breadcrumbs. This helps them brown in the oven.
Optional: Extra Cheese (½ cup / 50g) — Sprinkle on top for extra gooeyness.
Equipment Needed
You don’t need anything fancy. Here’s what I actually use.
Large Pot — For boiling the pasta. I use a 6-quart pot. Make sure it’s big enough so the pasta doesn’t stick together.
Large Skillet or Saucepan — For making the cheese sauce. I prefer a heavy-bottomed saucepan because it distributes heat evenly and prevents scorching. A 3-quart size is perfect.
9×13 Inch Baking Dish — For assembling and baking. Glass or ceramic works best. Metal pans cook faster, so keep an eye on it.
Box Grater — For shredding your own cheese. It’s tedious, but it’s worth it for the smooth sauce.
Wooden Spoon or Silicone Spatula — For stirring the sauce. You need something sturdy that won’t scratch your pan.
Colander — For draining the pasta.
How to Make It: Step-by-Step
Alright, let’s make this! I’m walking you through exactly how I do it, including the little tricks I’ve picked up.
Step 1: Prep the Cheese (10 minutes)
Before you even turn on the stove, shred your cheddar and Gruyère. If you’re using a block of cream cheese, cut it into cubes and let it sit on the counter to soften. This makes it much easier to melt into the sauce later. I know it’s extra work, but it saves you from fighting clumps of cheese in the pan.
Step 2: Boil the Pasta (10 minutes)
Bring a large pot of salted water to a boil. Add the macaroni and cook according to package directions until al dente. This usually means cooking it 1 minute less than the package says. Why? Because it will finish cooking in the sauce. Drain the pasta and set it aside. Do not rinse it! Rinsing washes away the starch that helps the sauce cling to the noodles.
Step 3: Make the Roux (3 minutes)
In your large skillet or saucepan, melt the butter over medium heat. Once it’s foamy, sprinkle in the flour. Whisk constantly for about 1-2 minutes. You want it to turn a light blonde color and smell slightly nutty. This cooks out the raw flour taste. Don’t let it brown too much, or it’ll taste bitter.
Step 4: Build the Sauce (5 minutes)
Slowly pour in the milk, whisking constantly to prevent lumps. Keep whisking until the mixture thickens enough to coat the back of a spoon. This should take about 3-4 minutes. It’s not a thick paste; it’s more like a light cream. Remove from heat.
Step 5: Melt the Cheese (2 minutes)
This is the critical step. Add the shredded cheddar, Gruyère, and softened cream cheese gradually. Stir gently until each addition is fully melted before adding more. High heat will make the cheese seize up and become grainy. If the sauce looks too thick, add a splash of milk. It should be smooth, glossy, and pourable.
Add the garlic powder, Dijon mustard, salt, and pepper. Stir to combine. Taste it. If it needs more salt, add a pinch. If it needs more tang, add a dash more mustard.
Step 6: Combine and Bake (25 minutes)
Preheat your oven to 350°F (175°C). In your baking dish, mix the cooked pasta with the cheese sauce. Make sure every noodle is coated. Sprinkle the Panko breadcrumbs mixed with melted butter (and extra cheese if you’re feeling fancy) over the top.
Bake for 20-25 minutes, until the top is golden brown and bubbly. Let it rest for 5-10 minutes before serving. This lets the sauce set slightly so it’s easier to scoop. I know it’s hard to wait, but rushing it leads to a soupy mess on your plate.
Expert Tips & Tricks
Here’s everything I’ve learned from making this dozens of times. These tips will save you from my mistakes.
Shred Your Own Cheese
I can’t stress this enough. Pre-shredded cheese is coated in cellulose to keep it from clumping. That coating stops it from melting smoothly. Your sauce will be grainy. Buy blocks, grate them, and your life will change. It takes 5 minutes.
Don’t Overcook the Pasta
Al dente is key. If the pasta is already soft before it goes in the oven, it’ll be mushy when it comes out. Undercooking by a minute is better than overcooking.
Keep the Heat Low
When melting the cheese, keep the heat on low or off. Cheese proteins tighten up with high heat, squeezing out fat and creating a broken sauce. Gentle heat keeps it smooth.
Let It Rest
This is the hardest part. When you take the mac and cheese out of the oven, it’s liquid gold. But if you serve it immediately, it’ll run off the fork. Let it sit for 10 minutes. The residual heat continues to cook it slightly, and the sauce thickens. It’s worth the wait.
Use Dijon
It sounds weird, but Dijon mustard enhances cheese flavor without making the dish taste like mustard. It adds a subtle tang that cuts through the richness. It’s a game-changer.
Variations & Substitutions
Once you’ve nailed the basic version, here’s how you can mix it up. I’ve tried all of these.
Spicy Mac
Add 1 teaspoon of cayenne pepper or a diced jalapeño to the sauce. Or stir in some cooked bacon bits. It adds a nice kick that balances the creaminess.
Broccoli Mac
Toss in 2 cups of steamed broccoli florets before baking. It adds color and nutrition. My kids pretend they don’t notice it, but they eat it anyway.
Seafood Mac
Stir in 1 cup of cooked crab meat or chopped shrimp in the last 5 minutes of baking. It’s fancy and delicious.
Vegan Version
Use vegan butter, almond milk, and vegan cheese shreds. I’ve tried several brands, and Daiya or Violife work best for melting. Add a tablespoon of nutritional yeast for cheesy flavor. It’s not the same, but it’s close.
Gluten-Free
Use gluten-free pasta and gluten-free Panko breadcrumbs. Everything else is naturally gluten-free. Barilla gluten-free pasta works well and doesn’t get mushy.
Serving & Storage
How to Serve:
I usually serve this straight from the baking dish at the table. It looks rustic and stays warm. Pair it with a simple green salad or some roasted vegetables to cut the richness. I also love it with a side of cozy fall roasted butternut squash soup for a complete comfort meal.
Storage:
Store leftovers in an airtight container in the fridge for up to 4 days. The sauce will thicken in the fridge, which is normal.
Reheating:
The best way to reheat is in the oven. Cover with foil and bake at 350°F for 15-20 minutes. Add a splash of milk if it looks too dry. You can also reheat individual portions in the microwave with a splash of milk, stirring halfway through.
Freezing:
This freezes well. Assemble the dish but don’t bake it yet. Cover tightly with foil and freeze for up to 3 months. Thaw in the fridge overnight, then bake as directed, adding 10-15 minutes to the cook time.
Nutrition Information
I’m not a nutritionist, but here’s the breakdown if you’re tracking. This is a rich dish, so portion control is key.
Per Serving (based on 8 servings):
- Calories: 450
- Protein: 18g
- Carbs: 42g
- Fat: 22g
- Sodium: 400mg
This is comfort food. It’s not a diet recipe. But it’s made from real ingredients, and it’s better than anything you’ll get at a restaurant. Enjoy it, savor it, and don’t feel guilty about it.
Final Thoughts
So that’s my ultra-creamy baked mac and cheese. It’s simple, it’s delicious, and it’s the kind of dish that brings people together. I’ve made this for holidays, for date nights, and for lazy Sundays. It never fails to satisfy.
If you make this, I want to hear about it. Did you add bacon? Did you use a different cheese? Did your kids actually eat it? Drop a comment and let me know. And if you’re looking for more easy, comforting recipes, check out my loaded nacho cheese fries for another cheesy win.
Happy cooking! And I hope your kitchen smells half as good as mine does right now.
Frequently Asked Questions
Can I use pre-shredded cheese?
You can, but the sauce won’t be as smooth. Pre-shredded cheese has anti-caking agents that prevent it from melting evenly. For the best results, buy blocks and shred them yourself. It’s worth the extra 5 minutes.
Why did my sauce break?
This usually happens if the heat was too high when you added the cheese, or if you added the cheese too quickly. Always remove the pan from heat before adding cheese, and add it gradually while stirring. If it breaks, you can sometimes save it by adding a splash of warm milk and whisking vigorously.
Can I make this ahead of time?
Yes! Assemble the dish up to 24 hours ahead. Cover and refrigerate. When you’re ready to bake, take it out of the fridge 30 minutes before baking to take the chill off. You may need to add 5-10 minutes to the bake time.
What cheese can I substitute for Gruyère?
Fontina, Emmental, or even a mild Swiss cheese work well. The key is a cheese that melts smoothly and has a nutty flavor. Avoid cheeses that are too soft or too hard.
How do I prevent the topping from burning?
If the breadcrumbs are browning too quickly, cover the dish loosely with foil for the last 10 minutes of baking. This lets the inside finish cooking without burning the top.
Can I use a different type of pasta?
Elbows are classic, but cavatappi, penne, or rigatoni work great too. Just make sure the pasta shape can hold the sauce. Long pasta like spaghetti isn’t ideal for baking in this style.
Pin This Recipe!
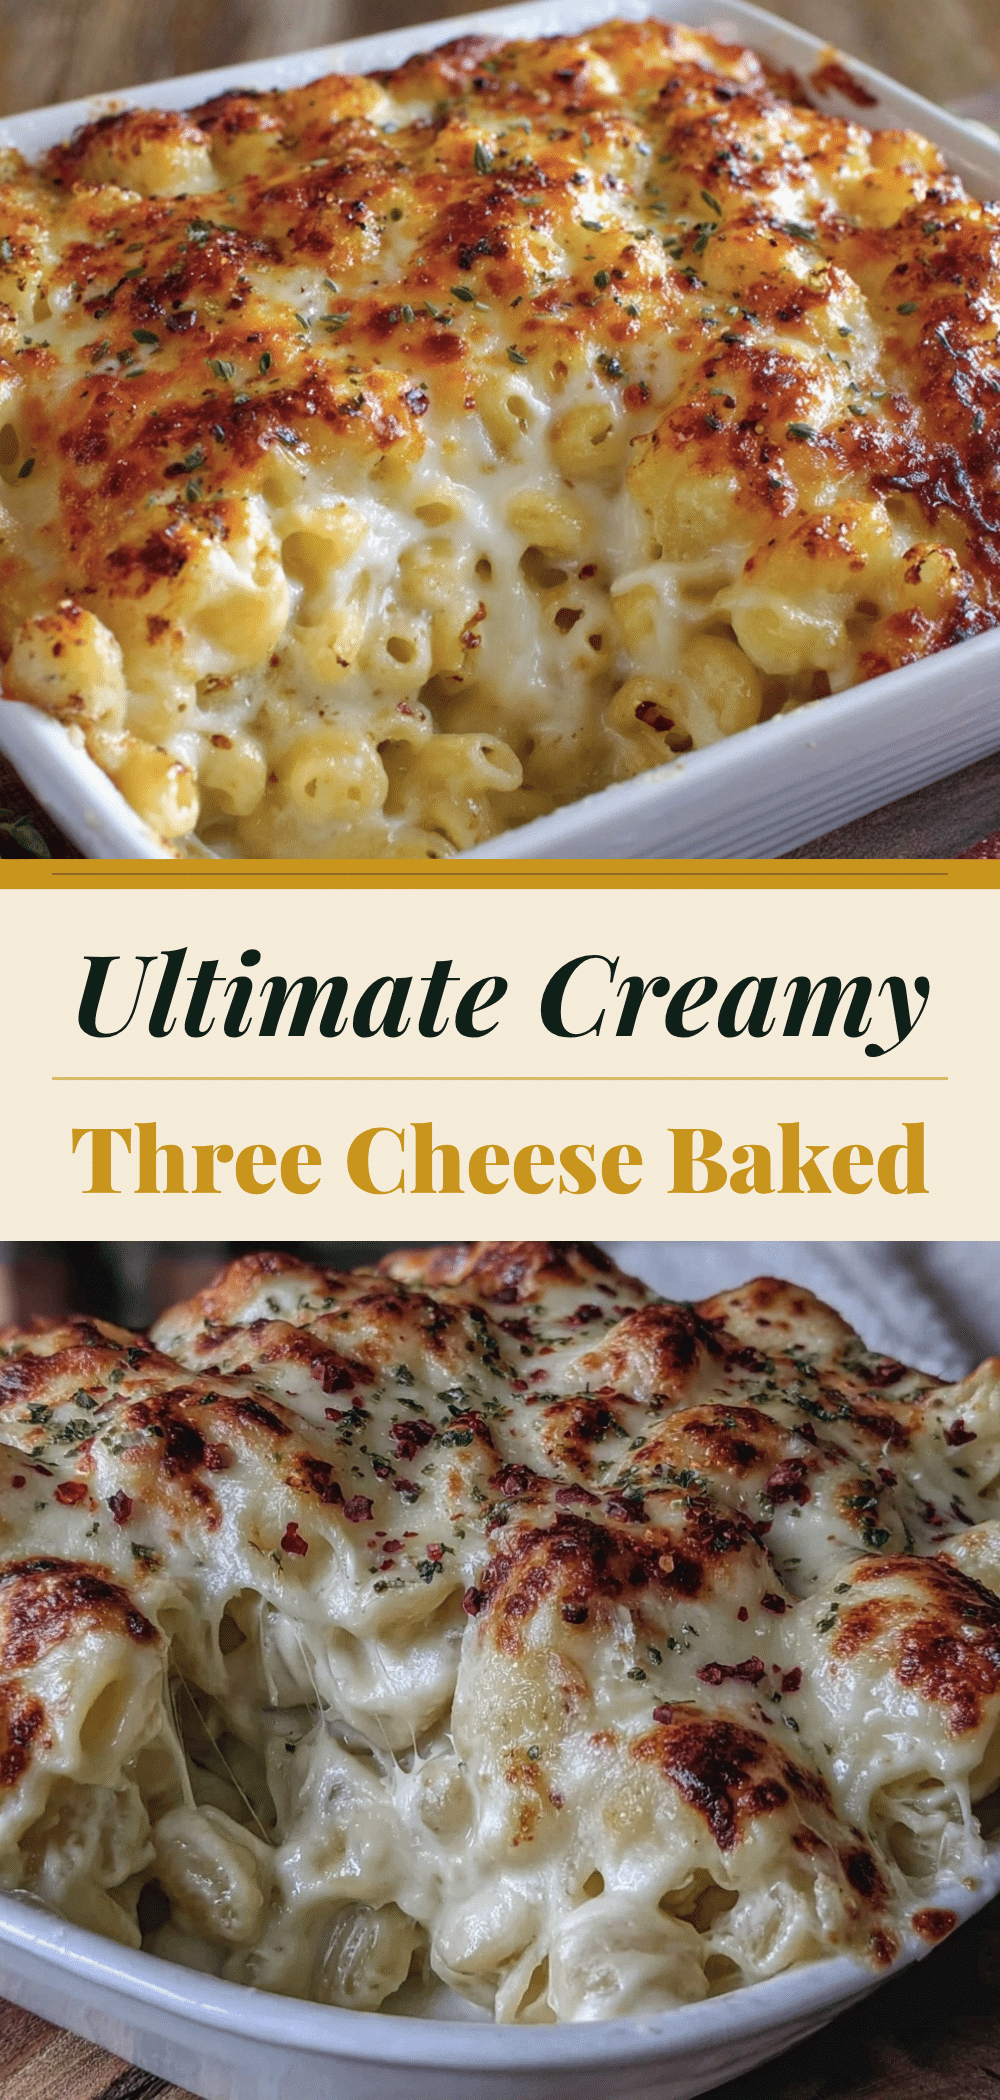
Ultimate Baked Mac and Cheese: Easiest 3-Cheese Recipe
- Total Time: 40 minutes
- Yield: 8 servings 1x
Description
An ultra-creamy, foolproof baked mac and cheese featuring a three-cheese blend of sharp cheddar, Gruyère, and cream cheese. This beginner-proof recipe uses simple pantry staples to create a rich, smooth sauce with a crispy breadcrumb topping.
Ingredients
- 1 pound elbow macaroni
- 1 tablespoon salt (for pasta water)
- 4 tablespoons unsalted butter
- ¼ cup all-purpose flour
- 2 cups whole milk
- 2 cups sharp cheddar cheese, shredded
- 1 cup Gruyère cheese, shredded
- 4 oz cream cheese, softened
- ½ teaspoon garlic powder
- 1 teaspoon Dijon mustard
- Salt and black pepper to taste
- ½ cup Panko breadcrumbs
- 2 tablespoons melted butter (for topping)
- ½ cup extra cheese, optional (for topping)
Instructions
- Preheat oven to 350°F (175°C).
- Shred the cheddar and Gruyère cheese and cut the cream cheese into cubes to soften.
- Bring a large pot of salted water to a boil. Add macaroni and cook until al dente (about 1 minute less than package directions). Drain and set aside; do not rinse.
- In a large saucepan, melt 4 tablespoons of butter over medium heat. Whisk in flour and cook for 1-2 minutes until light blonde.
- Slowly whisk in milk and cook until the mixture thickens enough to coat the back of a spoon (3-4 minutes). Remove from heat.
- Gradually add shredded cheddar, Gruyère, and softened cream cheese, stirring gently until fully melted. Stir in garlic powder, Dijon mustard, salt, and pepper.
- Combine the cooked pasta with the cheese sauce in a 9×13 inch baking dish.
- Mix Panko breadcrumbs with 2 tablespoons of melted butter and sprinkle over the top. Add extra cheese if desired.
- Bake for 20-25 minutes until golden brown and bubbly.
- Let rest for 5-10 minutes before serving to allow the sauce to set.
Notes
Shred your own cheese to avoid anti-caking agents that prevent smooth melting. Do not overcook the pasta as it will continue to cook in the oven. Let the dish rest for 10 minutes after baking to ensure the sauce thickens properly. For a gluten-free version, use gluten-free pasta and Panko. For a vegan version, use vegan butter, almond milk, and vegan cheese.
- Prep Time: 10 minutes
- Cook Time: 30 minutes
- Category: Main Course
- Cuisine: American
Nutrition
- Serving Size: 1/8 of the dish
- Calories: 450
- Sugar: 6
- Sodium: 400
- Fat: 22
- Saturated Fat: 12
- Carbohydrates: 42
- Fiber: 2
- Protein: 18
Keywords: mac and cheese, baked mac and cheese, three cheese mac, comfort food, easy dinner, creamy mac and cheese, family friendly recipe


