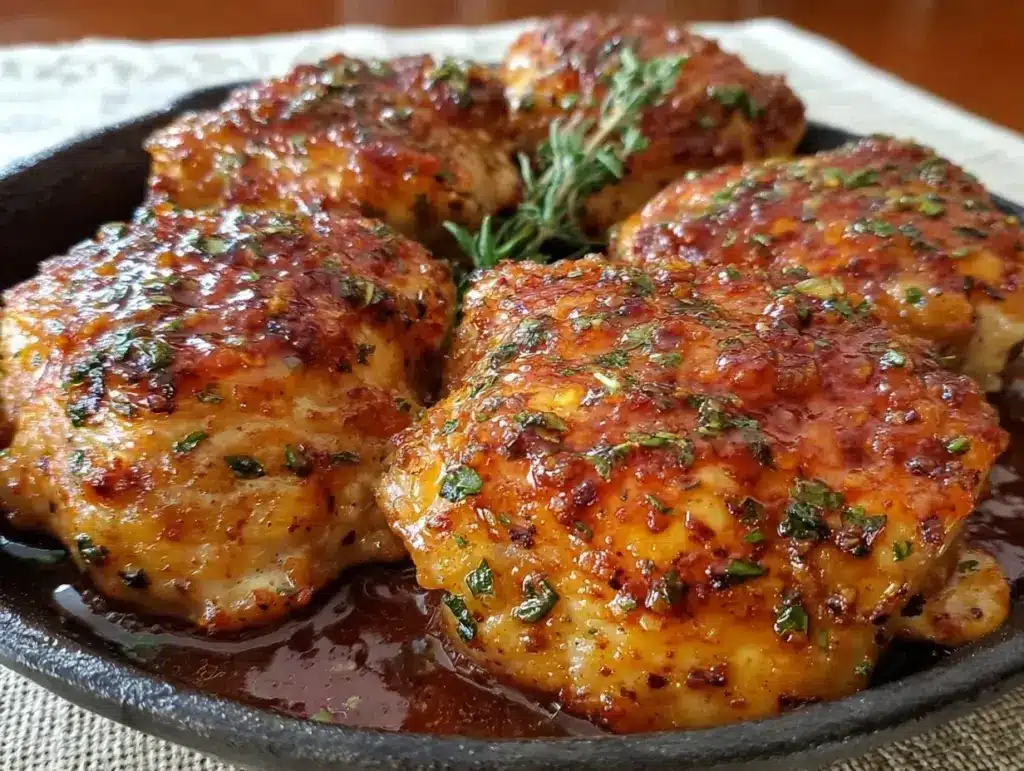
I have a confession to make. Last Tuesday, I came home from work completely drained, staring into a fridge that was half-empty and a kitchen that looked like a tornado had touched down. I had zero energy to chop vegetables, scrub pots, or figure out a complex meal. I just wanted something warm, something that smelled amazing, and something that didn’t involve washing a mountain of dishes afterward.
That’s when I threw together these honey balsamic chicken thighs. I didn’t even have a recipe in mind. I just grabbed what I had: bone-in chicken thighs, a bottle of balsamic vinegar that was gathering dust in the back of the pantry, and some honey from the cupboard. I tossed it all into a single skillet, popped it in the oven, and went to take a nap.
Twenty minutes later, the smell of caramelizing chicken and sweet-tart glaze woke me up. I sat down to eat, and honestly? It was better than anything I could have ordered takeout for. The skin was crispy, the meat was falling-off-the-bone tender, and that sauce? It was sticky, savory, and perfect for spooning over rice or mashed potatoes. Since then, I’ve made these honey balsamic chicken thighs at least ten times. They’ve become my go-to when I need a dinner that feels fancy but requires almost zero effort.
If you’re tired of the same old weeknight routine and want a meal that tastes like you spent hours in the kitchen (but actually took twenty minutes of active work), you need to try this. It’s one of those recipes that proves you don’t need fancy techniques to get restaurant-quality results. You just need the right balance of sweet, salty, and tangy.
Why You’ll Love This Honey Balsamic Chicken Recipe
There are about ten reasons I keep making this, but here are the big ones that keep it in my regular rotation:
- One Pan, Zero Stress — Seriously, this is the ultimate low-effort, high-reward dinner. You sear the chicken, mix the sauce in the same pan, and roast everything together. No chopping boards to scrub, no extra pots to boil. Just one skillet and a clean slate afterward.
- Flavor Bomb — The combination of balsamic vinegar and honey creates this incredible sticky glaze that caramelizes in the oven. It’s sweet, it’s tangy, it’s savory. It’s basically umami heaven. I’ve served this to picky eaters, and even they asked for seconds.
- Forgiving — Chicken thighs are nearly impossible to dry out. Unlike chicken breasts, which can turn into shoe leather if you look at them wrong, thighs stay juicy even if you leave them in the oven five minutes too long. This makes it a perfect recipe for beginners.
- Ready in 30 Minutes — From preheating the oven to plating the dinner, it’s about 30 minutes. That’s faster than waiting for a delivery driver. And unlike takeout, you know exactly what’s in it.
- Leftovers Are Better — I know, I know, people say pasta tastes better the next day. But this? The sauce thickens up overnight, and the chicken absorbs more flavor. I deliberately make extra for lunch on Wednesday. It’s surprisingly good cold too, if you’re into that.
This is my answer to “what’s for dinner?” when I’m tired, don’t want takeout, and still want something that tastes really good. It’s reliable, delicious, and makes everyone happy.
Ingredients You’ll Need
Here’s the best part: you probably have most of this already. This looks like a short list, but the quality of these few ingredients makes all the difference.
For the Chicken:
Chicken thighs (2 pounds / 900g) — Bone-in, skin-on is non-negotiable here. The bone adds flavor to the sauce as it roasts, and the skin gets crispy and delicious. You can use boneless if you’re in a rush, but the texture won’t be the same. I buy them in a family pack and freeze what I don’t use immediately.
Oil (1 tablespoon / 15ml) — I use olive oil or avocado oil. Just something with a high smoke point so it doesn’t burn when searing. I keep a bottle of extra virgin olive oil on the counter for this.
Salt and black pepper — To taste. I use kosher salt because it’s easier to control. Don’t be shy with the pepper; it adds a nice kick against the sweet sauce.
For the Honey Balsamic Glaze:
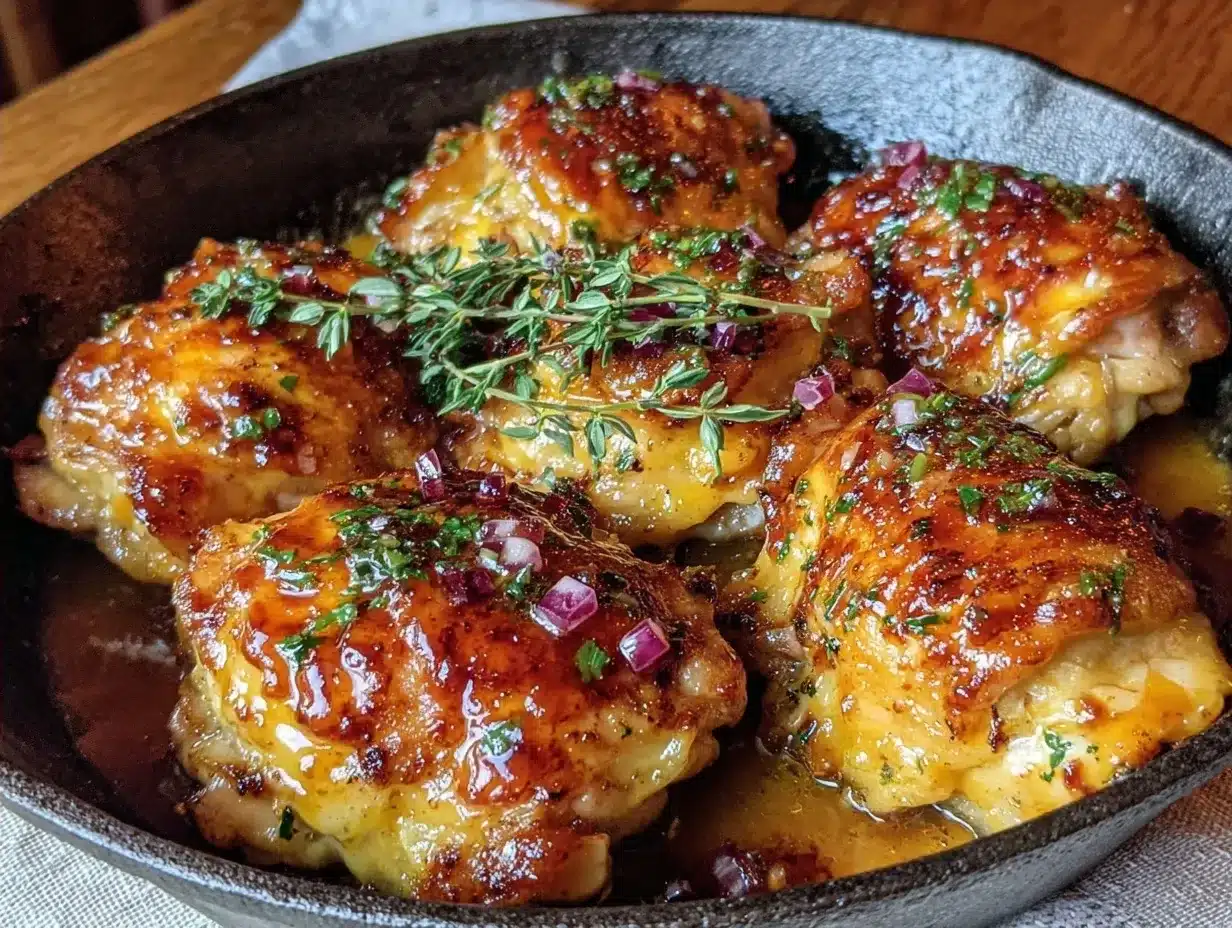
Balsamic vinegar (½ cup / 120ml) — This is the star. Use a good quality balsamic. I don’t need the super expensive aged stuff for cooking, but avoid the cheap, syrupy salad dressings. Look for one that says “balsamic di Modena” or just “balsamic vinegar” with a decent ingredient list.
Honey (¼ cup / 80g) — Raw honey is great, but regular honey works fine too. It balances the acidity of the vinegar. If you’re out of honey, maple syrup is a decent substitute, though the flavor will be different.
Garlic (4 cloves, minced / about 2 tablespoons) — Fresh garlic only. Please, no jarred garlic in this. The fresh stuff has a brightness that cuts through the richness. Mince it finely so it doesn’t burn in the pan.
Dijon mustard (1 tablespoon / 15g) — This might seem random, but it adds depth and helps emulsify the sauce. It doesn’t make the chicken taste like mustard; it just adds a savory backbone. I always keep a jar in the fridge.
Dried thyme (1 teaspoon) — Or use fresh if you have it. Thyme pairs beautifully with balsamic. If you don’t have thyme, rosemary or Italian seasoning works too.
Red pepper flakes (½ teaspoon) — Optional, but I love a little heat. It balances the sweetness perfectly. Start with less if you’re sensitive to spice.
Optional Add-ins:
Red onion (1 medium, sliced) — I like to throw some wedges in the pan with the chicken. They caramelize and get sweet and tender. They’re a great side dish without any extra effort.
Asparagus (1 bunch) — If you want to add veggies, toss in asparagus spears for the last 10 minutes of cooking. They get slightly charred and delicious.
Equipment Needed
You don’t need fancy equipment for this. Here’s what I actually use:
Oven-safe skillet — A 12-inch cast iron skillet is ideal. It holds heat well and goes from stovetop to oven seamlessly. If you don’t have an oven-safe skillet, you can sear in a regular pan and then transfer the chicken to a baking dish. But the one-pan method is so much easier.
Sharp knife — For mincing garlic and slicing onions. Dull knives make you cry more—learned this the hard way.
Measuring cups and spoons — Pretty standard stuff. Dollar store versions work fine.
Tongs — For flipping the chicken. They make it easier to handle without tearing the skin.
Whisk — To mix the sauce. Or just a fork works if you’re being lazy.
Baking sheet (if not using oven-safe skillet) — Just in case your skillet isn’t oven-safe.
How to Make It: Step-by-Step
Alright, let’s make this! I’m walking you through exactly how I do it, including the little tricks I’ve picked up.
Step 1: Prep the Chicken (5 minutes)
Pat the chicken thighs dry with paper towels. This is crucial. If the skin is wet, it won’t get crispy. I know it’s annoying, but dry skin = crispy skin. Season both sides generously with salt and pepper. Set them aside on a plate.
Step 2: Sear the Chicken (5-7 minutes)
Heat the oil in your oven-safe skillet over medium-high heat. Once the oil is shimmering, place the chicken thighs skin-side down. Don’t move them! Let them sear for 4-5 minutes until the skin is golden brown and releases easily from the pan. Flip them over and sear for another 2 minutes. You don’t need to cook them through yet; you just want color. Remove the chicken to a plate. Don’t clean the pan—those brown bits are flavor gold.
Step 3: Make the Sauce (2 minutes)
Reduce the heat to medium-low. Pour in the balsamic vinegar, honey, minced garlic, Dijon mustard, thyme, and red pepper flakes. Whisk everything together, scraping up those brown bits from the bottom of the pan. Let it simmer for 1-2 minutes until it thickens slightly. It should coat the back of a spoon.
Step 4: Roast (20-25 minutes)
Preheat your oven to 400°F (200°C). Place the seared chicken thighs back into the skillet, skin-side up. Spoon some of the sauce over the chicken, but save a little for serving. Put the skillet in the oven and roast for 20-25 minutes, or until the internal temperature reaches 165°F (74°C). The sauce will bubble and caramelize around the chicken.
Step 5: Rest and Serve (5 minutes)
Remove the skillet from the oven. Let the chicken rest for 5 minutes. This allows the juices to redistribute. While it rests, you can spoon the remaining pan sauce over the top. Serve immediately with the crispy skin facing up.
Total Time: About 40 minutes (10 minutes active, 30 minutes hands-off)
Expert Tips & Tricks
Here’s everything I’ve learned from making this dozens of times. These tips will save you from my mistakes.
Pat the Chicken Dry
I cannot stress this enough. Wet chicken steams instead of sears. If you skip this step, you’ll end up with pale, soggy skin. Paper towels are your friend.
Don’t Crowd the Pan
If you’re making a large batch, sear the chicken in two batches. Crowding the pan lowers the temperature and prevents browning. Your chicken needs space to get that golden crust.
Let the Sauce Reduce
Before adding the chicken back in, let the balsamic-honey mixture simmer for a minute or two. This concentrates the flavor and prevents a watery sauce. You want a glaze, not a soup.
Check the Temperature
Use a meat thermometer. Chicken thighs are forgiving, but overcooking them makes them tough. Pull them out at 165°F (74°C). They’ll continue to cook slightly while resting.
Toast the Spices
If using dried thyme, toast it in the pan for 30 seconds before adding the vinegar. It releases more aroma and flavor. It’s a small step that makes a big difference.
Variations & Substitutions
Once you’ve nailed the basic version, here’s how you can mix it up. I’ve tried all of these.
Gluten-Free
This recipe is naturally gluten-free, as long as your balsamic vinegar and Dijon mustard are certified gluten-free. Most are, but always check labels if you have celiac disease.
Dairy-Free
It’s already dairy-free! Just make sure your honey is vegan if you’re strict about it (some honey is not vegan). Serve with rice or quinoa.
Veggie-Loaded
Add sliced red onions or asparagus to the pan with the chicken. They roast beautifully in the sauce. I love adding broccoli florets in the last 10 minutes for a complete meal.
Spicy Kick
Double the red pepper flakes or add a dash of hot sauce to the glaze. If you like heat, this version is amazing.
Herb Swap
No thyme? Use rosemary or oregano. Fresh herbs are better, but dried works fine. Just use half the amount if using fresh.
Serving & Storage
How to Serve
I usually serve this straight from the skillet at the dinner table—it looks rustic and stays warm. But here are other ways I’ve enjoyed it:
Sides:
- Fluffy white rice or quinoa (to soak up the sauce)
- Mashed potatoes (classic comfort)
- Roasted vegetables (like the asparagus or broccoli mentioned above)
- Crusty bread (for sopping up every last drop of glaze)
Storage Instructions
Refrigerator:
Store leftovers in an airtight container for up to 4 days. The sauce will thicken in the fridge—totally normal.
Reheating:
Best method: Add a splash of water or broth to a skillet, add your leftover chicken, and heat gently over low heat. Stir until heated through.
Microwave method: Heat in 30-second intervals, stirring between. Add a splash of water if it’s too thick.
Never works: Trying to reheat in the pot you cooked it in. It always burns on the bottom. Ask me how I know.
Freezing:
Honestly, this doesn’t freeze well because of the sauce texture. The glaze can separate when thawed. Make it fresh or store in the fridge for up to 4 days.
Nutrition Information
I’m not a nutritionist, but here’s the breakdown if you’re tracking.
Per Serving (based on 4 servings):
- Calories: 450
- Protein: 35g
- Carbs: 25g
- Fiber: 0g
- Sugar: 22g
- Fat: 25g
- Saturated Fat: 6g
- Cholesterol: 150mg
- Sodium: 300mg
What’s Good:
- High protein from the chicken
- Relatively low carb (if you skip the sugary sides)
- Healthy fats from the olive oil and chicken skin
What to Know:
- Higher in sugar from the honey and balsamic
- Contains no dairy or gluten (naturally)
My Take:
Look, this is comfort food. It’s sweet, savory, and satisfying. It’s not a diet recipe, but it’s balanced enough for a regular weeknight meal. When I want to make it lighter, I serve it with a big green salad instead of rice. But usually? I just eat a reasonable portion and enjoy it.
Final Thoughts
So that’s my go-to honey balsamic chicken thighs! I’ve probably talked your ear off at this point, but when you make a recipe this often, you have a lot to say about it.
This has saved weeknight dinners more times than I can count. It’s my answer to “what’s for dinner?” when I’m tired, don’t want takeout, and still want something that tastes really good. My kids are happy, my husband’s happy, and I’m happy because I’m not stressed about cooking.
Make it yours! Try different add-ins, swap in your favorite vegetables, adjust the garlic (though more is always better in my opinion). The best recipes are the ones you adapt to your family’s tastes. If you make this, drop a comment and let me know what you think! I love hearing how recipes turn out in your kitchen. And if something doesn’t work, tell me that too—I’m here to help troubleshoot.
Happy cooking! And I hope your kitchen smells half as good as mine does right now.
Frequently Asked Questions
Can I use chicken breasts instead of thighs?
You can, but the texture will be different. Chicken breasts are leaner and can dry out easily. If you use breasts, reduce the cooking time by 5-7 minutes and check the temperature frequently. They won’t be as juicy or flavorful as thighs, but they’ll work in a pinch.
My sauce came out too thin—what happened?
Usually means you didn’t let it simmer long enough before roasting. Let the balsamic-honey mixture reduce for a few minutes on the stovetop before adding the chicken. If it’s already thin after roasting, you can remove the chicken, boil the sauce on the stovetop for a few minutes until it thickens, and then pour it back over the chicken.
Can I make this ahead for a dinner party?
Sort of. You can prep the chicken and mix the sauce up to 2 days ahead and store them separately in the fridge. When you’re ready to cook, sear the chicken and roast as directed. It won’t be quite as good as fresh, but it’s close and saves you stress during the party. I do this all the time.
Why did my chicken skin get soggy?
The skin was probably wet when you put it in the pan. Pat it dry thoroughly with paper towels. Also, make sure your pan is hot before adding the chicken. If the pan isn’t hot enough, the skin will steam instead of crisp.
Can I use apple cider vinegar instead of balsamic?
You can, but the flavor will be different. Apple cider vinegar is sharper and less complex. Balsamic has a natural sweetness and depth that pairs perfectly with honey. If you use apple cider vinegar, you might need to add a bit more honey to balance the acidity.
How do I reheat leftovers without it getting dry?
Add a splash of water or broth to a skillet, add your leftover chicken, and heat gently over low heat. Stir until heated through. The extra liquid brings back the moisture. Microwave sort of works but tends to dry it out. If you do microwave, definitely add a splash of water first and heat in short bursts, stirring between.
Can I double this recipe?
Absolutely! Double everything and use your biggest skillet or a baking sheet. The cooking times stay the same. I do this when I’m meal-prepping or feeding a crowd. Just make sure your skillet is big enough for the chicken—you might need to use two pans or a very large skillet.
Pin This Recipe!
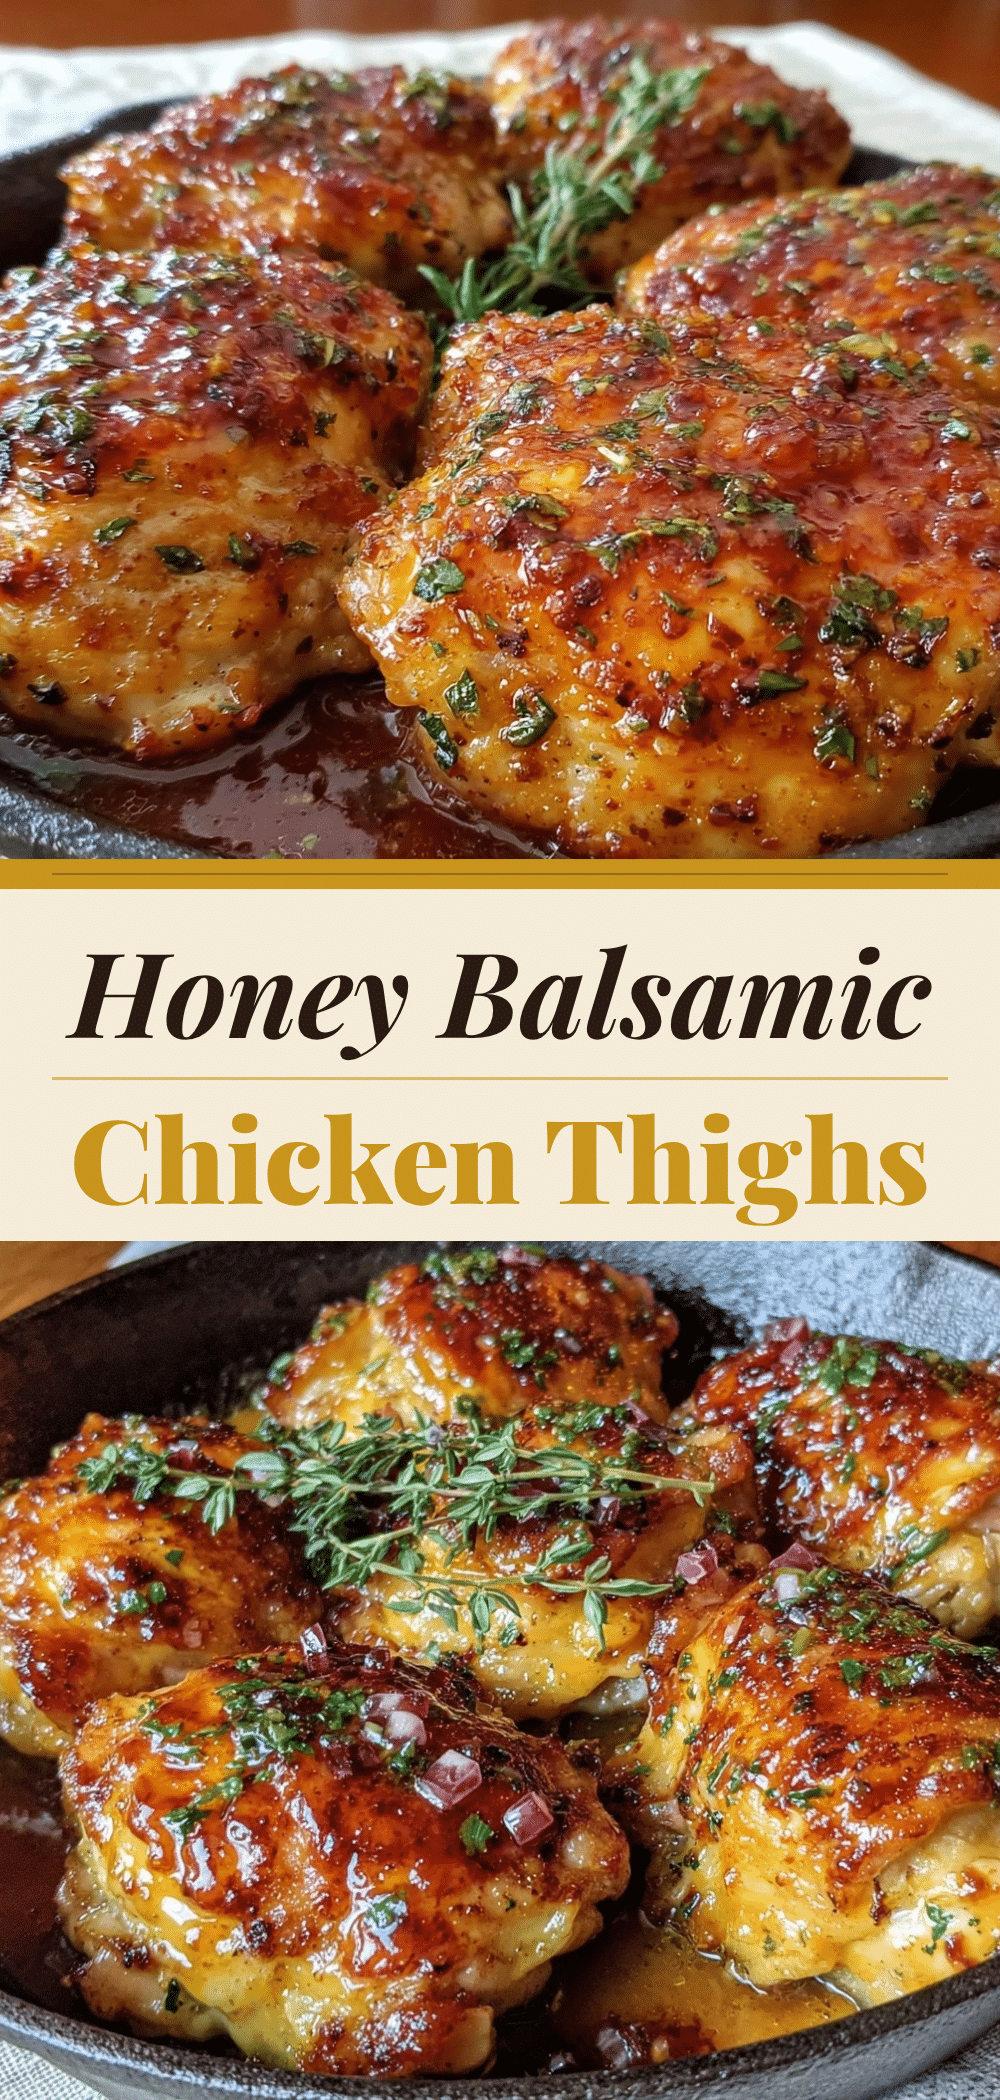

Honey Balsamic Chicken Thighs: 1-Pan Easy Dinner
- Total Time: 40 minutes
- Yield: 4 servings 1x
Description
A quick, one-pan weeknight dinner featuring crispy skin-on chicken thighs roasted in a sweet and tangy honey balsamic glaze. This forgiving recipe requires minimal effort but delivers restaurant-quality flavor.
Ingredients
- 2 pounds bone-in, skin-on chicken thighs
- 1 tablespoon olive oil or avocado oil
- Salt and black pepper to taste
- ½ cup balsamic vinegar
- ¼ cup honey
- 4 cloves garlic, minced
- 1 tablespoon Dijon mustard
- 1 teaspoon dried thyme
- ½ teaspoon red pepper flakes (optional)
- 1 medium red onion, sliced (optional)
- 1 bunch asparagus (optional)
Instructions
- Preheat oven to 400°F (200°C).
- Pat chicken thighs dry with paper towels and season generously with salt and pepper.
- Heat oil in an oven-safe skillet over medium-high heat. Sear chicken skin-side down for 4-5 minutes until golden brown, then flip and sear for 2 minutes. Remove chicken to a plate.
- Reduce heat to medium-low. Add balsamic vinegar, honey, garlic, Dijon mustard, thyme, and red pepper flakes to the pan. Whisk to combine, scraping up brown bits from the bottom. Simmer for 1-2 minutes until slightly thickened.
- Return chicken to the skillet, skin-side up. Spoon some sauce over the chicken.
- Roast in the oven for 20-25 minutes until internal temperature reaches 165°F (74°C).
- Remove from oven and let rest for 5 minutes before serving with remaining sauce.
Notes
Patting the chicken dry is crucial for crispy skin. Do not crowd the pan when searing. The sauce should reduce slightly on the stovetop before roasting to prevent a watery glaze. Chicken thighs are forgiving, but use a meat thermometer to ensure they reach 165°F. Leftovers store well in the fridge for up to 4 days but do not freeze well due to sauce texture.
- Prep Time: 10 minutes
- Cook Time: 30 minutes
- Category: Main Course
- Cuisine: American
Nutrition
- Serving Size: 1 chicken thigh with
- Calories: 450
- Sugar: 22
- Sodium: 300
- Fat: 25
- Saturated Fat: 6
- Carbohydrates: 25
- Protein: 35
Keywords: honey balsamic chicken, one pan dinner, easy weeknight meals, chicken thighs, balsamic glaze, quick dinner


