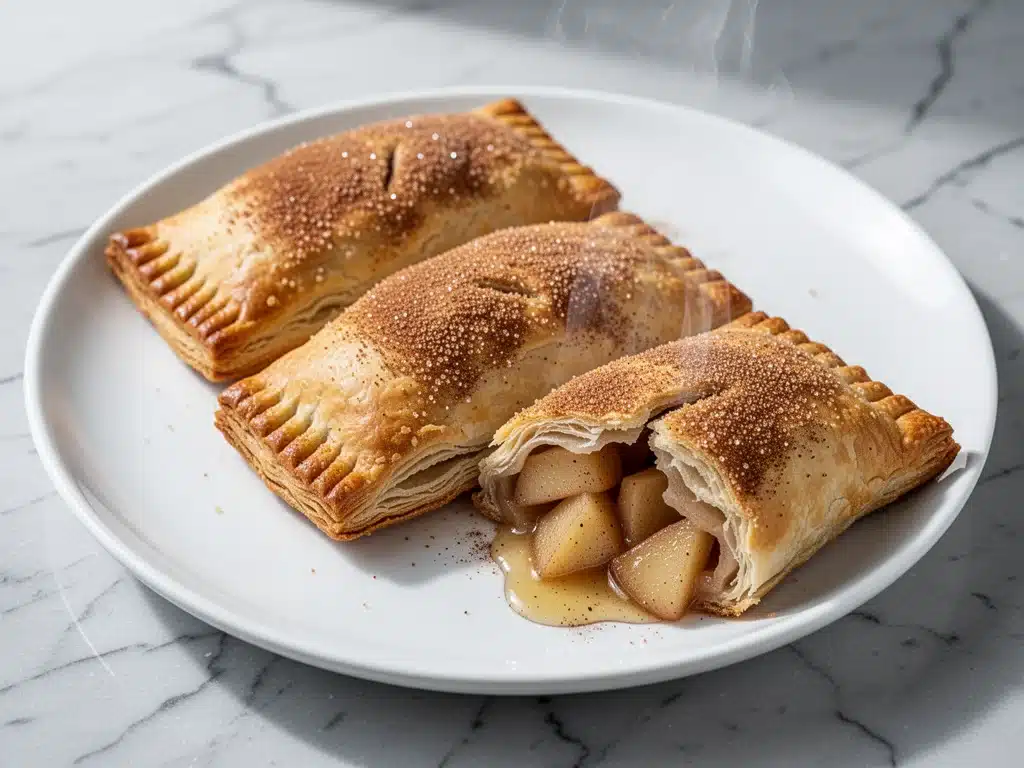
I have a confession to make: I used to think air fryers were just glorified salad spinners with a heating element. I was wrong. So, so wrong. Last week, it was raining sideways, the temperature dropped below 50, and the last thing I wanted to do was turn on my oven for a full 45-minute bake. I didn’t have time for a complicated dessert, but I really wanted something warm, sweet, and crispy. I pulled out a package of refrigerated pie crusts, grabbed some apples from the counter, and threw them into the air fryer. I expected a soggy mess. Instead, I got something that tasted like a bakery window display.
These crispy air fryer apple hand pies are the kind of recipe that feels like a cheat code. They are sweet, spiced, and incredibly easy to make with just five ingredients. I’ve made them for my kids after school, for neighbors dropping off holiday cookies, and even as a quick breakfast treat on lazy Sundays. The best part? They cook in about 15 minutes. That’s it. No preheating a massive oven, no waiting for cooling racks, and definitely no sticky kitchen counters from rolling out dough.
I’ve tested this recipe at least ten times since October. I’ve tried different apples, different sweeteners, and even different brands of puff pastry. Some worked better than others. But this version? This is the one. It’s the one I’m making again this weekend. It’s simple, it’s reliable, and it delivers that perfect crunch with every bite. If you’re looking for a way to use up those apples sitting in your fridge without turning your kitchen into a flour bomb, this is your answer.
Why You’ll Love This Recipe
There are about a dozen reasons I keep coming back to these hand pies, but let’s be honest about the big ones. This isn’t just another dessert recipe; it’s a solution for those moments when you want homemade comfort food but have exactly zero patience for complicated techniques.
Stupid Simple — Seriously, if you can open a package of dough and slice an apple, you can make this. I don’t mean that lightly. I’ve made these while holding a baby. I’ve made these at 10 PM when I was too tired to think. The process is literally assemble, seal, and air fry. There is no rolling pin required if you use puff pastry or pre-made pie crusts.
Lightning Fast — From start to finish, you’re looking at about 20 minutes. Maybe 25 if you’re being fancy with a dusting of sugar. Compare that to a traditional apple pie which takes an hour to bake and another hour to cool. This is the ultimate “I need dessert now” recipe.
Pantry and Fridge Friendly — You probably already have the ingredients. Refrigerated pie crusts or puff pastry are in the freezer or fridge section of almost every grocery store. Apples are in season and cheap right now. Cinnamon is a staple. You don’t need to make a special trip for this.
Perfect Portion Control — One whole pie is a lot of food for one person. These hand pies are individual-sized. They’re perfect for lunchboxes, after-school snacks, or sharing at a party without the commitment of a full dessert. My kids love that they get their own little “personal” pie.
Crunchy Exterior, Soft Interior — This is the magic of the air fryer. The hot air circulation crisps up the pastry layers beautifully, creating a flaky, golden shell that stays crisp even after you fill it. It doesn’t get soggy like baked goods sometimes do in microwaves or conventional ovens. The texture is unmatched.
This recipe has completely changed our dessert routine. It’s my go-to when I need something sweet to satisfy a craving without the guilt of buying expensive bakery pastries. It’s reliable, delicious, and makes your kitchen smell like autumn in ten minutes flat.
Ingredients You’ll Need
Here’s the best part: this is a five-ingredient recipe. That’s it. No weird spices you’ll use once a year, no specialty flours, no expensive nuts. Just simple, good-quality ingredients that let the flavor of the apple shine through. I’m particular about two things here: the type of apple and the pastry, and I’ll tell you exactly why.
Refrigerated Pie Crusts or Puff Pastry (1 box / 2 sheets) — I use a 2-pack of refrigerated pie crusts for the easiest version. They’re pre-rolled and ready to go. If you want extra flakiness, use puff pastry. It puffs up more and gets crunchier. Thaw puff pastry according to the package instructions before starting. I always buy Dufour or Pepperidge Farm because the dough doesn’t tear as easily.
Firm Apples (3 medium / about 400g) — This is the most important ingredient. Do not use red delicious or McIntosh apples. They turn to mush when cooked. You want apples that hold their shape. Granny Smith apples are my top choice because they’re tart and firm. Honeycrisp or Fuji apples are also great if you prefer something sweeter. I peel them, but you can leave the skin on for extra fiber and color. I usually just chop them into small, uniform cubes so they cook evenly.
Granulated Sugar (2 tablespoons / 25g) — Just enough to caramelize the apples and sweeten the filling. You can use brown sugar for a deeper, molasses-like flavor, but white sugar gives a cleaner crunch on the outside. I toss the apples in the sugar before putting them in the pastry.
Ground Cinnamon (1 teaspoon / 2g) — The classic apple pairing. Don’t skimp on this. It brings the whole thing together. If you like a little kick, add a pinch of nutmeg or allspice, but cinnamon is non-negotiable for me.
Butter, for brushing (1 tablespoon / 15g) — Melted butter brushed on the outside of the pies before they go into the air fryer. This is what gives them that golden, bakery-style color and rich flavor. You can use an egg wash for a shinier finish, but butter tastes better. I keep a small dish of melted butter ready before I start assembling.
Optional: Turbinado Sugar (for sprinkling) — If you want that restaurant-style sparkly, crunchy top, sprinkle a little turbinado or coarse sugar on top of the buttered pies. It adds a nice crackle. Regular granulated sugar works too, but turbinado looks fancy.
Pro Tip: I always keep a box of pie crusts in the freezer. If you’re planning ahead, buy them when they’re on sale. They last for months. And if you’re making these with kids, let them help chop the apples (with supervision, of course). It makes the process more fun.
Equipment Needed
You don’t need fancy equipment for this. Here’s what I actually use. If you have these basics, you’re good to go.
Air Fryer — Obviously. I use a 4-quart basket style air fryer. If you have a larger one, you might be able to fit two pies at a time, but I usually do them in batches to ensure they get crispy all around. The smaller basket forces the air to circulate tighter, which helps with the crunch.
Small Knife — For peeling and chopping the apples. A paring knife is perfect. I use a small serrated knife for apples with tough skins. Sharp knives are safer than dull ones—learned this the hard way with a slipped finger.
Cutting Board — Any size works. I use a plastic one because it’s easy to wash and doesn’t stain. Apple juice can get messy, so have a board you don’t mind getting a little sticky.
Small Bowl — For tossing the apples with sugar and cinnamon. I use a small mixing bowl or just a large plate. It’s easier to toss the apples in a bowl to coat them evenly.
Pastry Brush — For brushing the melted butter on the pies. I use a silicone brush because it’s easy to clean. A regular bristle brush works too, but silicone is more durable. If you don’t have one, you can use a paper towel to dab the butter on, but it’s messier.
Fork — To crimp the edges of the pies. This seals them so the filling doesn’t leak out. I use a regular dinner fork. It’s not pretty, but it works perfectly. If you want it to look fancier, you can pinch the edges with your fingers.
Optional: Parchment Paper — I usually don’t use it, but if your air fryer basket is non-stick and you’re worried about sugar dripping, you can line the bottom. I’ve never had issues with sticking, but it’s an option if you want extra insurance.
Tool Tips: Don’t have an air fryer? You can bake these in a conventional oven at 375°F (190°C) for 15-18 minutes. But the air fryer is faster and crispier. I’m obsessed with my air fryer—it’s been a game-changer for quick desserts like these.
How to Make It: Step-by-Step
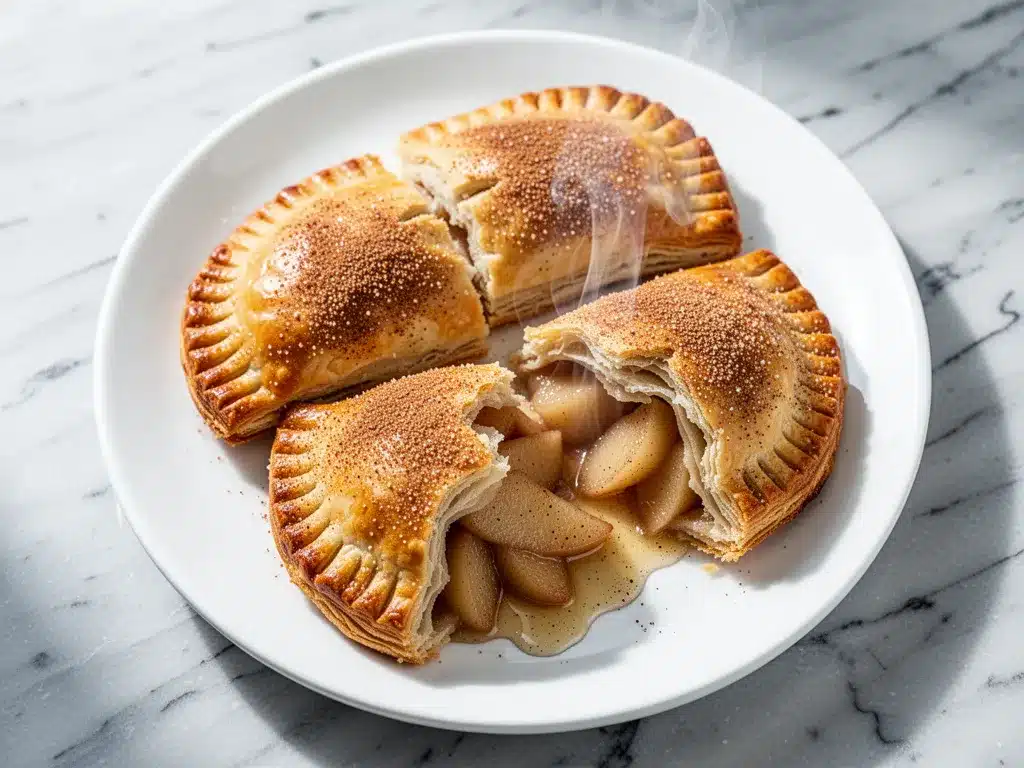
Alright, let’s make this! I’m walking you through exactly how I do it, including the little tricks I’ve picked up to prevent leaks and ensure maximum crunch. This process is quick, so have your ingredients prepped before you start.
Step 1: Prep the Apples (5 minutes)
Peel and core the apples. I usually cut them in half, remove the core with a small knife or apple corer, and then slice them into thin strips. Cut those strips into small cubes, about ½ inch or smaller. The smaller the cubes, the more evenly they cook and the less likely they are to burst open. Toss the apple cubes in a bowl with the granulated sugar and cinnamon. Let them sit for a few minutes while you prep the pastry. This helps draw out some moisture and starts the flavor process.
Step 2: Prepare the Pastry (2 minutes)
If you’re using refrigerated pie crusts, let them sit on the counter for 10-15 minutes to soften slightly. They’re easier to work with when they’re not rock cold. If using puff pastry, thaw according to package directions. Unroll the pastry and cut it into squares. I cut each sheet into four 4×4 inch squares. This gives you four hand pies per sheet. You want them big enough to hold the filling but small enough to fit in your air fryer basket.
Step 3: Assemble the Pies (5 minutes)
Place a spoonful of the apple mixture in the center of each pastry square. Use about 2-3 tablespoons of apples per pie. Don’t overfill them! This is the most common mistake. If you put too much filling, the pies will burst open in the air fryer. Leave a ½-inch border around the edges. Brush the edges of the pastry with a little water or egg wash. This acts as the “glue” to seal the pies. Place another square of pastry on top (if making double-layer pies) or fold the pastry over the filling to create a triangle or rectangle. Press the edges firmly with your fingers, then crimp with a fork to seal.
Step 4: Brush with Butter (2 minutes)
Melt the butter in a small bowl. Brush the top of each pie generously with the melted butter. This is crucial for browning. If you skip this, the pies will look pale and doughy. Sprinkle with turbinado sugar if you’re using it. The sugar will caramelize and create a crunchy, sparkling crust.
Step 5: Air Fry (12-15 minutes)
Preheat your air fryer to 375°F (190°C). This takes about 3 minutes. Place the pies in the air fryer basket in a single layer. Make sure they aren’t touching each other. Air needs to circulate around each pie for even cooking. Cook for 12-15 minutes, flipping them halfway through (around the 7-minute mark). Flipping ensures both sides get golden brown. The pies are done when the pastry is deep golden brown and crispy, and the apples are tender. You can check by inserting a toothpick into the center—it should come out clean or with soft apple bits.
Step 6: Cool and Serve (5 minutes)
Remove the pies from the air fryer and let them cool on a wire rack for 5 minutes. The filling will be extremely hot inside, so don’t bite into them immediately or you’ll burn your tongue. The cooling time also helps the filling set slightly. Serve warm. They’re amazing on their own, but if you want to go all out, add a dollop of whipped cream or a scoop of vanilla ice cream.
Total Time: About 20-25 minutes (5 minutes prep, 15 minutes cook).
Troubleshooting: If the pies are browning too fast on the outside but the apples are still hard, lower the temperature to 350°F (175°C) and cook for a few more minutes. If the edges are burning, you can place a small piece of foil over them for the last few minutes.
Expert Tips & Tricks
Here’s everything I’ve learned from making these dozens of times. These tips will save you from my mistakes and ensure your pies come out perfect every time.
Don’t Overfill
I can’t stress this enough. Overfilling is the #1 reason air fryer pies fail. The filling expands as it heats up. If there’s no room, it will bubble out and burn in the bottom of the air fryer, creating smoke. Less is more. A neat, sealed pie is better than a burst, messy one.
Seal Tight
Use a fork to crimp the edges firmly. If you’re folding the pastry over, make sure there are no air pockets. Air pockets can cause the pastry to puff up unevenly or tear. Press down all around the edges. If you’re worried about leaks, do a double seal: press with fingers, then run a fork over it.
Flip Midway
Most air fryers heat from the top. Flipping the pies halfway through ensures both sides get that beautiful golden color. I set a timer on my phone for the 7-minute mark so I don’t forget. It takes 10 seconds but makes a huge difference in appearance.
Use Cold Butter for Brushing
Actually, wait—melted butter is better for brushing. I made this mistake in my first draft. Melted butter absorbs into the pastry and browns it. Cold butter just sits on top. So, melt it first. I usually melt it in the microwave for 10-15 seconds.
Choose the Right Apple
Stick to firm apples. I’ve tried Gala apples before, and they turned into applesauce inside the pie. Granny Smith, Honeycrisp, or Braeburn are your best friends. If you use a mix, that’s fine, but keep the firm ones dominant.
Clean the Basket
Apple juice is sticky. If any filling leaks out, it will burn on the bottom of the basket. Clean your air fryer basket after each batch if there’s residue. It prevents smoke and off-flavors in the next batch.
Make-Ahead Strategy
You can assemble the pies and keep them in the fridge for up to 24 hours before cooking. Just cover them with plastic wrap. This is great for meal prep or if you’re having guests over. Pull them out and air fry when you’re ready.
Variations & Substitutions
Once you’ve nailed the basic version, here’s how you can mix it up. I’ve tried all of these, and they’re all winners.
Apple Cinnamon Sugar
Add ½ teaspoon of nutmeg and a pinch of cardamom to the filling. It adds a warm, cozy flavor that’s perfect for winter. I love this version during the holidays.
Chocolate Chip Apple
Add a tablespoon of mini chocolate chips to the apple filling. The chocolate melts and mixes with the caramelized apples. It’s like an apple pie à la mode in handheld form. My kids go crazy for this.
Maple Walnut
Replace the sugar with maple syrup in the filling, and add chopped walnuts. The nuts add crunch and the maple adds a rich, earthy sweetness. It’s a more sophisticated flavor profile.
Double Berry
Replace half the apples with blueberries or blackberries. The berries add a tartness that balances the sweetness. Just be careful not to overfill, as berries release more juice. Add a teaspoon of cornstarch to the filling to help thicken the juices.
Gluten-Free
Use gluten-free refrigerated pie crusts or puff pastry. Many brands make good versions now. The cooking time is the same. I’ve used Pillsbury’s gluten-free crusts, and they work well.
Vegan
Use vegan puff pastry (check the label, some contain butter) and brush with vegan butter or coconut oil. The filling is naturally vegan. Just make sure your apples are peeled and cored properly.
Different Pastry
You can use phyllo dough for a lighter, crispier texture. Layer 2-3 sheets of phyllo, fill, and fold. Brush with butter between layers. It cooks faster, so check at 8-10 minutes.
Serving & Storage
How to serve these hand pies is almost as important as how you make them. They’re versatile and can be enjoyed in many ways.
How to Serve:
I usually serve these warm, right out of the air fryer. They look rustic and homemade. But here are other ways I’ve enjoyed them:
- With Ice Cream: A scoop of vanilla bean ice cream on top is classic. The hot pie and cold ice cream create the perfect temperature contrast.
- With Whipped Cream: If you don’t want ice cream, a dollop of homemade whipped cream is light and delicious.
- With Cheese: For a savory-sweet twist, serve with a slice of sharp cheddar or brie. It’s a great appetizer option.
- As a Snack: These are perfect for lunchboxes or after-school snacks. They’re sturdy enough to travel well.
Storage Instructions:
Refrigerator: Store leftovers in an airtight container for up to 3 days. The pastry will soften slightly, but they’re still good. Reheat in the air fryer for 3-4 minutes to crisp them back up. The microwave will make them soggy, so avoid that.
Freezer: You can freeze the unbaked pies. Assemble them, place them on a baking sheet, and freeze until solid. Then transfer to a freezer bag. They’ll keep for up to 2 months. Bake from frozen, adding 3-5 minutes to the cook time. You can also freeze baked pies, but the texture won’t be as crispy.
Reheating: The air fryer is best for reheating. 3-4 minutes at 350°F (175°C) brings them back to life. If you must use a microwave, do it for 20-30 seconds, but expect a softer crust.
Pro Tip: If you’re making these for a party, assemble them ahead of time and keep them in the fridge. Then air fry them in batches as guests arrive. They’ll be warm and fresh the whole time.
Nutrition Information
I’m not a nutritionist, but here’s the breakdown if you’re tracking. Keep in mind that these are estimates based on standard ingredients.
Per Serving (based on 4 pies):
- Calories: 280
- Protein: 3g
- Carbs: 35g
- Fiber: 2g
- Sugar: 18g
- Fat: 15g
- Saturated Fat: 8g
What’s Good:
- Apples provide fiber and vitamin C
- Individual portion control helps manage intake
- Quick to make, so you can enjoy it without guilt
What to Know:
- Higher in sugar from the pastry and added sugar
- Contains gluten and dairy (unless using substitutes)
- Calories are moderate for a dessert
My Take:
Look, this is a dessert. It’s sweet, it’s buttery, and it’s delicious. It’s not a health food. But it’s way better than store-bought pastries, which are often full of preservatives. When I make these, I use less sugar and stick to whole apples. It’s a treat, so enjoy it mindfully. Pair it with a cup of tea or coffee for a balanced snack.
Final Thoughts
So that’s my go-to crispy air fryer apple hand pies! I’ve probably talked your ear off at this point, but when you make a recipe this often, you have a lot to say about it. These pies have saved my dessert game more times than I can count. They’re my answer to “what’s for dessert” when I’m tired, don’t want to bake a whole pie, and still want something that tastes really good.
My kids are happy, my husband is happy, and I’m happy because I’m not stressed about cooking. The best part is how versatile they are. You can change the filling, the pastry, the spices—it’s all up to you. Make it yours! Try different apples, add different spices, or experiment with fillings. The best recipes are the ones you adapt to your family’s tastes.
If you make this, drop a comment and let me know what you think! I love hearing how recipes turn out in your kitchen. And if something doesn’t work, tell me that too—I’m here to help troubleshoot. Happy cooking! And I hope your kitchen smells half as good as mine does right now.
Frequently Asked Questions
Can I use frozen pie crusts?
Yes, but you need to thaw them completely before using. Frozen crusts are brittle and will crack if you try to roll or fold them cold. Thaw them in the fridge overnight or on the counter for 30-45 minutes. If they’re too cold, the butter in the dough will melt unevenly, leading to a tough crust.
Why did my pies leak in the air fryer?
Leaking usually happens for two reasons: overfilling or not sealing the edges properly. Make sure you use only 2-3 tablespoons of filling per pie. Leave a border around the edges. Brush the edges with water or egg wash, and press firmly with a fork. If the pies are still leaking, try lowering the temperature by 25°F and cooking for a few minutes longer to prevent the outside from burning before the inside is done.
Can I make these ahead of time?
Absolutely. You can assemble the pies and store them in the fridge for up to 24 hours. Cover them with plastic wrap. When you’re ready to cook, just pop them in the air fryer. You can also freeze the unbaked pies. Place them on a baking sheet, freeze until solid, then transfer to a freezer bag. Bake from frozen, adding 3-5 minutes to the cook time.
What’s the best apple for this recipe?
Granny Smith apples are my top choice because they’re tart and hold their shape well. Honeycrisp and Fuji are also great options if you prefer something sweeter. Avoid Red Delicious or McIntosh apples, as they turn to mush when cooked. You can also use a mix of apples for a more complex flavor.
Can I use puff pastry instead of pie crust?
Yes! Puff pastry actually works better for this recipe because it gets extra flaky and crispy. Just make sure to thaw it according to package directions. You’ll need to cut it into squares, just like pie crust. The cooking time is the same. Puff pastry is a bit more expensive, but the texture is worth it.
How do I reheat leftovers?
The air fryer is the best way to reheat leftovers. Pop them in at 350°F (175°C) for 3-4 minutes. This will crisp up the pastry again. If you use a microwave, the pastry will get soggy. If you must use a microwave, heat for 20-30 seconds, but expect a softer texture.
Can I double the recipe?
Yes, but you’ll need to cook them in batches. Air fryers have limited space, and crowding the basket will prevent proper air circulation, leading to uneven cooking. Cook them in a single layer with space between each pie. If you have a large air fryer, you might fit two pies at a time, but check the basket size first.
Pin This Recipe!
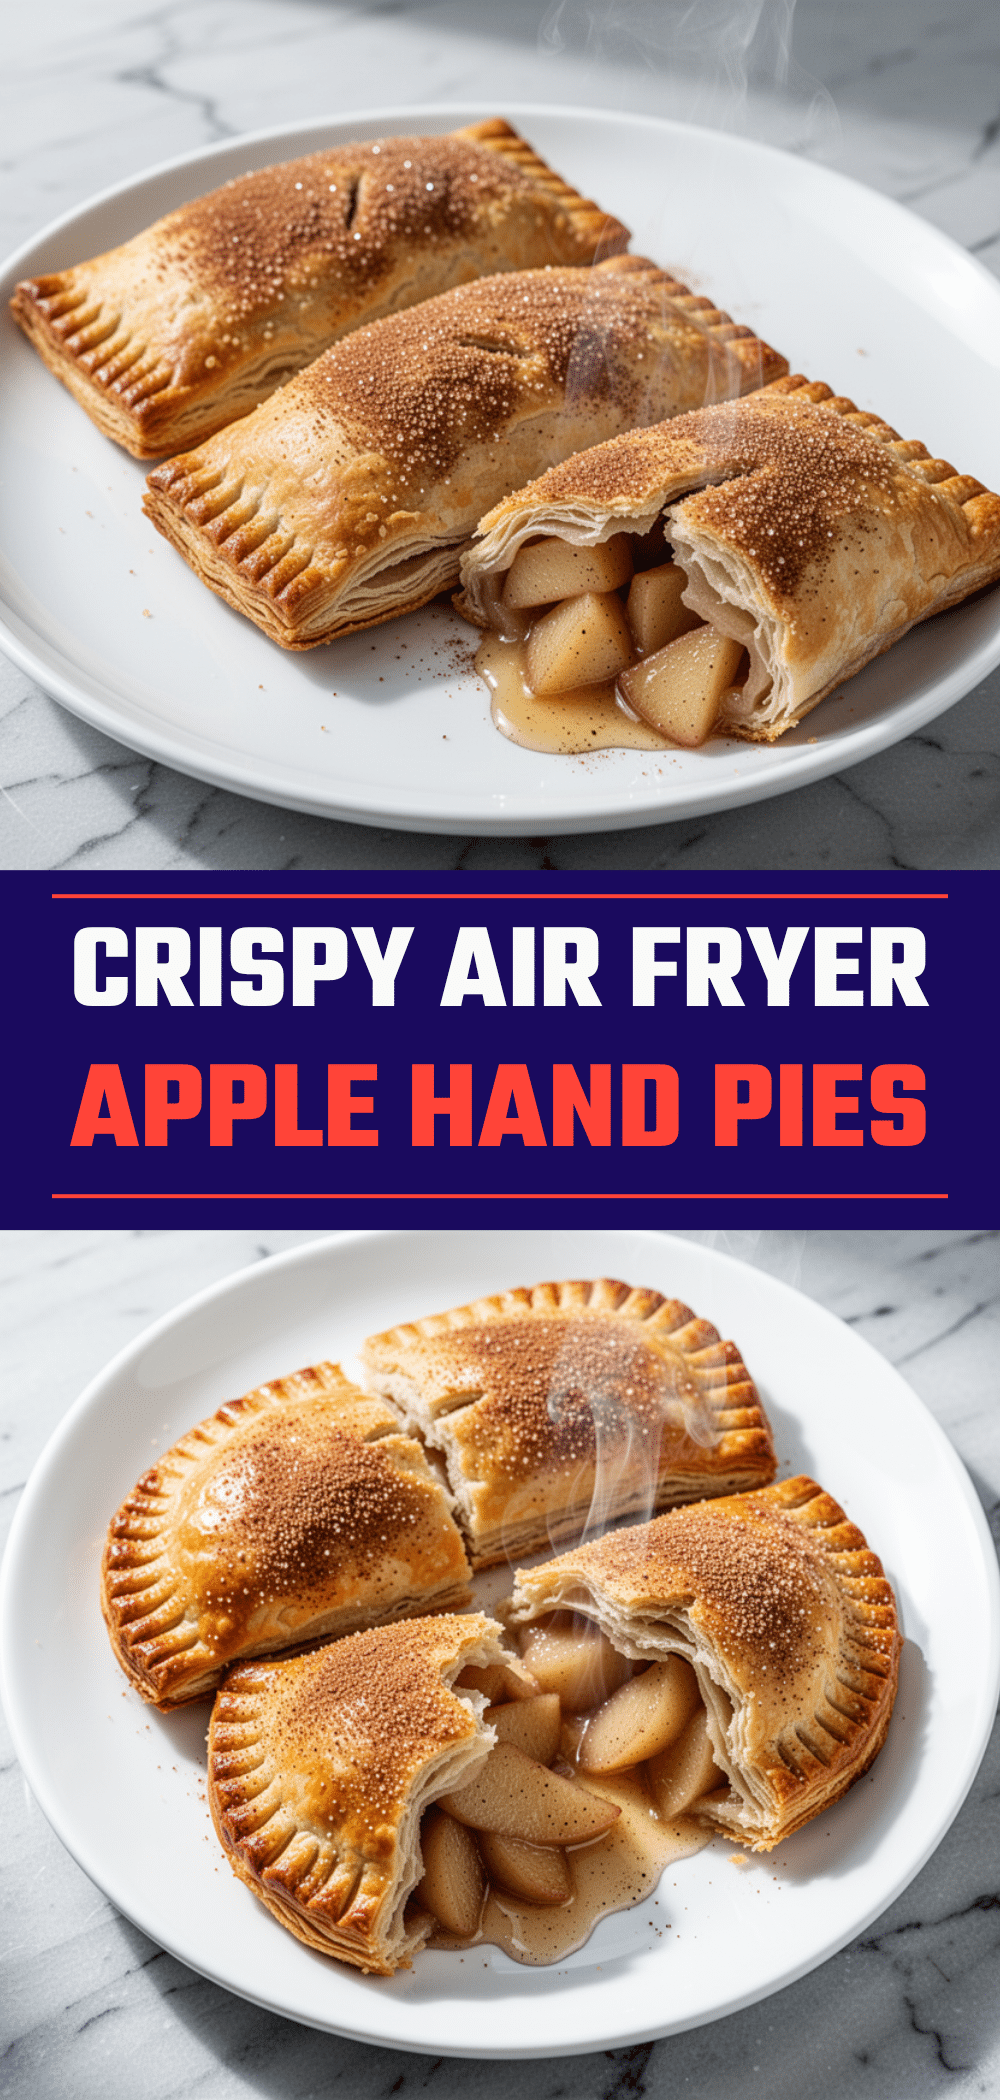
Crispy Air Fryer Apple Hand Pies: 5-Ingredient Easy Dessert
- Total Time: 25 minutes
- Yield: 4 servings 1x
Description
These crispy air fryer apple hand pies are a sweet, spiced, and incredibly easy dessert made with just five ingredients. They cook in about 15 minutes, offering a flaky, golden shell with a tender apple filling, perfect for a quick treat.
Ingredients
- 1 box (2 sheets) refrigerated pie crusts or puff pastry
- 3 medium firm apples (about 400g), peeled and diced (Granny Smith, Honeycrisp, or Fuji)
- 2 tablespoons granulated sugar
- 1 teaspoon ground cinnamon
- 1 tablespoon butter, melted
- Turbinado sugar, optional for sprinkling
Instructions
- Preheat the air fryer to 375°F (190°C).
- Peel, core, and dice the apples into small cubes (about ½ inch).
- Toss the apple cubes with granulated sugar and cinnamon in a small bowl. Let sit for a few minutes.
- If using refrigerated pie crusts, let them sit on the counter for 10-15 minutes to soften. Unroll and cut each sheet into four 4×4 inch squares.
- Place about 2-3 tablespoons of the apple mixture in the center of each pastry square, leaving a ½-inch border.
- Brush the edges of the pastry with water or egg wash to act as glue. Fold the pastry over the filling to create a triangle or rectangle, or place another square on top.
- Press the edges firmly with fingers and crimp with a fork to seal tightly.
- Brush the top of each pie generously with melted butter. Sprinkle with turbinado sugar if desired.
- Place the pies in the air fryer basket in a single layer, ensuring they are not touching.
- Air fry for 12-15 minutes, flipping halfway through (around the 7-minute mark), until the pastry is deep golden brown and crispy.
- Remove from the air fryer and let cool on a wire rack for 5 minutes before serving.
Notes
Do not overfill the pies to prevent bursting. Use firm apples like Granny Smith or Honeycrisp to avoid mushiness. Flip the pies halfway through cooking for even browning. If the edges burn, cover with foil. Can be made ahead and refrigerated for up to 24 hours before cooking.
- Prep Time: 10 minutes
- Cook Time: 15 minutes
- Category: Dessert
- Cuisine: American
Nutrition
- Serving Size: 1 hand pie
- Calories: 280
- Sugar: 18
- Fat: 15
- Saturated Fat: 8
- Carbohydrates: 35
- Fiber: 2
- Protein: 3
Keywords: air fryer dessert, apple hand pies, easy dessert, 5-ingredient recipe, crispy apple pie, quick dessert, fall recipes


