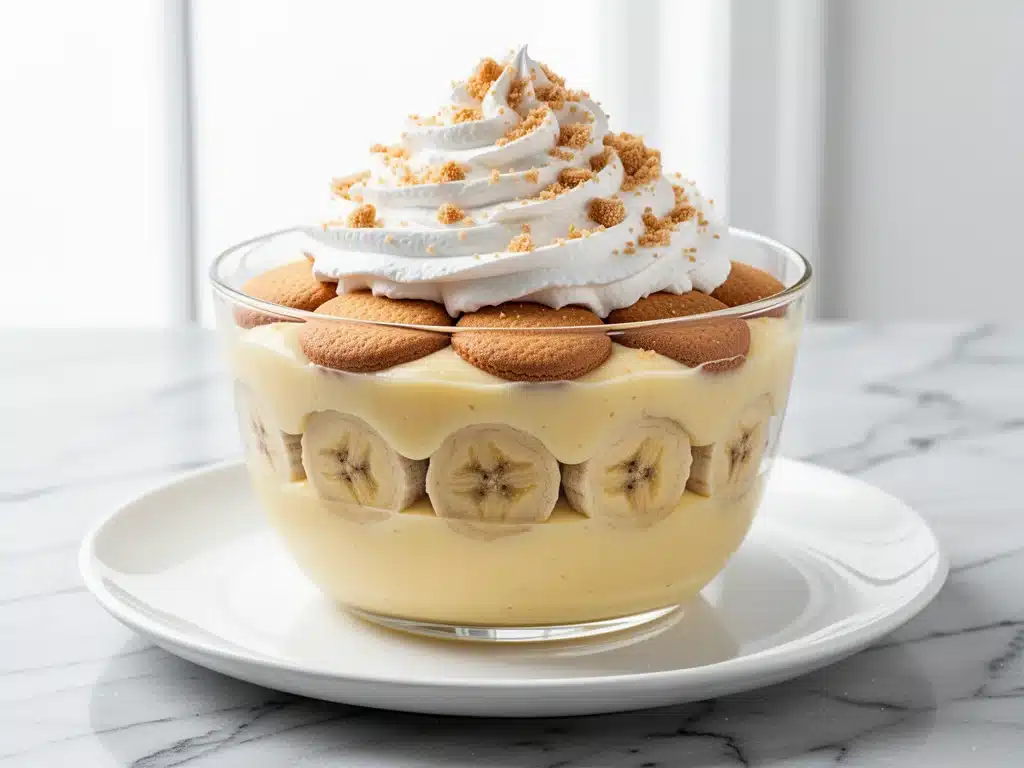
It was a humid July afternoon, the kind where the air feels thick enough to chew, and I was standing in my kitchen feeling defeated. I had just burned the bottom of my second attempt at trying to make a fancy mousse cake. You know the type—fussy, requires a double boiler, and ends up looking like a science experiment gone wrong. My husband walked in, saw the mess, and gently suggested we just order pizza. But then my sister-in-law texted: “Can you bring dessert? Everyone’s hungry.”
I didn’t have time for mousse. I didn’t have time for baking. So I did what I’ve always done when I’m stressed and out of ideas: I opened the fridge, grabbed the three things I knew would work, and threw them together. I used overripe bananas, a box of vanilla wafers, and some heavy cream I’d forgotten about. I called it “emergency pudding.” Thirty minutes later, that dish was gone. Not a spoon left. My picky nephew, who usually only eats chicken nuggets, asked for the recipe before he’d even finished his slice.
That was the moment I realized that sometimes the best desserts aren’t the ones that win blue ribbons at county fairs. They’re the ones that taste like home. This creamy banana pudding with vanilla wafers has become my go-to comfort dessert. It’s nostalgic, it’s ridiculously easy, and it tastes like a hug. I’ve made it for potlucks, for last-minute dinner guests, and just because I wanted a snack on a Tuesday. And every single time, people ask for the recipe. It’s become my signature dish, and honestly? I think I’ve finally perfected it.
There’s something magical about the way the wafers soften into a cake-like layer while the bananas turn jammy and sweet. It’s the texture that gets people. It’s not just “good for a quick dessert.” It’s genuinely delicious. If you’ve ever tried to make banana pudding from scratch and ended up with watery custard or rubbery wafers, this version is different. I’ve tweaked the ratios, tested the chilling time, and figured out the exact trick to keep those bananas from turning brown. This is the one you’ll make again and again.
Why You’ll Love This Recipe
Let’s be real: most people think banana pudding is just a side dish from the grocery store deli. But this version? It’s next level. I’ve made this for everyone from my foodie friends to my kids’ teachers, and it’s always the first thing to disappear. Here’s why this creamy banana pudding with vanilla wafers has taken over my kitchen:
- Stupid Simple — Seriously, if you can slice a banana and whip some cream, you can make this. There’s no baking involved. No oven needed. No complicated custard base that might curdle. I’ve walked my teenage son through it over FaceTime, and he didn’t burn anything.
- Lightning Fast — It takes about 20 minutes of active prep time. The rest is just chilling in the fridge. I make this on weeknights when I get home late and don’t want to turn on the stove. It’s the perfect “I need dessert now but don’t want to try hard” recipe.
- Nostalgic Flavor — This tastes like your grandmother’s kitchen. The combination of sweet vanilla wafers, creamy pudding, and tart bananas is timeless. It’s comfort food in a bowl. I remember making this with my mom when I was a kid, and now I make it for my own family. It feels like coming home.
- Crowd-Pleaser — I’ve served this to people who hate bananas, and they still love it. The banana flavor is sweet and subtle, not overpowering. It’s a safe bet for any gathering. Whether it’s a potluck, a holiday, or a Tuesday night snack, everyone wins.
- Make-Ahead Friendly — This actually gets better overnight. The flavors meld together, the wafers soften perfectly, and the pudding sets up nicely. I love making it the morning of a party so I can relax in the afternoon. It’s the ultimate stress-free dessert.
- Budget-Smart — You probably have most of these ingredients already. Bananas, vanilla wafers, cream, sugar—it’s cheap to make. Feeds 6-8 people for under $10. That’s less than one takeout order.
This is my go-to when I need dessert to just work. No fancy techniques, no weird ingredients, just reliable, delicious food that makes everyone happy. If you’re looking for a recipe that’s easy, tasty, and guaranteed to impress, this is it.
Ingredients You’ll Need
Here’s the best part: you probably have most of this already. I’m particular about three ingredients here, and I’ll tell you exactly why. This isn’t just about following a list; it’s about understanding how each piece fits together.
For the Pudding Base
Heavy cream (2 cups / 480ml) — This is the backbone of the texture. You need full-fat heavy cream for that rich, velvety mouthfeel. Light cream or half-and-half won’t whip up stiff enough, and your pudding will be watery. I always keep a carton in the fridge just for this. Don’t skimp on quality here.
Instant vanilla pudding mix (2 boxes, 3.4 oz each) — I know, I know. Some people say homemade custard is “better.” But for this specific style of banana pudding, the instant mix gives you that classic, smooth, slightly sweet flavor that pairs perfectly with the wafers. I use Jell-O or store brand—it doesn’t matter. Just make sure it’s instant, not cook-and-serve. Cook-and-serve needs to be boiled, and we’re skipping that.
Milk (2 cups / 480ml) — Whole milk is best for richness, but 2% works too. If you’re dairy-free, you can use full-fat coconut milk, but the flavor will be different. I stick to regular milk for the authentic taste.
Sugar (¼ cup / 50g) — The pudding mix already has sugar, so we’re just adding a little extra to balance the tartness of the bananas. If you’re using a less-sweet pudding mix, you might want to add a bit more. Taste your mixture before assembling.
Vanilla extract (1 teaspoon) — Pure vanilla, not imitation. It makes a huge difference in the flavor profile. I use McCormick or Nielsen-Massey. A little goes a long way.
For the Layers
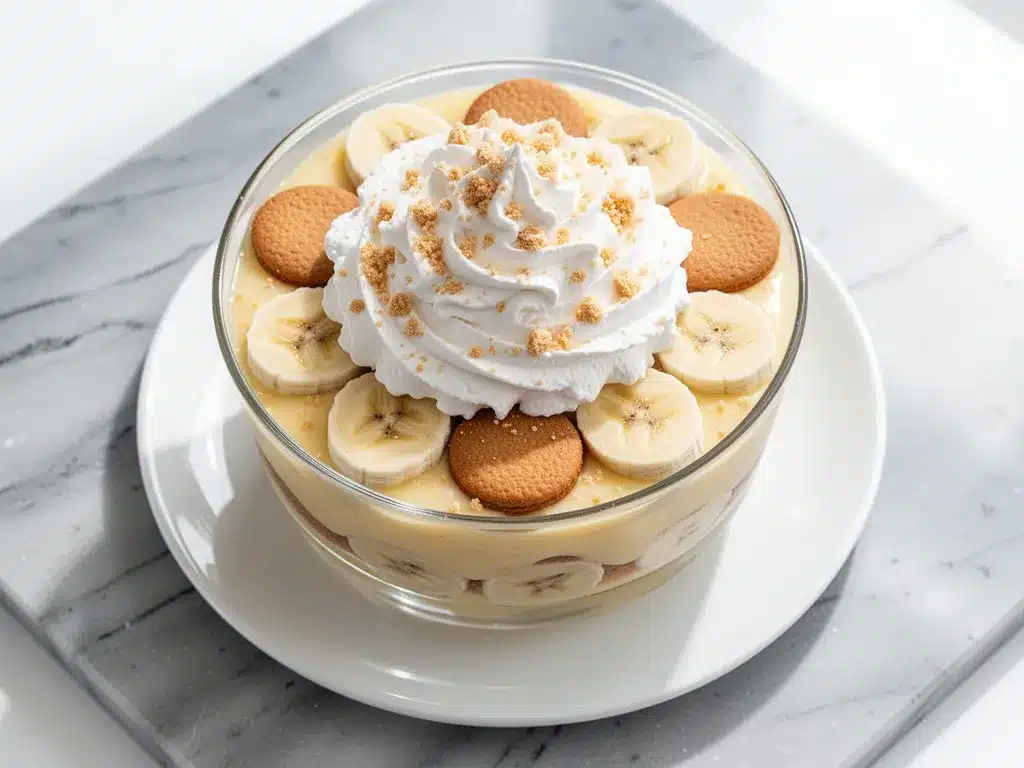
Vanilla wafers (1 package, about 30-40 wafers) — Nilla Wafers are the gold standard here. They’re sturdy enough to hold up but soft enough to melt in your mouth. Don’t use shortbread cookies; they’re too rich and won’t absorb the pudding correctly. Don’t use vanilla ice cream wafers; they’re too sweet and soft.
Ripe bananas (4 large) — This is crucial. You want bananas that are yellow with brown spots. They need to be sweet and soft. Green bananas will be tart and firm. Overripe bananas (black skin) might get too mushy. Look for the perfect balance: yellow with a few brown speckles.
Lemon juice (1 tablespoon) — This is my secret weapon. Squeezing a little lemon juice over the sliced bananas prevents them from browning. It also adds a tiny bit of brightness that cuts through the sweetness. You won’t taste the lemon; I promise.
For the Topping
Whipped cream (1 cup / 240ml) — You can use store-bought Cool Whip for convenience, but fresh whipped cream is so much better. I whip my own with a little powdered sugar and vanilla. It’s light, airy, and looks beautiful on top.
Extra vanilla wafers — For garnish. Crushed or whole, depending on your vibe. I like placing a few whole wafers on top for presentation.
Chocolate shavings (optional) — Dark chocolate shavings add a nice contrast to the sweet vanilla. I sprinkle a little on top for fancy guests. It’s not traditional, but it’s delicious.
Equipment Needed
You don’t need fancy equipment for this. Here’s what I actually use:
Large mixing bowl — I use a 4-quart stainless steel bowl. It needs to be big enough to whip the cream and mix the pudding without splattering. My glass bowl works too, but steel is easier to clean.
Electric mixer — Handheld or stand mixer. You need this for whipping the cream to stiff peaks. Doing this by hand is possible, but it takes effort, and I’m lazy. A mixer makes it effortless.
Spatula — A silicone spatula is essential for folding the whipped cream into the pudding. You need to be gentle to keep the air in the cream. A metal spoon will deflate it.
9×13 inch baking dish — This is the classic size for banana pudding. Glass or ceramic works best because it shows off the layers. I use a Pyrex dish. It’s sturdy and easy to see the layers.
Knife and cutting board — For slicing the bananas. A sharp knife makes clean slices that look nice. Dull knives mash the bananas, and we don’t want that.
Measuring cups and spoons — Standard stuff. Dollar store versions work fine for this.
Peeler or paring knife — For peeling the bananas. Obviously.
How to Make It: Step-by-Step
Alright, let’s make this! I’m walking you through exactly how I do it, including the little tricks I’ve picked up. This is foolproof if you follow the steps.
Step 1: Prep Your Bananas (5 minutes)
Peel the bananas and slice them into half-inch rounds. As you slice, toss them in a bowl with the lemon juice. This coats them evenly and prevents browning. I do this first because it’s quick, and then I can focus on the pudding without worrying about the bananas turning brown while I work.
Step 2: Make the Pudding Base (5 minutes)
In a large bowl, whisk together the instant vanilla pudding mix and the sugar. Add the milk and vanilla extract. Whisk vigorously for 2-3 minutes until the mixture thickens. It should look smooth and creamy, with no lumps. This happens fast. Don’t skip the whisking; it’s what makes the pudding thick enough to hold the wafers.
Step 3: Whip the Cream (3 minutes)
In a separate cold bowl, whip the heavy cream until stiff peaks form. You know it’s ready when you lift the beaters and the cream stands up straight. Don’t over-whip it into butter, though. Stop when it’s thick and fluffy. If you’re using Cool Whip, just thaw it according to the package directions.
Step 4: Fold It Together (2 minutes)
Here’s the most important step. Gently fold the whipped cream into the pudding mixture. Use a spatula and cut down the middle, scrape the bottom, and fold over. Do this until the mixture is uniform and airy. You want to keep the air in the cream, so be gentle. If you mix too hard, you’ll lose the light texture, and your pudding will be dense.
Step 5: Assemble the Layers (5 minutes)
Start with a layer of vanilla wafers at the bottom of your 9×13 dish. Break them if needed to fit. Then, add a layer of banana slices. Pour a layer of the pudding mixture over the bananas, spreading it evenly. Repeat the layers: wafers, bananas, pudding. End with a final layer of pudding on top. Make sure the pudding covers all the wafers and bananas to prevent browning.
Step 6: Chill and Set (4 hours minimum)
Cover the dish with plastic wrap or foil. Refrigerate for at least 4 hours, but overnight is best. This is where the magic happens. The wafers absorb the pudding and become cake-like, and the flavors meld together. If you’re impatient, you can eat it after 2 hours, but it won’t be as good. Trust the process.
Step 7: Top and Serve
Just before serving, whip up your fresh whipped cream (if you haven’t already) and spread it over the top. Garnish with extra vanilla wafers or chocolate shavings. Slice it with a sharp knife and serve cold. It’s that simple.
Expert Tips & Tricks
Here’s everything I’ve learned from making this dozens of times. These tips will save you from my mistakes.
Use Cold Cream
Your heavy cream needs to be ice cold for it to whip properly. I keep my bowl and beaters in the freezer for 15 minutes before whipping. If the cream is warm, it won’t stiffen, and you’ll end up with soup instead of pudding. I learned this the hard way with a soupy mess that I had to throw out.
Don’t Skip the Lemon Juice
I know it sounds weird, but the lemon juice is crucial. It keeps the bananas bright yellow and adds a subtle brightness that balances the sweetness. You won’t taste it, but you’ll notice if it’s missing. The bananas will turn brown and taste flat.
Fold, Don’t Stir
When combining the whipped cream and pudding, use a folding motion. Stirring vigorously will deflate the cream, and your pudding will be dense and heavy. Fold gently until just combined. It takes a little more time, but it’s worth it for the texture.
Chill Overnight
I know you want to eat it now, but wait. The wafers need time to soften, and the flavors need time to meld. If you eat it right away, you’ll have crunchy wafers and distinct layers that don’t taste like they belong together. Overnight is the gold standard.
Use Ripe Bananas
Green bananas are tart and firm. Overripe bananas are too soft and can get mushy. Look for bananas that are yellow with brown spots. They’re sweet, soft, and perfect for this recipe. If you don’t have ripe bananas, you can speed up the process by baking them in their skins at 300°F for 15 minutes until they’re black.
Common Mistakes (and how to avoid them)
Mistake: Pudding is too thin. Fix: You didn’t whisk it long enough, or you used low-fat milk. Whisk for a full 3 minutes, and use whole milk. Also, make sure you’re using instant pudding, not cook-and-serve.
Mistake: Wafers are soggy. Fix: You used too much pudding, or you didn’t chill it long enough. Use a moderate amount of pudding, and chill for at least 4 hours. If you’re making it ahead, the wafers will continue to soften, so plan accordingly.
Mistake: Bananas are brown. Fix: You didn’t use lemon juice, or you didn’t cover the pudding well. Always toss bananas in lemon juice, and cover the dish tightly with plastic wrap to prevent air exposure.
Variations & Substitutions
Once you’ve nailed the basic version, here’s how you can mix it up. I’ve tried all of these.
Chocolate Banana Pudding
Swap the vanilla pudding mix for chocolate pudding mix. It’s a kid favorite. The chocolate and banana combination is rich and decadent. I make this for my nephew, and he loves it.
Banana Pudding Parfaits
Instead of layering in a big dish, make individual parfaits in glasses or jars. Layer the wafers, bananas, and pudding in a clear glass. It’s pretty and easy to serve. I do this for parties so everyone gets their own portion.
Gluten-Free Version
Use gluten-free vanilla wafers. Most brands work well, but check the label to make sure they’re sturdy enough to hold up. I’ve used Gluten Free Everything brand, and it works great.
Dairy-Free Version
Use coconut milk instead of dairy milk, and coconut cream instead of heavy cream. Use a dairy-free pudding mix. It’s not the same, but it’s still tasty. My lactose-intolerant friend requests this version sometimes.
Add-Ins
Crushed peanuts on top add a nice crunch and salty contrast. I like this for a Southern-style twist. Chopped pecans also work well. Toast them first for extra flavor.
Serving & Storage
How to Serve:
I usually serve this straight from the dish at the dinner table—it looks rustic and stays cold. But here are other ways I’ve enjoyed it:
Side Dishes:
- Grilled chicken (for a savory-sweet contrast)
- Fresh fruit salad (to balance the sweetness)
- Coffee or tea (perfect pairing)
Toppings Bar:
When I have guests, I put out: crushed peanuts, chocolate shavings, extra whipped cream. Everyone customizes their bowl.
Storage Instructions:
Refrigerator: Store in an airtight container or covered with plastic wrap for up to 3 days. The wafers will continue to soften, so it might get mushier after day 2. Eat it within 3 days for best texture.
Freezing: I don’t recommend freezing this. The whipped cream and pudding will separate and become grainy when thawed. It’s best fresh.
Meal Prep: Make it the night before. It’s the ultimate make-ahead dessert. Just add the whipped cream topping right before serving.
Nutrition Information
I’m not a nutritionist, but here’s the breakdown if you’re tracking. This is a rich dessert, so enjoy in moderation.
Per Serving (based on 8 servings):
- Calories: 380
- Protein: 6g
- Carbs: 52g
- Fiber: 2g
- Sugar: 35g
- Fat: 16g
- Saturated Fat: 10g
- Cholesterol: 60mg
- Sodium: 250mg
What’s Good:
- Decent potassium from the bananas
- Calcium from the milk and pudding
- Easy to make vegetarian
What to Know:
- Higher in sugar from the pudding mix and wafers
- Contains dairy and gluten
- Moderate fat from the cream
My Take:
Look, this is a dessert with cream and sugar. It’s not a health food. But it’s way better than store-bought, costs less, and I know exactly what’s in it. When I want to make it lighter, I use less sugar and more fruit. But usually? I just eat a small slice and enjoy it.
Final Thoughts
So that’s my creamy banana pudding with vanilla wafers! I’ve probably talked your ear off at this point, but when you make a recipe this often, you have a lot to say about it.
This has saved dessert nights more times than I can count. It’s my answer to “what’s for dessert” when I’m tired, don’t want to bake, and still want something that tastes really good. My kids are happy, my husband’s happy, and I’m happy because I’m not stressed about cooking.
Make it yours! Try different add-ins, swap in your favorite toppings, adjust the sweetness. The best recipes are the ones you adapt to your family’s tastes. If you make this, drop a comment and let me know what you think! I love hearing how recipes turn out in your kitchen. And if something doesn’t work, tell me that too—I’m here to help troubleshoot.
Happy cooking! And I hope your kitchen smells half as good as mine does right now.
Frequently Asked Questions
Can I use homemade pudding instead of instant?
You can, but the texture will be different. Homemade custard is smoother and richer, but it doesn’t set as firmly. If you use homemade, make sure it’s chilled completely before folding in the whipped cream. I prefer instant for the classic texture, but homemade works if you’re feeling fancy.
Why did my bananas turn brown?
Usually means you didn’t use enough lemon juice, or you didn’t cover the pudding well. Always toss bananas in lemon juice, and cover the dish tightly with plastic wrap to prevent air exposure. Also, make sure you’re using ripe bananas, not green ones.
Can I make this ahead for a party?
Absolutely! This is the perfect make-ahead dessert. Make it the night before, and it will be ready to serve. Just add the whipped cream topping right before serving. It actually tastes better after chilling overnight.
Can I use Cool Whip instead of fresh whipped cream?
Yes, you can. Thaw the Cool Whip according to the package directions, and fold it into the pudding just like fresh cream. It’s convenient and works well, though fresh whipped cream tastes better. I use Cool Whip when I’m in a rush.
How long does banana pudding last in the fridge?
It lasts up to 3 days in the refrigerator. After that, the wafers get too soggy, and the texture suffers. I usually eat it within 2 days for the best experience. If you have leftovers, store them in an airtight container.
Can I freeze banana pudding?
I don’t recommend it. The whipped cream and pudding will separate and become grainy when thawed. It’s best fresh. If you need to make it ahead, refrigerate it instead of freezing.
What kind of bananas should I use?
Use ripe bananas that are yellow with brown spots. They’re sweet and soft, which is perfect for this recipe. Avoid green bananas (too tart) and overripe bananas (too mushy). If you don’t have ripe bananas, you can bake them in their skins at 300°F for 15 minutes until they’re black.
Can I add chocolate chips?
Yes! Chocolate chips add a nice crunch and flavor. I sprinkle them between the layers or on top. It’s a kid favorite. You can also use chocolate shavings for a more elegant look.
Is this recipe gluten-free?
The basic recipe contains gluten from the vanilla wafers and pudding mix. To make it gluten-free, use gluten-free vanilla wafers and a gluten-free pudding mix. Most brands work well, but check the label to make sure they’re sturdy enough to hold up.
Pin This Recipe!
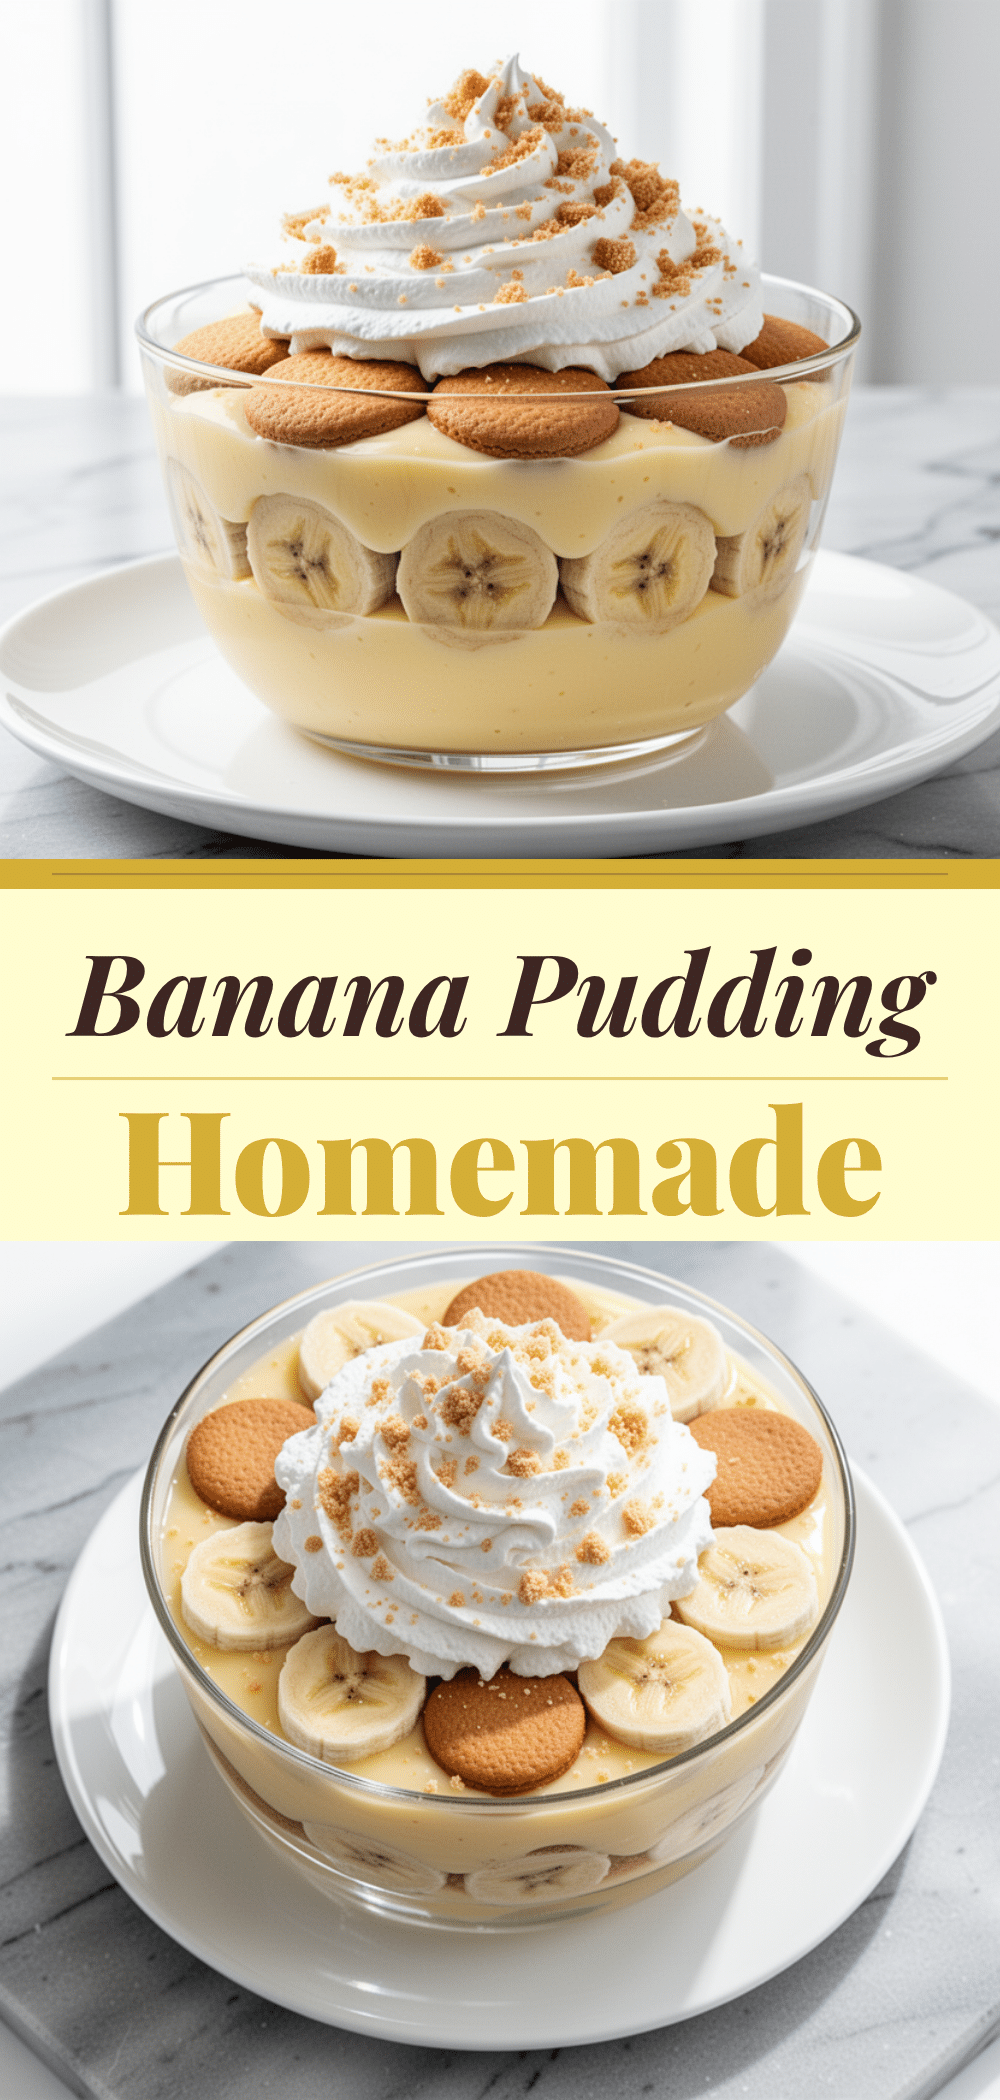
Creamy Banana Pudding: Best Easy Dessert Recipe
- Total Time: 4 hours 20 minutes
- Yield: 8 servings 1x
Description
A nostalgic, no-bake comfort dessert featuring layers of vanilla wafers, ripe bananas, and a rich, creamy pudding base made with heavy cream and instant vanilla pudding mix.
Ingredients
- 2 cups heavy cream
- 2 boxes (3.4 oz each) instant vanilla pudding mix
- 2 cups whole milk
- 1/4 cup sugar
- 1 teaspoon pure vanilla extract
- 1 package (30-40 wafers) vanilla wafers
- 4 large ripe bananas
- 1 tablespoon lemon juice
- 1 cup heavy cream (for topping)
- Powdered sugar and vanilla extract (for topping)
- Extra vanilla wafers (for garnish)
- Chocolate shavings (optional)
Instructions
- Peel and slice bananas into half-inch rounds. Toss immediately with lemon juice to prevent browning.
- In a large bowl, whisk together instant vanilla pudding mix and sugar. Add milk and vanilla extract, whisking vigorously for 2-3 minutes until thick and smooth.
- In a separate cold bowl, whip heavy cream until stiff peaks form.
- Gently fold the whipped cream into the pudding mixture using a spatula until uniform and airy.
- Layer vanilla wafers at the bottom of a 9×13 inch dish. Add a layer of banana slices, then pour a layer of pudding mixture. Repeat layers, ending with pudding on top.
- Cover with plastic wrap and refrigerate for at least 4 hours, preferably overnight, to allow wafers to soften.
- Before serving, spread fresh whipped cream on top and garnish with extra vanilla wafers or chocolate shavings.
Notes
Use ice-cold cream and bowls for best whipping results. Ensure bananas are ripe (yellow with brown spots) for sweetness. Do not skip the lemon juice to prevent browning. Chill overnight for best texture as wafers soften and flavors meld.
- Prep Time: 20 minutes
- Cook Time: 0 minutes
- Category: Dessert
- Cuisine: American
Nutrition
- Serving Size: 1 slice
- Calories: 380
- Sugar: 35
- Sodium: 250
- Fat: 16
- Saturated Fat: 10
- Carbohydrates: 52
- Fiber: 2
- Protein: 6
Keywords: banana pudding, vanilla wafers, no bake dessert, easy dessert, comfort food, make ahead dessert, creamy pudding


