It was the third week of July, and my kitchen felt more like a sauna than a place where food gets made. The oven was off. The grill was covered in rain clouds. And I was staring at an empty freezer, realizing I had exactly zero desserts ready for the backyard barbecue my husband had promised to host that weekend. I was panicked. Store-bought ice cream just doesn’t cut it when you’re trying to impress neighbors who judge your hosting skills by the quality of your dessert spread. Plus, I hate the icy, crystalline texture of cheap pints. I wanted something rich, something that tasted like it came from a high-end gelato shop, but something I could throw together without turning my kitchen into an industrial factory.
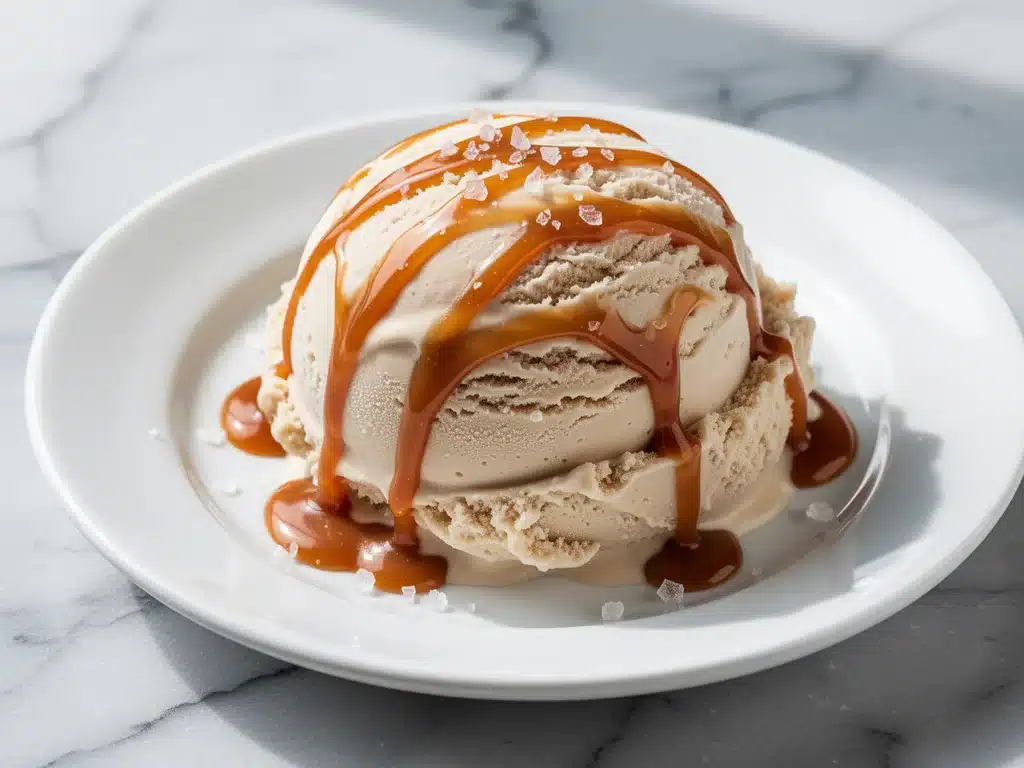
That’s when I decided to make this ultra-creamy no-churn salted caramel ice cream. I’ve tried about a dozen different no-churn recipes over the years—some were too sweet, some were too icy, and one actually tasted like soap because I used the wrong type of cream. But this one? This is the one. It’s become my secret weapon for last-minute parties, hot summer nights, and those moments when I just need a spoonful of comfort. It takes about 15 minutes of active work, requires zero special equipment (no ice cream machine here), and results in a texture so smooth you’ll forget it’s homemade. The salted caramel swirl? That’s the game-changer. It’s not just a drizzle on top; it’s folded right into the creamy base, creating those gorgeous, gooey ribbons that keep everyone coming back for seconds.
I’ve made this recipe at least twenty times in the last two summers. I’ve tweaked the salt levels, tested different types of sweetened condensed milk, and even tried adding different spices. But the core method stays the same because it works. It’s reliable, it’s delicious, and it’s the kind of dessert that makes people ask, “Wait, you made this yourself?” Yes. I did. And I’m going to show you exactly how to do it, too.
Why You’ll Love This Recipe
There are a lot of ice cream recipes out there, but this no-churn salted caramel ice cream stands out for reasons that have nothing to do with fancy equipment. It’s about simplicity, texture, and flavor balance. Here’s why this is the recipe you’ll keep coming back to, season after season.
Zero Machine Required — Seriously. If you have a whisk, a bowl, and a loaf pan, you can make this. I don’t own an ice cream maker, and I don’t plan to buy one. This recipe proves you don’t need a $200 gadget to get professional results. It’s perfect for anyone who wants ice cream without the hassle of churning.
Texture That Actually Matters — You know that gritty, icy texture of store-bought vanilla bean? This recipe avoids it completely. The secret is the combination of heavy cream and sweetened condensed milk. The fat in the cream keeps it soft, while the condensed milk prevents ice crystals from forming. The result is a silky, dreamy consistency that melts on your tongue. I’ve had friends say it tastes better than the gelato from their favorite local shop.
The Salted Caramel Factor — Plain vanilla is good. Plain vanilla with gooey, salty caramel ribbons? That’s addictive. I make the caramel from scratch because it’s easier than you think, and it’s infinitely better than jarred versions. The salt cuts through the sweetness of the condensed milk, creating a complex flavor profile that feels sophisticated but is actually very simple to pull off.
Make-Ahead Magic — This is the ultimate prep-ahead dessert. You can make the ice cream base and the caramel sauce up to a week in advance. Then, just assemble and freeze. When your guests arrive, you’re not scrambling; you’re serving. I’ve used this strategy for birthday parties, potlucks, and random Tuesday night cravings. It’s a lifesaver.
Customizable — While the salted caramel version is my favorite, the base is versatile. You can add chocolate chips, stir in crushed cookies (hello, cookies and cream vibes), or even swap the caramel for a fruit compote. But honestly? Once you taste the salted caramel, you might never want to change it.
Ingredients You’ll Need
Before we dive into the steps, let’s talk about what you need. I’m keeping this list short because that’s part of the appeal. You probably have most of these in your pantry or fridge already. I’m particular about a few things here, though, so pay attention to the notes.
For the Ice Cream Base
Heavy whipping cream (2 cups / 480ml) — This needs to be cold. I mean, fridge-cold. If it’s warm, it won’t whip. Use full-fat heavy cream. Light cream or half-and-half won’t whip properly, and your ice cream will be icy. I buy the big cartons because I use this for everything from whipped cream toppings to this recipe.
Sweetened condensed milk (1 can / 14 oz / 397g) — Do not confuse this with evaporated milk. They look similar but are totally different. Sweetened condensed milk is thick, syrupy, and very sweet. It’s the key to the creamy texture. I use the full-fat version because it adds richness. Look for the metal can, not the plastic bottle.
Vanilla extract (1 teaspoon) — Use real vanilla extract, not imitation. I know it’s tempting to save a few bucks, but in a recipe with only five ingredients, the vanilla flavor really shines. I use a good-quality brand like Nielsen-Massey or Simply Organic. If you want a deeper flavor, you can use vanilla bean paste.
Salt (½ teaspoon) — Just a pinch to enhance the sweetness. I use fine sea salt. If you only have kosher salt, use a little less because the grains are bigger.
For the Salted Caramel Swirl
Granulated sugar (1 cup / 200g) — This is the base of the caramel. White sugar works best here because it melts cleanly. Brown sugar can work, but it might make the caramel too chewy. I stick with white for that smooth, glass-like consistency.
Unsalted butter (½ cup / 113g) — Cut into cubes and at room temperature. I prefer European-style butter for its higher fat content, which makes the caramel richer. But any good quality unsalted butter works. If you use salted butter, reduce the added salt in the ice cream base.
Heavy cream (½ cup / 120ml) — For the caramel sauce, you’ll use a smaller amount of heavy cream. Again, keep it warm or at room temperature. Pouring cold cream into hot caramel can cause it to seize up, which is scary and sticky. I warm it in the microwave for 30 seconds just to be safe.
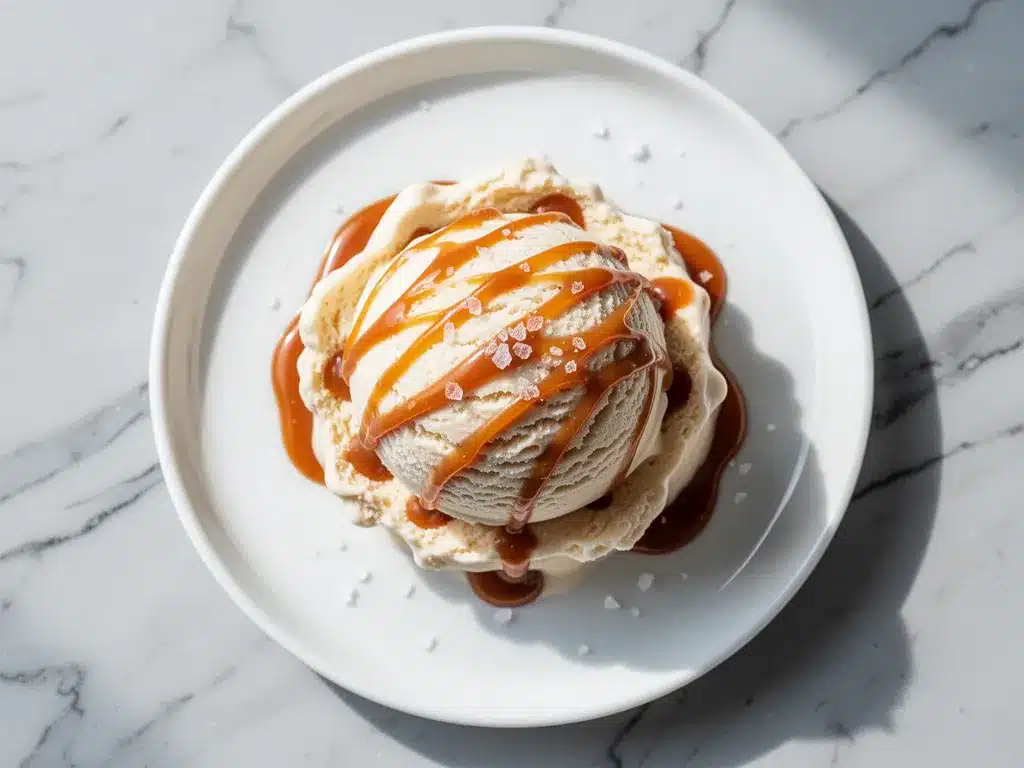
Fleur de sel or flaky sea salt (1 teaspoon) — This is for the final touch. Flaky salt adds a nice crunch and visual appeal. I love sprinkling it on top of the caramel sauce before swirling it in. It looks beautiful and adds bursts of salty flavor.
Optional Add-ins:
I sometimes add a handful of toasted pecans or walnuts to the caramel for crunch. It’s optional, but it adds a nice texture contrast. If you’re doing this, toast the nuts in a dry pan for 3-4 minutes until fragrant, then chop them roughly.
Equipment Needed
You don’t need a fancy setup for this. Here’s what I actually use. If you’re missing something, I’ll suggest alternatives.
Large mixing bowl — I use a 4-quart stainless steel bowl. Glass works too, but metal stays colder, which helps the cream whip faster. Make sure it’s clean and dry; any grease or water can stop the cream from whipping.
Electric hand mixer or stand mixer — I use a hand mixer because it’s easy to clean and I don’t have to lug out the big stand mixer for one bowl of cream. A whisk works, but you’ll need strong arms. I tried it once, and I regretted it. Use a mixer if you have one.
Medium saucepan — For making the caramel sauce. I use a 2-quart stainless steel pan. It heats evenly and doesn’t have a non-stick coating that might wear off in the sugar. A light-colored pan is better so you can see the color of the melting sugar.
Silicone spatula — Essential for folding the cream into the condensed milk without deflating it. I also use it for stirring the caramel. Heat-resistant silicone is a must.
Loaf pan — A 9×5 inch metal loaf pan is perfect for freezing the ice cream. It fits in most freezers and makes it easy to scoop out the ice cream later. I line mine with parchment paper for easy removal, but it’s not strictly necessary.
Measuring cups and spoons — Standard stuff. I prefer metal measuring spoons because they’re more accurate than plastic ones.
Sugar thermometer — Optional but helpful. If you want perfect caramel, a thermometer takes the guesswork out. I usually go by color and smell, but if you’re a beginner, a thermometer can help you avoid burning the sugar.
How to Make It: Step-by-Step
Alright, let’s make this! I’m walking you through exactly how I do it, including the little tricks I’ve picked up over the years. This process is broken into two main parts: making the caramel sauce and making the ice cream base. You can do them in any order, but I usually make the caramel first so it has time to cool.
Step 1: Make the Salted Caramel Sauce (15 minutes)
Start by pouring the granulated sugar into your medium saucepan. Spread it out evenly. Turn the heat to medium. Let the sugar melt without stirring. This is important. If you stir it too early, it will crystallize. You’ll see the sugar start to melt around the edges, turning into a golden liquid. Gently swirl the pan occasionally to ensure even melting.
Once the sugar is mostly melted and amber-colored (about 5-7 minutes), remove the pan from the heat. Carefully add the room temperature heavy cream. It will bubble up vigorously, so be cautious. Stir continuously until the cream is fully incorporated and the sauce is smooth.
Return the pan to low heat and stir in the cubed butter. Keep stirring until the butter is melted and the sauce is glossy. Remove from heat and stir in the flaky sea salt. Pour the caramel into a heat-proof bowl or jar. Let it cool to room temperature, then refrigerate for at least 30 minutes until it thickens slightly but is still pourable. If it gets too thick, you can warm it up slightly before using.
Step 2: Whip the Cream (5 minutes)
Take your cold heavy cream and pour it into the large mixing bowl. Using your electric mixer, beat the cream on medium-high speed until stiff peaks form. This means when you lift the beaters, the cream stands up straight without drooping. Be careful not to over-whip, or it will turn into butter. This usually takes 3-5 minutes, depending on your mixer.
Step 3: Fold in the Condensed Milk (2 minutes)
Pour the sweetened condensed milk and vanilla extract into the whipped cream. Using your silicone spatula, gently fold the mixture together. Fold from the bottom up, turning the bowl as you go. Do this until the mixture is uniform and no white streaks remain. Be gentle here; you want to keep the air in the cream for that light, fluffy texture.
Step 4: Assemble the Ice Cream (5 minutes)
Line your loaf pan with parchment paper, leaving an overhang on the sides for easy removal. Pour about half of the cream mixture into the pan. Drizzle half of the cooled caramel sauce over the top. Use a knife or skewer to gently swirl the caramel into the cream. Don’t over-mix; you want visible ribbons, not a uniform brown color.
Add the remaining cream mixture on top. Drizzle with the rest of the caramel sauce and swirl again. Smooth the top with the spatula. Cover the pan tightly with plastic wrap or a lid.
Step 5: Freeze (6 hours minimum)
Place the loaf pan in the freezer. Let it freeze for at least 6 hours, but overnight is best. This gives the ice cream time to set properly. When you’re ready to serve, lift the ice cream out using the parchment paper overhang. Let it sit at room temperature for 5-10 minutes to soften slightly before scooping. This makes it much easier to get nice, clean scoops.
Expert Tips & Tricks
Here’s everything I’ve learned from making this dozens of times. These tips will save you from my mistakes.
Cold Cream is Non-Negotiable
If your cream is warm, it won’t whip. I keep my bowls in the fridge before I start. If you’re in a hurry, you can chill the bowl in the freezer for 10 minutes. This is the #1 reason no-churn ice cream fails. Don’t skip this step.
Don’t Over-Fold
When you’re combining the whipped cream and condensed milk, be gentle. Over-mixing deflates the air, resulting in dense, heavy ice cream. You want it light and fluffy. Stop as soon as it’s combined.
Caramel Consistency
The caramel needs to be cooled but still pourable. If it’s too hot, it will melt the whipped cream. If it’s too cold, it won’t swirl nicely. I usually make it a few hours ahead. If it’s too thick, microwave it for 10 seconds to loosen it up.
Use a Loaf Pan
A loaf pan is the easiest way to make no-churn ice cream. It freezes evenly and is easy to store. If you don’t have one, a 9×9 inch square pan works too, just adjust the freezing time slightly.
Let it Soften Before Scooping
Ice cream straight from the freezer is rock hard. Let it sit out for 5-10 minutes before scooping. This makes serving so much easier and gives you a better texture in the bowl.
Variations & Substitutions
Once you’ve nailed the basic version, here’s how you can mix it up. I’ve tried all of these.
Chocolate Caramel
Add ¼ cup of cocoa powder to the whipped cream before folding in the condensed milk. This creates a mocha-like flavor that pairs beautifully with the caramel.
Strawberry Swirl
Replace the caramel sauce with a strawberry compote. Simmer fresh strawberries with sugar and lemon juice until thick, then cool and swirl in. This is perfect for summer.
Cookie Butter
Swirl in Nutella or Biscoff spread instead of caramel. It’s rich, chocolatey, and delicious. I love this version for holiday gatherings.
Gluten-Free
This recipe is naturally gluten-free, so no changes needed. Just make sure your sweetened condensed milk and other ingredients are certified gluten-free if you have celiac disease.
Dairy-Free
This is harder to do because the recipe relies on dairy for texture. You can try using coconut cream (the thick part from a can of full-fat coconut milk) and a dairy-free sweetened condensed milk alternative. The texture will be different, but it’s worth a try if you have dietary restrictions.
Serving & Storage
How to Serve:
I usually serve this straight from the loaf pan with a nice ice cream scoop. It looks rustic and homemade. Pair it with fresh berries, a drizzle of extra caramel, or some crushed nuts for added texture. It’s also great served in waffle cones or sugar cookies.
Side Dishes:
This ice cream is a dessert, so it pairs well with light, fruity dishes. I’ve served it alongside loaded baked potato soup for a savory-sweet contrast at potlucks (it sounds weird, but it works!). It’s also great with warm brownies or apple pie.
Storage:
Store the ice cream in the freezer for up to 2 weeks. Keep it covered tightly to prevent freezer burn. If it gets too hard, let it sit out for 10 minutes before serving.
Reheating:
You don’t need to reheat ice cream, but if it’s too hard to scoop, let it thaw slightly. Never microwave it, or it will melt into a soup.
Nutrition Information
I’m not a nutritionist, but here’s the breakdown if you’re tracking. This is a rich dessert, so portion control is key.
Per Serving (based on 12 servings):
– Calories: 380
– Protein: 4g
– Carbs: 42g
– Fiber: 0g
– Sugar: 40g
– Fat: 22g
– Saturated Fat: 13g
– Cholesterol: 65mg
– Sodium: 120mg
What’s Good:
– High in calcium from the dairy
– No artificial ingredients
– Can be customized with less sugar
What to Know:
– High in sugar and saturated fat
– Not suitable for low-sugar diets
– Contains dairy
My Take:
Look, this is ice cream. It’s supposed to be indulgent. It’s not a health food. But it’s better than store-bought because you know exactly what’s in it. When I want to make it lighter, I use less caramel and add more fruit. But usually? I just enjoy a small scoop and savor it.
Final Thoughts
So that’s my go-to ultra-creamy no-churn salted caramel ice cream! I’ve probably talked your ear off at this point, but when you make a recipe this often, you have a lot to say about it. This has saved summer evenings more times than I can count. It’s my answer to “what’s for dessert” when I’m tired, don’t want to bake, and still want something that tastes really good. My kids are happy, my husband’s happy, and I’m happy because I’m not stressed about cooking.
Make it yours! Try different add-ins, swap in your favorite fruits, or adjust the salt level to your taste. The best recipes are the ones you adapt to your family’s tastes. If you make this, drop a comment and let me know what you think! I love hearing how recipes turn out in your kitchen. And if something doesn’t work, tell me that too—I’m here to help troubleshoot.
Happy cooking! And I hope your kitchen smells half as good as mine does right now.
Frequently Asked Questions
Can I use light cream instead of heavy cream?
No, I don’t recommend it. Light cream doesn’t have enough fat to whip into stiff peaks. Without stiff peaks, your ice cream will be icy and dense. You need full-fat heavy whipping cream for this recipe. It’s worth the investment.
Why is my ice cream icy?
This usually happens if the cream wasn’t whipped enough or if the ice cream wasn’t frozen long enough. Make sure you whip the cream to stiff peaks and freeze for at least 6 hours. Also, ensure your cream was cold before you started.
Can I make the caramel sauce ahead?
Yes! You can make the caramel sauce up to a week in advance. Store it in an airtight container in the fridge. It will thicken as it cools, so you may need to warm it slightly before swirling it into the ice cream.
How do I store leftovers?
Store the ice cream in the freezer in an airtight container or covered loaf pan. It will keep for up to 2 weeks. If it gets too hard, let it sit at room temperature for 10 minutes before serving.
Can I freeze this ice cream in a different pan?
Yes, but a loaf pan is ideal because it freezes evenly. If you use a different pan, adjust the freezing time. A larger, shallower pan will freeze faster but may develop ice crystals on top. Cover it tightly with plastic wrap.
Is there a dairy-free version?
It’s challenging to make a true dairy-free version because the texture relies on dairy fat. You can try using coconut cream and a dairy-free sweetened condensed milk, but the texture will be different. It’s worth experimenting if you have dietary restrictions, but it won’t be exactly the same.
Can I add alcohol to the ice cream?
You can, but be careful. Alcohol doesn’t freeze, so adding too much can make the ice cream too soft. I recommend adding no more than 1-2 tablespoons of liqueur (like Kahlúa or Baileys) to the base. It adds a nice flavor kick without compromising the texture.
Pin This Recipe!
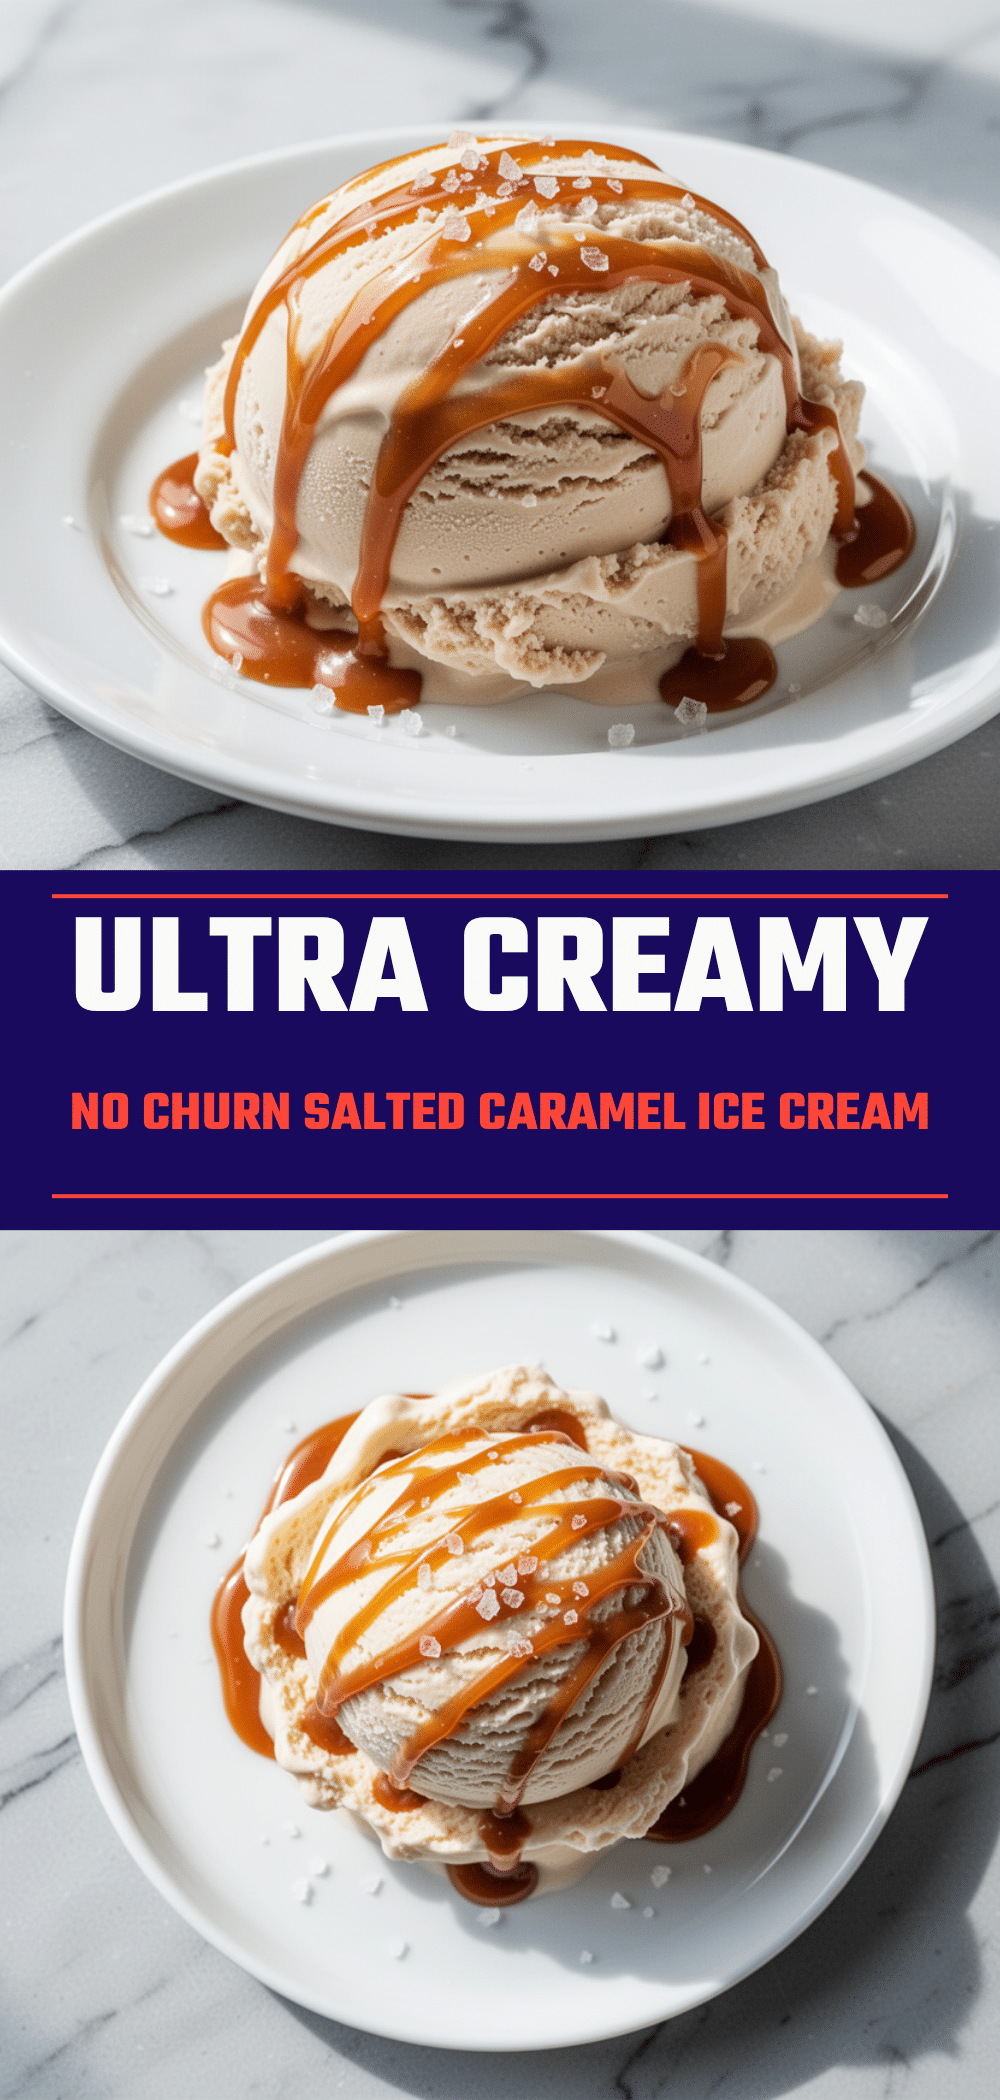

Ultra-Creamy No-Churn Salted Caramel Ice Cream
- Total Time: 6 hours 30 minutes
- Yield: 12 servings 1x
Description
A rich, silky no-churn ice cream with homemade salted caramel swirls that requires no ice cream machine. Perfect for summer parties and last-minute desserts.
Ingredients
- 2 cups heavy whipping cream (cold)
- 1 can (14 oz) sweetened condensed milk
- 1 teaspoon vanilla extract
- 1/2 teaspoon fine sea salt
- 1 cup granulated sugar
- 1/2 cup unsalted butter (cubed, room temperature)
- 1/2 cup heavy cream (room temperature)
- 1 teaspoon fleur de sel or flaky sea salt
Instructions
- Pour granulated sugar into a medium saucepan over medium heat. Let it melt without stirring until it turns amber-colored (5-7 minutes), swirling pan occasionally for even melting.
- Remove pan from heat and carefully add room temperature heavy cream (it will bubble). Stir until smooth.
- Return to low heat, stir in cubed butter until melted and glossy. Remove from heat and stir in flaky sea salt.
- Pour caramel into a heat-proof bowl, cool to room temperature, then refrigerate for at least 30 minutes until thickened but pourable.
- Pour cold heavy cream into a large mixing bowl and beat with an electric mixer on medium-high speed until stiff peaks form (3-5 minutes).
- Pour sweetened condensed milk and vanilla extract into the whipped cream. Gently fold together with a silicone spatula until uniform, being careful not to deflate the cream.
- Line a 9×5 inch loaf pan with parchment paper. Pour half the cream mixture into the pan.
- Drizzle half the cooled caramel over the cream and swirl gently with a knife to create ribbons.
- Add remaining cream mixture, drizzle with remaining caramel, and swirl again. Smooth the top.
- Cover tightly and freeze for at least 6 hours or overnight.
- Let sit at room temperature for 5-10 minutes before scooping to soften.
Notes
Ensure heavy cream is very cold for proper whipping. Do not over-fold the mixture to maintain airiness. Caramel should be cooled but still pourable before swirling. If using salted butter, reduce added salt in the base. This recipe is naturally gluten-free.
- Prep Time: 15 minutes
- Cook Time: 15 minutes
- Category: Dessert
- Cuisine: American
Nutrition
- Serving Size: 1 scoop
- Calories: 380
- Sugar: 40
- Sodium: 120
- Fat: 22
- Saturated Fat: 13
- Carbohydrates: 42
- Protein: 4
Keywords: no-churn ice cream, salted caramel, homemade ice cream, summer dessert, easy dessert, gluten-free dessert


