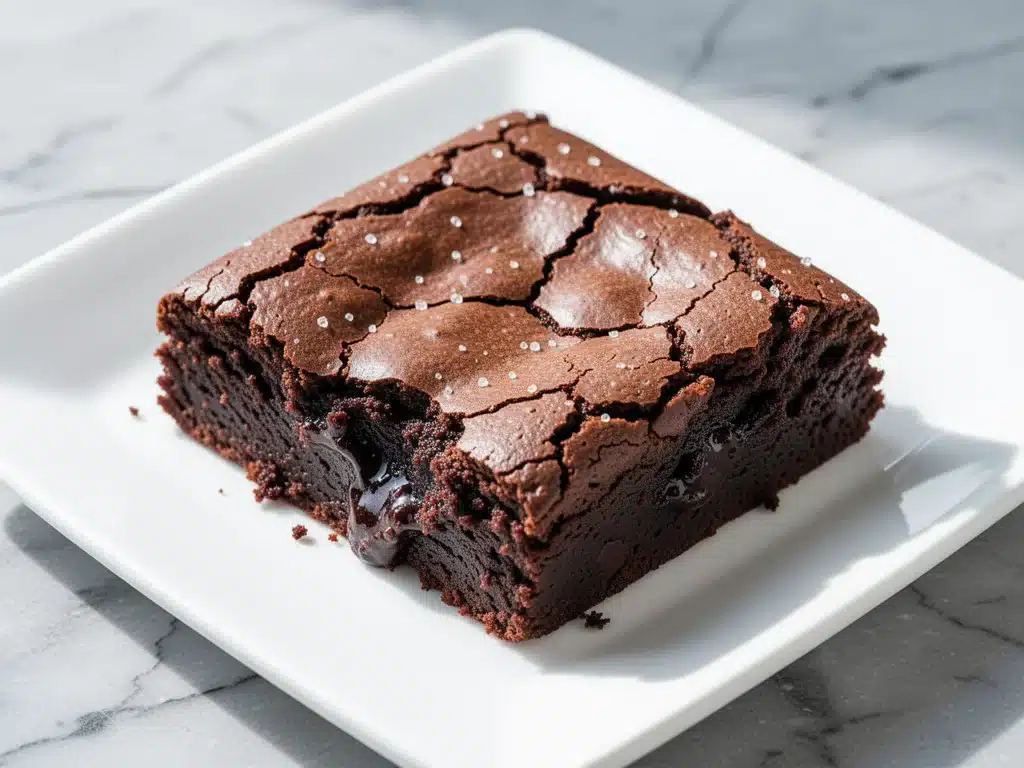
I have a confession to make. For years, I was the queen of “good enough” baking. I’d pull a batch of brownies out of the oven, they’d be chocolate-y enough, and I’d tell myself, “That’s close enough.” But then, last Friday night, I was scrolling through Pinterest at 11 PM, half-asleep, and I stumbled onto a photo that stopped my thumb cold. It was brownies with tops that looked like crinkled, shiny foil—literally glassy and crackly, with a deep, dark interior that promised pure fudgy heaven. I took one bite of my own sad, cakey squares and felt a genuine pang of jealousy toward a stranger’s internet photo.
I wasn’t having a breakdown. I was having a realization. I was eating mediocre brownies when I had the power to make something that tasted better than the expensive ones from the bakery down the street. So, I locked myself in the kitchen. I threw out my old, dusty recipe card and started experimenting. I wanted the crackly top. I wanted the fudgy, almost underbaked center. I wanted the kind of brownie that leaves a smear of chocolate on your chin and makes you close your eyes when you take the first bite.
After three failed batches (yes, three. One was too cakey, one was burnt on the edges, and the third? Well, let’s just say the dog looked suspiciously pleased), I cracked the code. It wasn’t about fancy ingredients. It was about technique. Specifically, how you mix the eggs and sugar. That’s the secret. And now, I’m sharing this ultra-fudgy one-bowl brownie recipe with you. It’s simpler than anything else on the internet, it uses ingredients you already have, and the result is absolute magic. These are the best homemade brownies I’ve ever made, hands down.
Why You’ll Love This One-Bowl Brownie Recipe
Let’s be real. Life is busy. You don’t always have time to whip up a complex dessert with twelve different bowls and three hours of cooling time. This ultra-fudgy one-bowl brownie recipe changes the game because it respects your time without sacrificing flavor. Here’s why these squares have permanently replaced every other chocolate dessert in my rotation:
- Zero Mess, Maximum Reward — Seriously. One bowl. That’s it. You whisk the eggs, add the melted chocolate, dump in the dry stuff, and stir. No standing over a double boiler, no separate bowls for yolks and whites. I’ve made these while holding a crying baby, and they turned out perfect. If you can whisk, you can make these.
- The Crackly Top is Real (Not Hype) — I know, “crackly top” sounds like a buzzword marketers use to sell you junk. But this is the real deal. When you pull these out of the oven, that top will look like crinkled aluminum foil. It’s thin, shiny, and shatters slightly when you cut into them. It’s the texture that makes people ask, “Did you buy these?” (You won’t tell them.)
- Actually Fudgy, Not Cakey — Most brownie recipes use too much flour, which turns them into chocolate cake with a chocolate chip in the middle. This recipe uses less flour and more chocolate. The result is dense, moist, and chewy. It’s the texture of a truffle, not a cupcake. I’ve tested this against my husband’s “expert” bakery brownies, and honestly? These win on texture every time.
- Ready in 35 Minutes — From melting the chocolate to taking the first bite, it’s under 40 minutes. That’s faster than ordering takeout and waiting for delivery. I make these on weeknights when I need a quick sugar fix but want to feel like I actually made something from scratch. They pair perfectly with a hot cup of coffee, much like my creamy coffee protein shake does for my morning routine.
This is my go-to when I need dessert to just work. No complicated techniques, no weird ingredients you have to hunt for at three different stores. Just reliable, delicious, fudgy chocolate goodness that makes everyone happy.
Ingredients You’ll Need for Fudgy Perfection
Here’s the best part: you probably have most of this already. This ultra-fudgy one-bowl brownie recipe relies on simple pantry staples, but the quality of those staples matters more than you think. I’m particular about three things here, and I’ll tell you exactly why.
For the Chocolate Base
Unsalted butter (1/2 cup / 113g) — I use high-quality European-style butter like Kerrygold or Plugra. It has a higher fat content, which makes the brownies richer and helps with that shiny top. If you’re using salted butter, reduce the added salt in the recipe by half. Don’t skimp on the butter; it provides the structure and moisture.
Semi-sweet chocolate chips (1 cup / 170g) — I use Ghirardelli or Guittard. These melt smoothly and have a balanced sweetness. You can use baking bars chopped up, but chips hold their shape better during the initial mix, giving you those distinct fudgy pockets. Do not use “baking chocolate” squares unless you melt them properly—chips are easier for this one-bowl method.
Dark chocolate chips (1/2 cup / 85g) — This is the secret weapon. The mix of semi-sweet and dark creates depth. Semi-sweet gives the classic brownie taste, while dark adds a slight bitterness that cuts through the sugar, making it taste more “adult” and less like a candy bar. If you’re sensitive to bitterness, stick to all semi-sweet, but I highly recommend the mix.
For the Structure and Sweetness
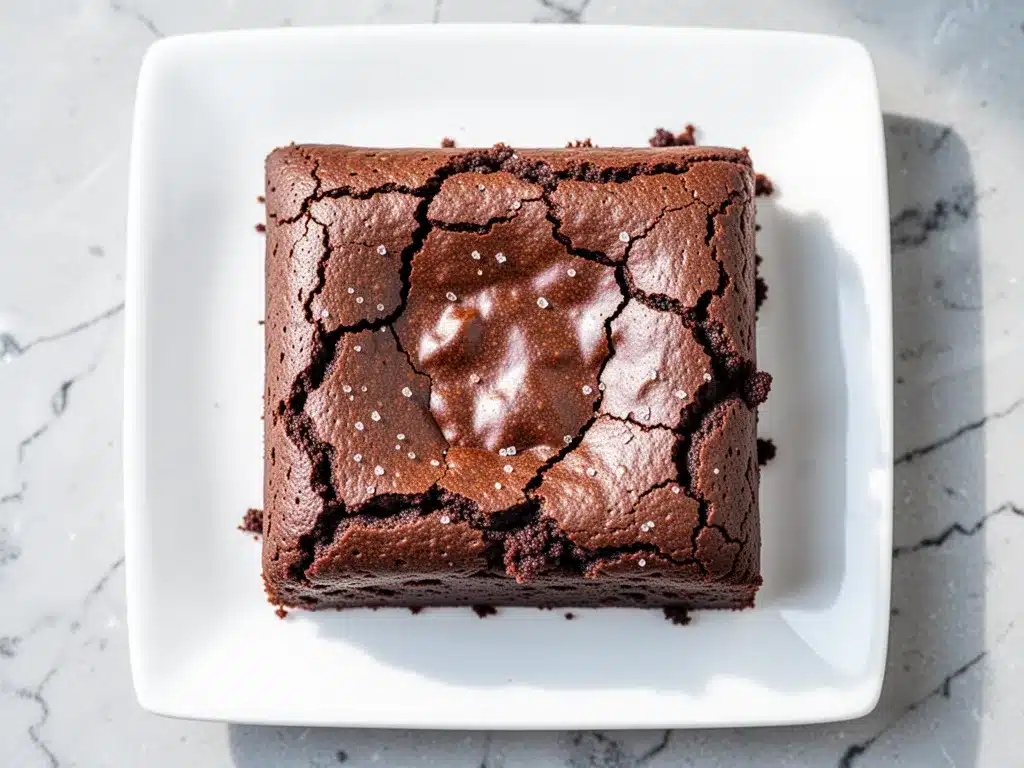
Granulated sugar (1 cup / 200g) — This is crucial for the crackly top. The granules create friction when you whisk them with the eggs, incorporating air and creating that foil-like crust. Do not substitute with brown sugar if you want this specific texture. Brown sugar adds moisture and chew, but it won’t give you the shiny, crinkly top. I know, it’s a trade-off, but the top is worth it.
Light brown sugar (1/2 cup / 100g) — This adds the chewiness and the molasses flavor that makes brownies taste like brownies. It balances the granulated sugar. If you’re out of brown sugar, you can use all granulated, but you’ll lose some of that chewy texture.
Large eggs (2 large) — Room temperature is ideal, but cold works fine for this recipe. The eggs bind everything together. Don’t try to reduce the number of eggs; they’re essential for the fudgy structure.
Vanilla extract (2 teaspoons) — Use real vanilla, not imitation. It enhances the chocolate flavor without tasting like vanilla. I keep a bottle of Nielsen-Massey on hand because the flavor is so much richer.
The Dry Stuff
All-purpose flour (3/4 cup / 95g) — Do not over-measure! Spoon the flour into the measuring cup and level it off. If you scoop directly from the bag, you’ll pack it down and end up with cakey brownies. Less flour = fudgier brownies. This is the golden rule.
Cocoa powder (1/4 cup / 20g) — Use unsweetened cocoa powder. I prefer Dutch-processed cocoa (like Hershey’s Special Dark or Valrhona) because it’s darker and has a deeper flavor. Natural cocoa is fine, but Dutch-processed gives that rich, dark brownie color and taste.
Salt (1/2 teaspoon) — Salt is not optional. It amplifies the chocolate flavor. Without it, the brownies taste flat. If you’re using salted butter, reduce this to 1/4 teaspoon.
Optional Add-ins — I love adding 1/2 cup of chocolate chips or walnuts, but for the purest fudgy experience, keep it simple. If you want to get fancy, try folding in some cookies-and-cream stuffed chocolate cookie pieces for a twist, though that’s a whole different vibe.
Equipment Needed
You don’t need fancy equipment for this. Here’s what I actually use:
8×8 inch baking pan — I use a metal pan for even browning. Glass pans can cause the edges to overcook. Line it with parchment paper, leaving an overhang on the sides. This is non-negotiable for easy removal and cleanup. I hate scrubbing pans.
Microwave-safe bowl — For melting the butter and chocolate. I use a large glass measuring cup because it’s easy to whisk in.
Large mixing bowl — One bowl for everything. I use a 4-quart bowl because it’s big enough to whisk vigorously without making a mess.
Whisk — You need a good whisk to incorporate air into the eggs and sugar for that crackly top. A spoon won’t cut it here.
Spatula — For folding in the flour and chocolate chips. A silicone spatula is best because it scrapes the sides of the bowl clean.
Sharp knife or pizza cutter — For cutting the brownies. A pizza cutter gives you super clean squares without squishing them.
How to Make It: Step-by-Step
Alright, let’s make this! I’m walking you through exactly how I do it, including the little tricks I’ve picked up. This ultra-fudgy one-bowl brownie recipe is simple, but attention to detail is what separates good brownies from great ones.
Step 1: Prep Your Pan and Oven (2 minutes)
Preheat your oven to 350°F (175°C). Line your 8×8 inch baking pan with parchment paper. Leave a little overhang on the long sides—it’s like a handle for lifting the brownies out later. I spray the parchment with non-stick spray just to be safe. Grease the sides of the pan too, if your parchment doesn’t cover them.
Step 2: Melt the Butter and Chocolate (2 minutes)
In a microwave-safe bowl, combine the butter and chocolate chips. Microwave in 30-second intervals, stirring between each, until completely smooth. Don’t overheat it! If the chocolate burns, it turns bitter and grainy. Stir until glossy and smooth. Let it cool for 5 minutes so it doesn’t cook the eggs when you add them.
Step 3: Whisk the Eggs and Sugars (3-4 minutes)
This is the most important step for the crackly top. To the cooled chocolate mixture, add the granulated sugar, brown sugar, eggs, and vanilla. Whisk vigorously. I mean, really whisk. Do this for about 2-3 minutes. The mixture should become lighter in color, slightly frothy, and doubled in volume. You’re incorporating air. This creates the shiny, crinkly crust. If you skip this, you get flat, matte brownies. Trust me on this.
Step 4: Add the Dry Ingredients (1 minute)
Sprinkle the flour, cocoa powder, and salt over the wet mixture. Use your spatula to gently fold it in. Stop as soon as the flour disappears. Overmixing develops gluten, which makes brownies cakey. You want just a few streaks of flour gone. It’s okay if it looks a little thick and dense.
Step 5: Fold in Extra Chocolate (1 minute)
Stir in the optional extra chocolate chips or nuts if you’re using them. I like to reserve a handful of chips to sprinkle on top later for that bakery look.
Step 6: Bake (25-30 minutes)
Pour the batter into the prepared pan and spread it evenly. Bake for 25-30 minutes. Here’s the trick: you want the edges to be set and slightly pulling away from the pan, but the center should still look slightly underbaked and jiggly. Insert a toothpick into the center—it should come out with moist crumbs attached, not wet batter, and definitely not clean. If it’s clean, they’re overbaked. If it’s wet, they’re raw. Aim for moist crumbs.
Step 7: Cool Completely (30+ minutes)
This is the hardest part. Let the brownies cool in the pan on a wire rack for at least 30 minutes. If you cut them hot, they’ll be mushy and fall apart. They need to set. I know, I want to eat them now too. But patience pays off. Once cooled, lift them out using the parchment overhang and slice into squares.
Expert Tips & Tricks for the Best Brownies
Here’s everything I’ve learned from making this dozens of times. These tips will save you from my mistakes.
Whisk Like Your Life Depends On It
I cannot stress this enough. The whisking step is what creates the crackly top. If you’re lazy here, you’ll get a flat top. Whisk until the mixture looks pale and glossy. It takes effort, but the result is worth it.
Don’t Overbake
Brownies continue to cook in the pan after you take them out of the oven. If you wait until the toothpick comes out clean, they’ll be dry. Pull them when the toothpick has moist crumbs. They’ll firm up as they cool.
Room Temperature Eggs
If you have time, let your eggs sit out for 15 minutes. They emulsify better with the sugar and chocolate, leading to a smoother batter. Cold eggs can cause the chocolate to seize up slightly.
Use a Digital Scale
Baking is science. Measuring flour by volume is inaccurate. If you have a kitchen scale, use it. 95 grams of flour is perfect. 120 grams (which is what you get if you scoop) will make cakey brownies.
Cool Completely
I know, I said this before, but I’ll say it again. Cutting warm brownies is a tragedy. Let them cool. The texture improves dramatically as they cool.
Variations & Substitutions
Once you’ve nailed the basic version, here’s how you can mix it up. I’ve tried all of these.
Double Chocolate
Add 1/2 cup of cocoa powder to the dry ingredients and use dark chocolate chips throughout. This is for serious chocolate lovers. It’s intense, dark, and fudgy.
Walnut Brownies
Fold in 1 cup of chopped walnuts. The crunch contrasts beautifully with the soft fudgy texture. I love this for holiday gatherings.
Blondie Hybrid
Swap the chocolate chips for butterscotch chips and add 1 teaspoon of cinnamon. It’s a fun twist that’s still fudgy.
Gluten-Free
Use a 1:1 gluten-free flour blend (like Bob’s Red Mill). The texture might be slightly denser, but it’s still delicious. I’ve tested this with my gluten-sensitive friend, and she couldn’t tell the difference.
Dairy-Free
Use dairy-free butter and dairy-free chocolate chips. The texture holds up well. Just make sure your chocolate chips are dairy-free, as some standard chips contain milk solids.
Serving & Storage
How to Serve:
I serve these plain, with a scoop of vanilla ice cream, or with a dollop of whipped cream. They’re rich enough that you don’t need much topping. They pair wonderfully with a strong cup of coffee or a glass of cold milk.
Storage:
Store in an airtight container at room temperature for up to 4 days. They actually get fudgier after a day or two as the moisture redistributes. If your kitchen is hot, keep them in the fridge, but let them come to room temperature before eating for the best texture.
Freezing:
These freeze beautifully! Wrap individual squares in plastic wrap and place them in a freezer bag. They’ll last for 3 months. Thaw at room temperature for 30 minutes. Perfect for meal-prepping dessert.
Nutrition Information
I’m not a nutritionist, but here’s the breakdown if you’re tracking. Remember, this is a rich, indulgent treat.
Per Serving (one 1-inch square, based on 16 servings):
- Calories: 180
- Protein: 2g
- Carbs: 24g
- Fiber: 1g
- Sugar: 18g
- Fat: 10g
- Saturated Fat: 6g
- Sodium: 85mg
Look, this is a dessert. It’s not a health food. But it’s better than store-bought because you control the sugar and quality. When I want to make it lighter, I reduce the sugar by 1/4 cup, but I lose some of that crackly top. So usually? I just enjoy a square and savor it.
Final Thoughts
So that’s my go-to ultra-fudgy one-bowl brownie recipe! I’ve probably talked your ear off at this point, but when you make a recipe this often, you have a lot to say about it. These brownies have saved my social life. They’re my answer to “I brought dessert!” when I’m tired, don’t want to bake a cake, and still want something that tastes amazing. My kids are happy, my husband’s happy, and I’m happy because I’m not stressed about cooking.
Make it yours! Try different add-ins, swap in your favorite chocolate, adjust the baking time to your oven. The best recipes are the ones you adapt to your family’s tastes. If you make this, drop a comment and let me know what you think! I love hearing how recipes turn out in your kitchen. And if something doesn’t work, tell me that too—I’m here to help troubleshoot.
Happy baking! And I hope your kitchen smells half as good as mine does right now.
Frequently Asked Questions
Why did my brownies turn out cakey instead of fudgy?
This usually happens for two reasons: too much flour or overmixing. Make sure you’re spooning and leveling your flour, not scooping it. Also, stop mixing as soon as the flour disappears. Overmixing develops gluten, which makes brownies cakey. Another common mistake is overbaking. Pull them out when the center is still slightly jiggly.
Can I use brown sugar instead of granulated sugar?
You can, but you won’t get the crackly, shiny top. The granulated sugar creates that crust through friction and air incorporation during whisking. Brown sugar is moister and denser, which leads to a matte, chewy top. If you want the crackly top, stick with granulated sugar. If you prefer a chewier, softer top, you can use all brown sugar, but the texture will be different.
How do I get the shiny, crackly top?
The secret is whisking the eggs and sugar vigorously for 2-3 minutes until the mixture is pale, frothy, and doubled in volume. This incorporates air and dissolves the sugar crystals on the surface, which then crystallize again as the brownies bake, creating the shiny crust. Don’t skip this step!
Can I bake these in a 9×13 pan?
Yes, but you’ll need to double the recipe. If you use the single recipe in a 9×13 pan, the brownies will be very thin and bake too quickly, likely burning before the center is set. For a 9×13 pan, double all ingredients and bake for 30-35 minutes, checking at 25 minutes.
Why are my brownies dry?
Overbaking is the #1 cause. Brownies continue to cook in the hot pan after you remove them from the oven. If you wait until the toothpick comes out clean, they’re likely overbaked. Pull them out when the toothpick has moist crumbs. Also, make sure you’re not packing your flour into the measuring cup.
Can I make these ahead of time?
Absolutely. These brownies keep well at room temperature for up to 4 days in an airtight container. They actually taste better the next day as the flavors meld and the texture firms up. You can also freeze them for up to 3 months. Wrap individual squares in plastic wrap and store in a freezer bag.
Can I add nuts?
Yes! 1 cup of chopped walnuts or pecans folds right in. They add a nice crunch and flavor contrast. Just fold them in at the same time as the extra chocolate chips. I love walnuts in brownies—it’s a classic combination.
Pin This Recipe!
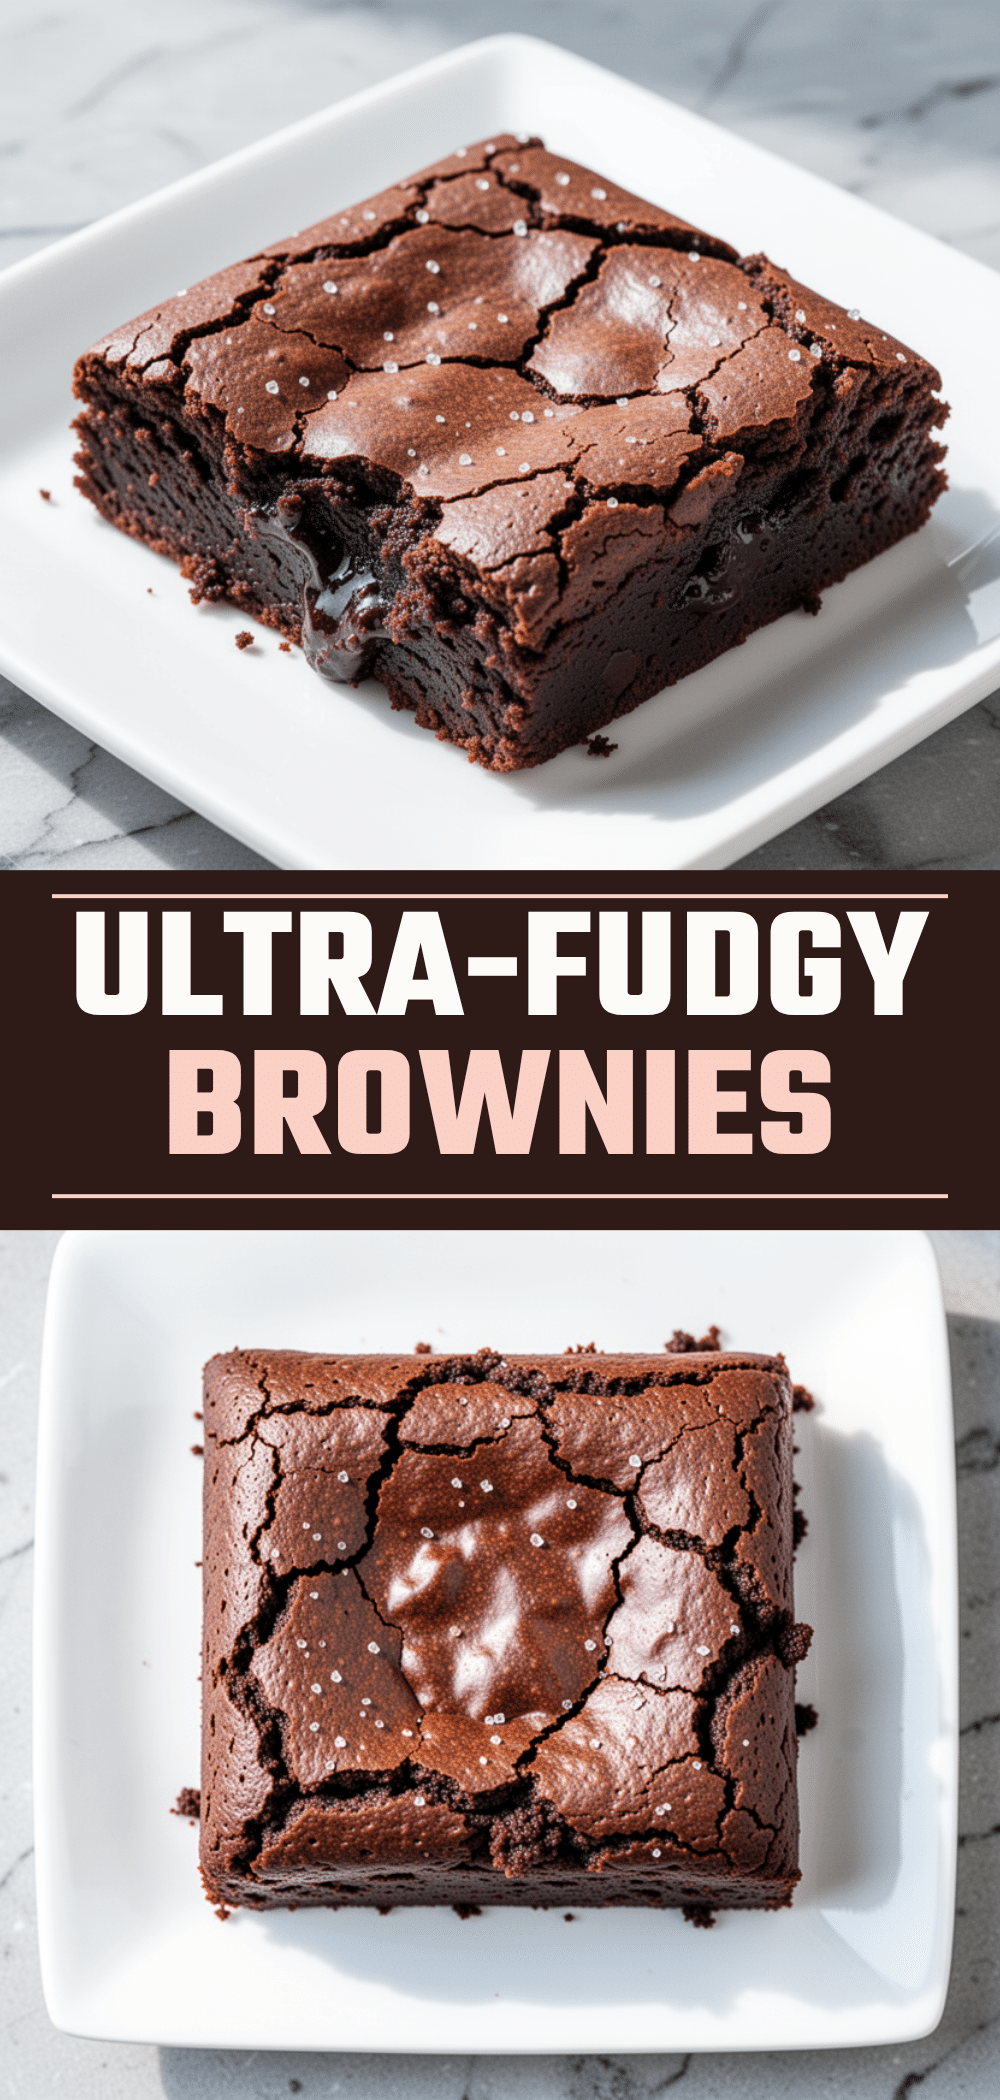
Ultra-Fudgy One-Bowl Brownies: The Best Easy Homemade Recipe
- Total Time: 35-40 minutes
- Yield: 16 servings 1x
Description
These ultra-fudgy one-bowl brownies feature a crackly, shiny top and a dense, moist interior. Made with simple pantry staples and requiring just one bowl, they are ready in under 40 minutes.
Ingredients
- 1/2 cup (113g) unsalted butter
- 1 cup (170g) semi-sweet chocolate chips
- 1/2 cup (85g) dark chocolate chips
- 1 cup (200g) granulated sugar
- 1/2 cup (100g) light brown sugar
- 2 large eggs
- 2 teaspoons vanilla extract
- 3/4 cup (95g) all-purpose flour
- 1/4 cup (20g) unsweetened cocoa powder
- 1/2 teaspoon salt
- 1/2 cup optional add-ins (chocolate chips or walnuts)
Instructions
- Preheat oven to 350°F (175°C). Line an 8×8 inch baking pan with parchment paper, leaving an overhang on the sides, and grease the sides.
- In a microwave-safe bowl, combine butter and chocolate chips. Microwave in 30-second intervals, stirring between each, until smooth. Let cool for 5 minutes.
- Add granulated sugar, brown sugar, eggs, and vanilla to the cooled chocolate mixture. Whisk vigorously for 2-3 minutes until the mixture is lighter in color, frothy, and doubled in volume.
- Sprinkle flour, cocoa powder, and salt over the wet mixture. Gently fold in with a spatula until just combined, being careful not to overmix.
- Fold in optional add-ins like extra chocolate chips or nuts.
- Pour batter into the prepared pan and spread evenly.
- Bake for 25-30 minutes. The edges should be set and pulling away from the pan, while the center remains slightly jiggly. A toothpick inserted in the center should come out with moist crumbs, not wet batter.
- Cool completely in the pan on a wire rack for at least 30 minutes before lifting out and slicing.
Notes
For the best crackly top, whisk the eggs and sugar vigorously. Do not overbake; brownies continue to cook in the pan after removal. For gluten-free, use a 1:1 gluten-free flour blend. For dairy-free, use dairy-free butter and chocolate chips.
- Prep Time: 10 minutes
- Cook Time: 25-30 minutes
- Category: Dessert
- Cuisine: American
Nutrition
- Serving Size: 1-inch square
- Calories: 180
- Sugar: 18
- Sodium: 85
- Fat: 10
- Saturated Fat: 6
- Carbohydrates: 24
- Fiber: 1
- Protein: 2
Keywords: brownies, fudgy brownies, one bowl brownies, easy dessert, chocolate brownies, homemade brownies, crackly top brownies


