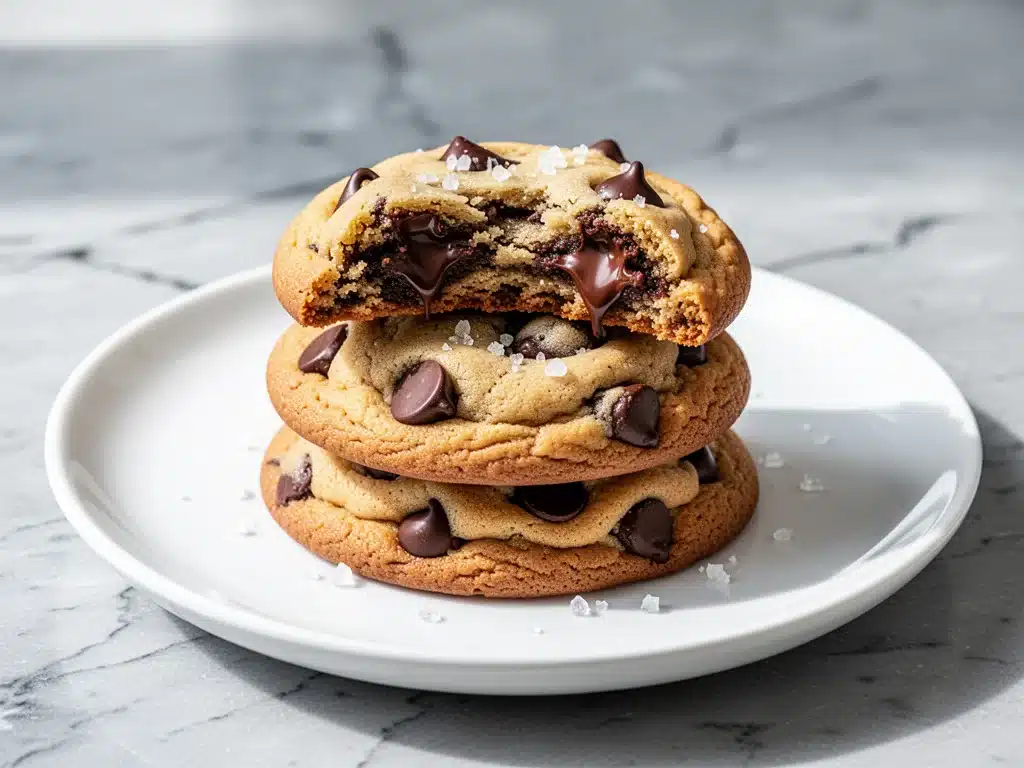
Last Tuesday, around 6:45 PM, I was standing in my kitchen staring at a pile of unwashed dishes and a pantry that felt suspiciously empty. My kids had just finished their homework, my partner was asking “what’s for dinner?” for the third time, and my brain was completely fried. I didn’t have the energy to chop vegetables, sauté protein, or manage a complicated sauce. I wanted comfort. I wanted something warm, sweet, and instantly gratifying without the hours of effort that baking usually demands.
So, I did the unthinkable. I made dessert first. Specifically, I made a batch of brown butter chocolate chip cookies. And not just any cookie—the kind where the butter is toasted until it smells like hazelnuts and toffee, creating a depth of flavor that regular melted butter just can’t touch. These brown butter chocolate chip cookies are perfect for busy weeknights because they come together in under 20 minutes of active time, require only one bowl, and taste like you spent hours in the kitchen.
I’ve made these cookies at least twenty times since that random Tuesday. Some nights they’re my emergency stress-buster. Other nights, they’re the highlight of the evening. The secret isn’t in exotic ingredients; it’s in that one simple step of browning the butter. It transforms a basic chocolate chip cookie into something sophisticated yet incredibly approachable. If you’re looking for a treat that feels special but actually fits into a chaotic weeknight schedule, this is it. Trust me, once you taste the nutty, caramelized butter in these cookies, you’ll never go back to plain melted butter again.
Why You’ll Love This Recipe
There are about ten reasons I keep making these brown butter chocolate chip cookies, but here are the big ones that will change your weeknight dessert game forever.
Stupid Simple One-Bowl Method — Seriously, if you can melt butter and mix flour, you can make these. I don’t even use my mixer. I use a whisk and a sturdy spoon. One bowl, no fuss, minimal cleanup. I’ve walked my teenage daughter through it over the phone while I was out of town, and she nailed it.
Fastest “Fancy” Dessert Ever — From start to finish, these take about 45 minutes, but only 15 minutes is active work. The rest is waiting for the dough to chill (or just baking them immediately if you’re desperate). That’s faster than waiting for delivery. I make these on nights when I’m too tired to cook a full meal but still want to feel like a decent human being.
Flavor That Impresses Everyone — The brown butter step adds a nutty, toffee-like complexity that makes these taste like they came from a high-end bakery. My husband, who usually prefers simple snacks, asks for seconds. Even my picky eater kids, who normally only want plain crackers, devour these warm from the oven.
Make-Ahead Friendly — The dough keeps well in the fridge for up to three days. This is huge for busy weeknights. On Sunday, I mix the dough. On Wednesday night, I just scoop and bake. It feels like magic. Plus, you can freeze the dough balls for later, so you always have fresh cookies ready to go.
Budget-Smart — You probably have all these ingredients already. Flour, sugar, butter, eggs, chocolate chips. It costs less than $5 to make a batch of 12-15 cookies. That’s way cheaper than buying a box of fancy cookies or ordering dessert delivery.
This is my go-to when I need a win. No complicated techniques, no weird ingredients, just reliable, delicious food that makes everyone happy and leaves my kitchen smelling amazing.
Ingredients You’ll Need
Here’s the best part: you probably have 90% of this already in your pantry and fridge. I’m particular about two things here—the quality of the chocolate and the patience to brown the butter—but otherwise, this is standard baking fare.
Unsalted Butter (1 cup / 226g) — You need unsalted so you can control the salt level. I use high-quality European-style butter like Kerrygold or Plugrá when I can find it, because it has a higher fat content and richer flavor. But regular store-brand unsalted butter works fine too. The key is browning it properly.
Granulated Sugar (½ cup / 100g) — This gives the cookies their crisp edges. I don’t substitute this for brown sugar because I want that caramelized crunch. If you want a chewier cookie, you can swap half for brown sugar, but stick to this ratio for the perfect texture.
Light Brown Sugar (1 cup / 200g, packed) — This is where the moisture and chewiness come from. Make sure it’s packed tightly when you measure. Dark brown sugar works too if you want a deeper molasses flavor, but light is classic.
Large Egg (1) — Room temperature is best, but cold straight from the fridge works fine here. Don’t overbeat it—just whisk it lightly into the sugars.
Egg Yolk (1) — This is the secret weapon. Adding an extra yolk makes the cookies richer and chewier. It adds fat without adding liquid, which keeps the texture dense and fudgy rather than cakey.
Vanilla Extract (1 teaspoon) — Use real vanilla, not imitation. I keep a bottle of Nielsen-Massey on hand. It makes a noticeable difference in the flavor profile.
All-Purpose Flour (2 cups / 250g) — Spoon and level method, please. Don’t scoop directly from the bag or you’ll pack in too much flour and get dry cookies. If you scoop, you’re adding extra flour without knowing it. Spoon it into the cup, then level it off with a knife.
Baking Soda (1 teaspoon) — Fresh is important. If your baking soda has been sitting in the back of the cupboard for two years, it might not work. Test it by dropping a little vinegar on it—if it doesn’t fizz, toss it and buy new.
Salt (1 teaspoon) — I use kosher salt like Diamond Crystal. If you use table salt, reduce to ¾ teaspoon because it’s saltier. Salt is crucial to balance the sweetness.
Semi-Sweet Chocolate Chips (2 cups / 340g) — I use Ghirardelli or Toll House, but honestly, any good semi-sweet chip works. For extra fancy, chop up a chocolate bar instead of using chips. It creates pools of melted chocolate that are irresistible.
Optional: Flaky Sea Salt — For sprinkling on top after baking. Maldon is my favorite. It adds a beautiful crunch and makes the cookies look professional.
Equipment Needed
You don’t need fancy equipment for this. Here’s what I actually use.
Large Saucepan — I use a 3-quart stainless steel pan. Light-colored metal is best so you can see the butter color change. Dark non-stick pans hide the browning process, which is risky. You need to see those golden brown bits.
Large Mixing Bowl — Something with a wide mouth so you can whisk the butter and sugars together easily. Glass or ceramic works well.
Whisk — For mixing the wet ingredients. A silicone whisk is nice because it doesn’t scratch the bowl.
Silicone Spatula — Essential for folding in the chocolate chips and scraping the bowl clean. I love my flexible spatula for getting every bit of dough.
Baking Sheets — I use half-sheet pans. Two of them. If you only have one, you’ll bake in batches. Light-colored aluminum sheets prevent the bottoms from burning. Dark sheets absorb more heat and can lead to over-browned bottoms.
Parchment Paper — Line your baking sheets. It makes cleanup instant and prevents sticking. I never bake these on unlined sheets because chocolate chips melt and create a sticky mess.
Cooling Rack — Optional but recommended. It helps the cookies cool evenly so the bottoms don’t get soggy.
Ice Cream Scoop — This is a game-changer for portioning. It gives you uniform cookies that bake evenly. A tablespoon works too, but the scoop is faster and more consistent.
Timer — Your phone works. Don’t guess. Set it for 9 minutes and trust the process.
How to Make It: Step-by-Step
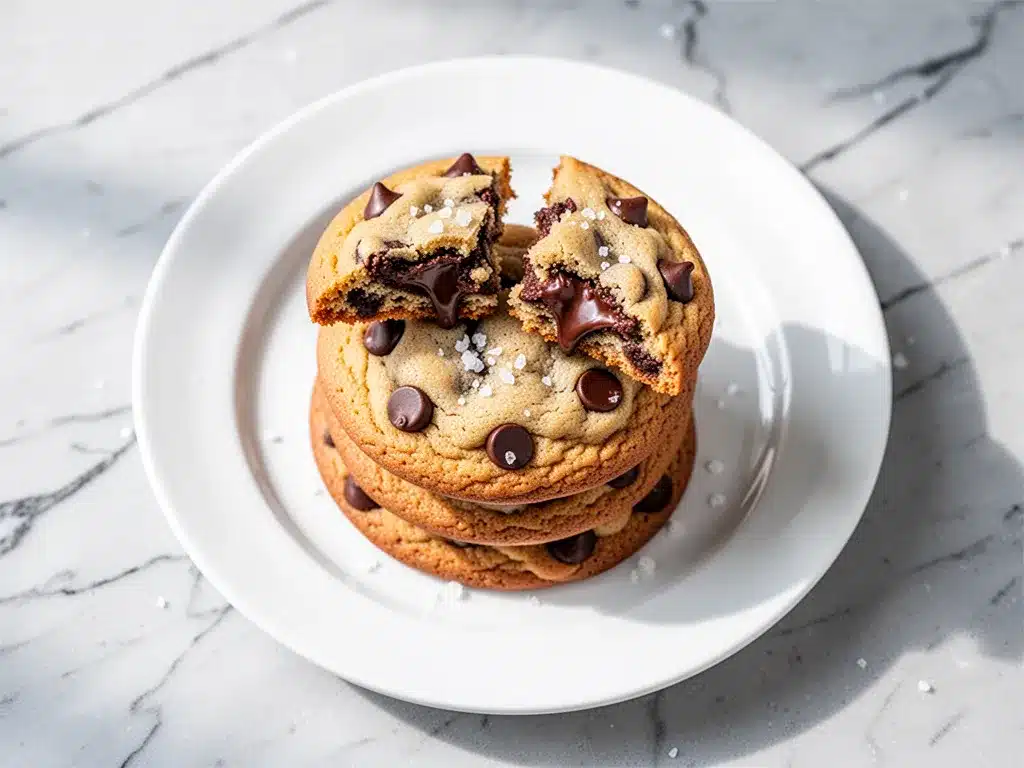
Alright, let’s make this! I’m walking you through exactly how I do it, including the little tricks I’ve picked up over dozens of batches.
Step 1: Brown the Butter (5-7 minutes)
This is the most important step. Pour your butter into the saucepan over medium heat. As it melts, it will start to foam and bubble. Keep stirring with a wooden spoon or silicone spatula. You’ll notice the foam turning from white to a light yellow, and soon you’ll see little brown specks at the bottom. The smell will change from just “buttery” to nutty, like toasted hazelnuts or popcorn. This usually happens around the 5-minute mark. As soon as it smells nutty and the specks are dark brown, remove it from the heat immediately. Pour the hot butter into a heat-proof bowl to stop the cooking. Let it cool for 10-15 minutes until it’s warm but not hot. If you add it to the sugars while it’s boiling, you’ll cook the eggs later on.
Step 2: Mix the Sugars and Butter (2 minutes)
Once the butter has cooled slightly, pour it into your large mixing bowl. Add the granulated sugar and brown sugar. Whisk vigorously for about 2 minutes. You want the mixture to look smooth, glossy, and slightly pale. This step incorporates air and dissolves the sugar a bit, which helps with the crisp edges. Scrape down the sides of the bowl.
Step 3: Add Egg and Vanilla (1 minute)
Crack in the whole egg and the extra egg yolk. Add the vanilla extract. Whisk again until everything is well combined. The mixture might look a bit separated at first—that’s okay. It will come together when you add the flour.
Step 4: Combine Dry Ingredients (2 minutes)
Add the flour, baking soda, and salt to the wet mixture. Switch to your spatula or a wooden spoon. Mix gently until just combined. Do not overmix! You’ll see streaks of flour at first, but keep folding until it’s mostly uniform. A few small lumps are fine. Overmixing develops gluten, which leads to tough cookies.
Step 5: Fold in Chocolate Chips (1 minute)
Pour in the chocolate chips. Fold them in until they’re evenly distributed. If you’re using chopped chocolate bar, do the same. The dough will look thick and rich.
Step 6: Chill (Optional but Recommended) (30 minutes)
If you have time, cover the bowl and refrigerate the dough for at least 30 minutes. This firms up the butter, which prevents the cookies from spreading too thin in the oven. It also allows the flavors to meld. But if you’re in a hurry, you can skip this. The cookies will just be slightly wider and thinner. I usually chill them if I’m planning ahead, but I’ve baked them warm straight from the bowl on busy nights too.
Step 7: Scoop and Bake (12-15 minutes)
Preheat your oven to 350°F (175°C). Line two baking sheets with parchment paper. Scoop balls of dough, about 2 tablespoons each, and place them on the sheets, spacing them 2 inches apart. They will spread. Bake for 9-11 minutes. You want the edges to be golden brown and set, but the centers to still look slightly soft and underdone. They will continue to cook on the hot pan after you take them out. If you bake them until the centers look firm, they’ll be dry.
Step 8: Cool and Serve (5 minutes)
Let the cookies sit on the baking sheet for 5 minutes. This is crucial—they are very fragile when hot. Then transfer them to a cooling rack. Sprinkle with flaky sea salt if using. Eat warm with a glass of cold milk. Or wait until they’re completely cool and store them in an airtight container.
Expert Tips & Tricks
Here’s everything I’ve learned from making these dozens of times. These tips will save you from my mistakes.
Watch the Butter Like a Hawk
The difference between brown butter and burnt butter is about 30 seconds. Once you see those brown specks, the smell is nutty, pull it off the heat. Residual heat will keep cooking it. I learned this the hard way with one batch that tasted like bitter charcoal. Now I keep my hand near the pan to feel the heat and listen for the crackling to slow down.
Don’t Skip the Egg Yolk
It seems like a waste to throw away the white, but that extra yolk adds fat and emulsifiers that create a chewier, richer texture. It’s the difference between a crisp cookie and a fudgy one. If you’re worried about the extra fat, just use the yolk and save the white for a scramble or an omelet.
Chill the Dough
I know you’re impatient. But chilling the dough for even 20 minutes makes a huge difference. It hydrates the flour and firms the fat. Cookies baked from warm dough spread into thin, crispy discs. Cookies baked from chilled dough stay thick, chewy, and pocketed with chocolate. If you’re short on time, freeze the dough balls for 15 minutes instead.
Underbake Slightly
This is the golden rule of chocolate chip cookies. Pull them out when the edges are golden but the centers look soft and shiny. They will firm up as they cool. If you wait until they look done in the oven, they’ll be hard by the time they’re cool. I aim for a soft, slightly underdone center every time.
Use a Scale
If you have a kitchen scale, use it. Measuring flour by volume is inconsistent. 2 cups of flour can weigh anywhere from 220g to 280g depending on how packed it is. A scale ensures consistent results every time. 250g of flour is the target.
Batch Baking Strategy
If you only have one baking sheet, bake one sheet at a time in the center of the oven. Rotate the pan halfway through for even browning. Let the pan cool for a minute before adding the next batch, or the dough will start melting before it hits the oven.
Variations & Substitutions
Once you’ve nailed the basic version, here’s how you can mix it up. I’ve tried all of these.
White Chocolate Macadamia
Swap the semi-sweet chips for white chocolate chips and add 1 cup of toasted macadamia nuts. It’s like a tropical vacation in a cookie. The brown butter pairs beautifully with the white chocolate.
Peanut Butter Swirl
Drop a teaspoon of peanut butter on top of each dough ball before baking. As they bake, the peanut butter melts into the dough, creating beautiful swirls and adding a salty crunch.
Chewy Version
Double the brown sugar to 1½ cups and reduce granulated sugar to ¼ cup. This will make the cookies much chewier and darker. Less crisp edges, more fudgy center.
Crispy Version
Use all granulated sugar and no brown sugar. Bake for 12-13 minutes until the edges are deeply browned. These will be thin and crispy, like a cracker with chocolate chips.
Gluten-Free
Use a 1-to-1 gluten-free flour blend like Bob’s Red Mill or King Arthur. Make sure it contains xanthan gum. If it doesn’t, add ½ teaspoon. The texture will be slightly more crumbly but still delicious.
Dairy-Free
Replace butter with a high-quality vegan butter stick (like Miyoko’s or Earth Balance). Note that the “browning” process is different with vegan butter because it has a higher water content. You’ll need to cook it longer to evaporate the water and get the nutty flavor. It won’t be exactly the same, but it works.
Add-Ins
Try adding ½ cup of chopped pretzels for a sweet-salty kick. Or toss in some dried cranberries and white chocolate for a holiday twist. I also love adding a pinch of espresso powder to the dry ingredients—it intensifies the chocolate flavor without making it taste like coffee.
Serving & Storage
How to Serve:
I usually serve these warm, right off the baking sheet. There’s nothing better than a warm, gooey cookie with a cold glass of milk. For parties, let them cool completely and arrange them on a platter. They look beautiful dusted with powdered sugar or flaky salt.
Side Dishes:
These are a dessert, so pair them with coffee, tea, or milk. I also love serving them with a scoop of vanilla ice cream or a dollop of whipped cream for a “deconstructed” dessert vibe.
Storage Instructions:
Store cooled cookies in an airtight container at room temperature for up to 5 days. Place a slice of bread in the container with the cookies—the bread will release moisture and keep the cookies soft. If you want them crisp, leave the container slightly ajar.
Freezing Dough:
This is my favorite hack. Scoop the dough into balls and freeze them on a baking sheet for 1 hour. Then transfer the frozen balls to a freezer bag. They’ll keep for up to 3 months. When you want cookies, just bake them frozen, adding 1-2 minutes to the bake time. Fresh cookies whenever you want them.
Freezing Baked Cookies:
You can freeze baked cookies for up to 2 months. Thaw at room temperature. They might lose a little texture, but they’re still good. Reheat in the microwave for 10 seconds to restore softness.
Reheating:
Microwave for 10-15 seconds. Or warm in a 300°F oven for 5 minutes. Never eat these cold straight from the fridge—they lose their magic. Warm is best.
Nutrition Information
I’m not a nutritionist, but here’s the breakdown if you’re tracking. Please remember that these are estimates and can vary based on the specific brands and sizes of ingredients you use.
Per Cookie (based on 15 cookies):
- Calories: 220
- Protein: 3g
- Carbs: 28g
- Fiber: 1g
- Sugar: 18g
- Fat: 12g
- Saturated Fat: 7g
- Cholesterol: 35mg
- Sodium: 180mg
What’s Good:
– Decent protein from the egg and butter
– Iron from the chocolate chips
– Satisfying crunch and chew
What to Know:
– Higher in calories and sugar from the butter and chocolate
– Contains dairy and gluten
– Moderate sodium
My Take:
Look, these are chocolate chip cookies. They’re meant to be indulgent. They’re not a diet food. But they’re way better than store-bought cookies, which often contain preservatives and weird ingredients. When I make these, I know exactly what’s in them. I enjoy one or two with my coffee and call it a day. Balance is key.
Final Thoughts
So that’s my go-to brown butter chocolate chip cookies! I’ve probably talked your ear off at this point, but when you make a recipe this often, you have a lot to say about it.
This has saved weeknight desserts more times than I can count. It’s my answer to “can we have dessert?” when I’m tired, don’t want to order takeout, and still want something that tastes really good. My kids are happy, my husband’s happy, and I’m happy because I’m not stressed about cooking.
Make it yours! Try different add-ins, swap in your favorite chocolate, adjust the salt. The best recipes are the ones you adapt to your family’s tastes. If you want to branch out, try my fall caramel apple crumble bars for a fruity twist, or check out my pumpkin spice snickerdoodle cookies for a seasonal variation.
If you make this, drop a comment and let me know what you think! I love hearing how recipes turn out in your kitchen. And if something doesn’t work, tell me that too—I’m here to help troubleshoot.
Happy baking! And I hope your kitchen smells half as good as mine does right now.
Frequently Asked Questions
Can I use salted butter instead of unsalted?
You can, but you’ll need to reduce the added salt in the recipe to ½ teaspoon. Salted butter varies in salt content, so it’s hard to control the final flavor. If you use salted butter, taste the dough before baking (if you’re brave enough) and adjust accordingly. Unsalted is always safer for baking.
Why did my cookies spread too much?
This usually means the butter was too warm when you mixed it, or you didn’t chill the dough. If the butter is melted, it creates a thin batter that spreads instantly. Make sure your browned butter has cooled to room temperature before mixing. Also, ensure your baking sheets are cool before adding the next batch of dough.
Can I freeze the dough?
Yes! This is my favorite tip. Scoop the dough into balls, freeze them on a tray for an hour, then store in a freezer bag. Bake straight from frozen, adding 1-2 minutes to the bake time. They’ll keep for up to 3 months.
Why did my cookies turn out cakey?
Cakey cookies usually result from too much flour or too much baking soda. Make sure you’re spooning and leveling your flour, not scooping. Also, check your baking soda freshness. If it’s old, it won’t work properly, but if you used too much, it can create a cakey texture. Stick to 1 teaspoon.
Can I use dark chocolate chips?
Absolutely. Dark chocolate chips will make the cookies less sweet and more intense. I recommend 60-70% cocoa content. It pairs beautifully with the nutty brown butter. You can also use a mix of semi-sweet and dark chocolate for a complex flavor profile.
How do I know when the butter is properly browned?
Look for two things: color and smell. The butter will turn a golden amber color with dark brown specks at the bottom. The smell will change from milky to nutty, like toasted almonds or hazelnuts. It happens fast, so stay nearby. If it smells burnt, start over.
Can I make these vegan?
Yes, but the texture will be different. Use a vegan butter stick that browns well (some don’t brown the same way). Replace the egg with a flax egg (1 tablespoon ground flaxseed mixed with 3 tablespoons water). The cookies will be slightly more crumbly but still tasty.
Pin This Recipe!
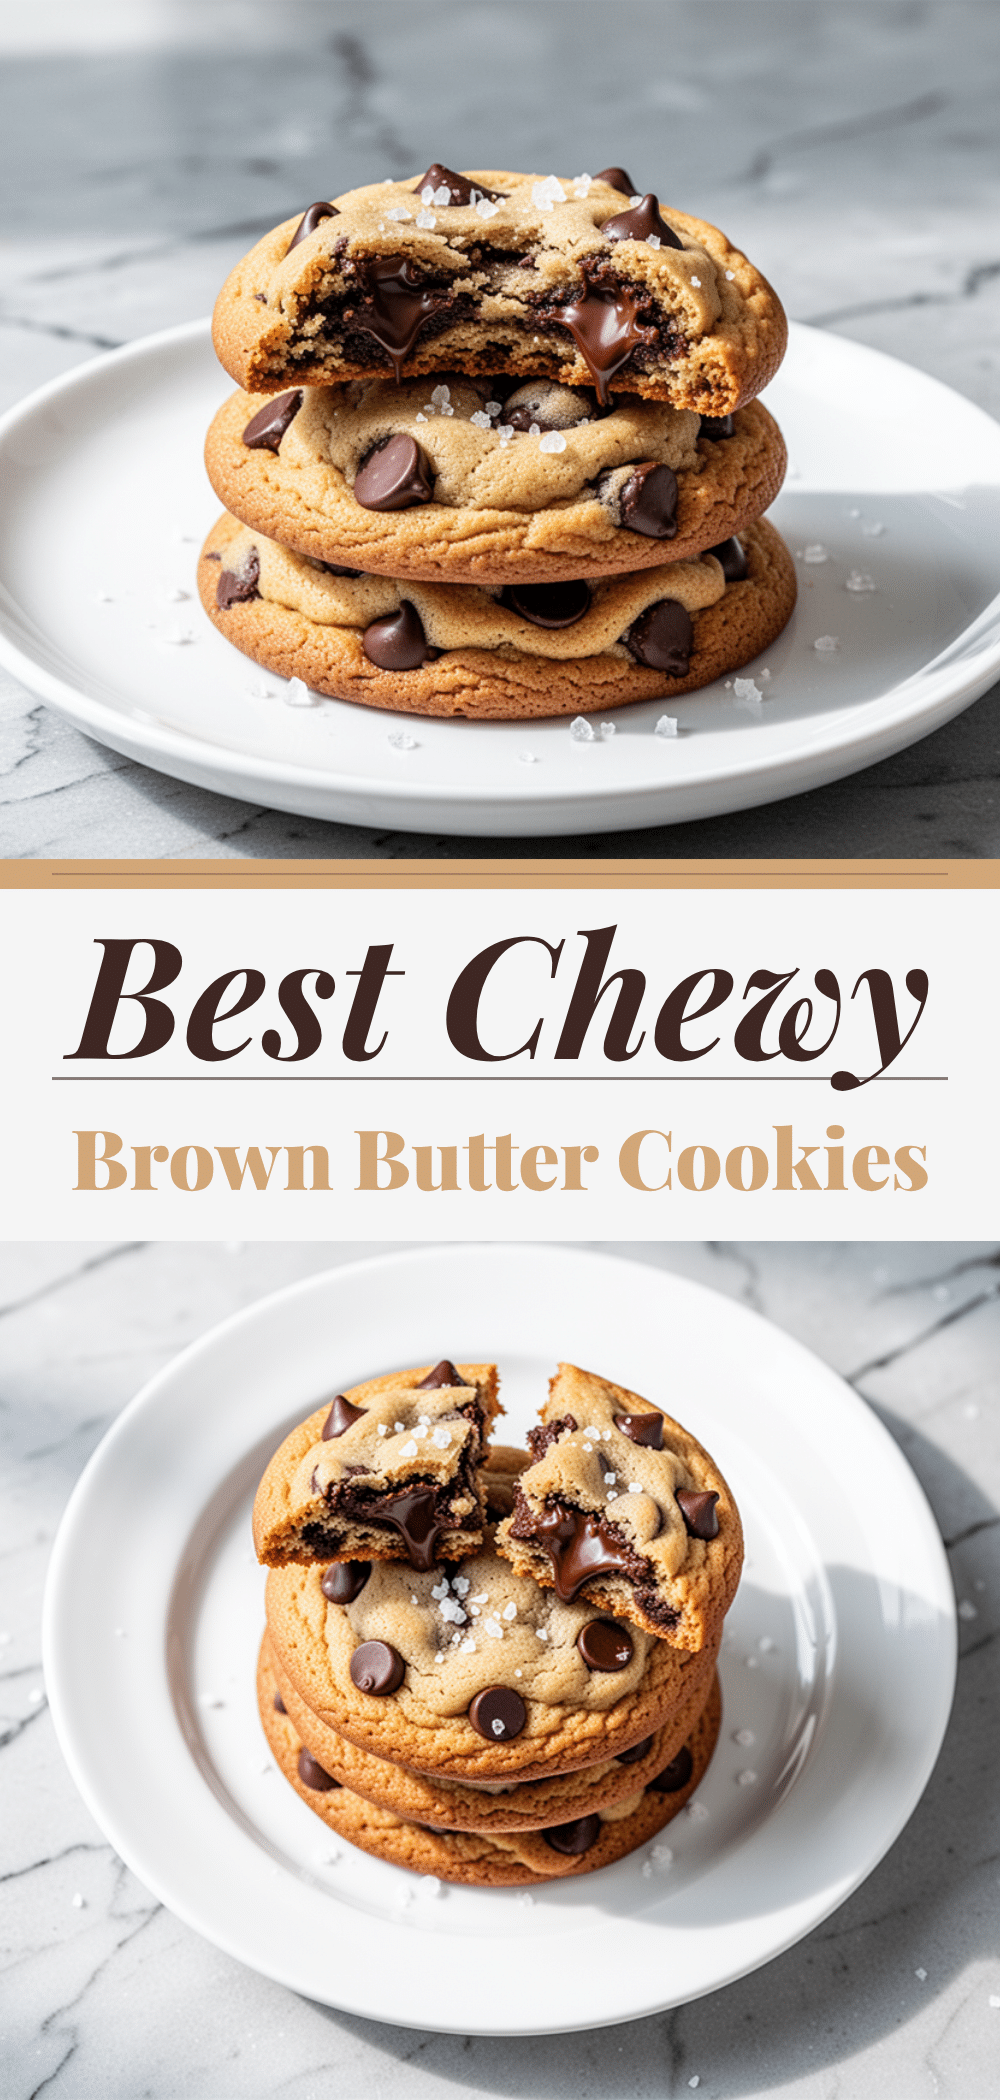
Brown Butter Chocolate Chip Cookies: Perfect Busy Weeknight Treat
- Total Time: 45 minutes
- Yield: 15 cookies 1x
Description
These brown butter chocolate chip cookies are a perfect busy weeknight treat, coming together in under 20 minutes of active time with just one bowl. The secret is browning the butter to create a nutty, toffee-like depth of flavor that transforms a basic cookie into something sophisticated.
Ingredients
- 1 cup (226g) unsalted butter
- ½ cup (100g) granulated sugar
- 1 cup (200g) light brown sugar, packed
- 1 large egg, room temperature
- 1 egg yolk
- 1 teaspoon vanilla extract
- 2 cups (250g) all-purpose flour
- 1 teaspoon baking soda
- 1 teaspoon kosher salt
- 2 cups (340g) semi-sweet chocolate chips
- Flaky sea salt, for sprinkling (optional)
Instructions
- Brown the butter: Melt butter in a large saucepan over medium heat. Stir constantly until it foams, then turns golden amber with dark brown specks and a nutty aroma (about 5-7 minutes). Immediately pour into a heat-proof bowl to stop cooking and let cool for 10-15 minutes.
- Mix sugars and butter: In a large mixing bowl, combine the cooled brown butter, granulated sugar, and brown sugar. Whisk vigorously for about 2 minutes until the mixture is smooth, glossy, and slightly pale.
- Add egg and vanilla: Add the whole egg, egg yolk, and vanilla extract to the butter mixture. Whisk until well combined.
- Combine dry ingredients: Add the flour, baking soda, and salt to the wet ingredients. Mix gently with a spatula or wooden spoon until just combined. Do not overmix.
- Fold in chocolate chips: Fold in the chocolate chips until evenly distributed throughout the thick dough.
- Chill dough (Optional): Cover the bowl and refrigerate the dough for at least 30 minutes to prevent spreading and meld flavors. Alternatively, freeze dough balls for 15 minutes if short on time.
- Preheat oven and prepare sheets: Preheat oven to 350°F (175°C). Line two baking sheets with parchment paper.
- Scoop and bake: Scoop dough balls (about 2 tablespoons each) onto the prepared sheets, spacing them 2 inches apart. Bake for 9-11 minutes until edges are golden brown but centers still look soft.
- Cool and serve: Let cookies sit on the baking sheet for 5 minutes to set, then transfer to a cooling rack. Sprinkle with flaky sea salt if desired. Serve warm.
Notes
Watch the butter closely to avoid burning; residual heat will continue cooking it after removing from the stove. Do not overmix the dough to prevent tough cookies. For crispier cookies, bake longer; for chewier cookies, underbake slightly and chill the dough. Store in an airtight container with a slice of bread to maintain softness.
- Prep Time: 15 minutes
- Cook Time: 12 minutes
- Category: Dessert
- Cuisine: American
Nutrition
- Serving Size: 1 cookie
- Calories: 220
- Sugar: 18
- Sodium: 180
- Fat: 12
- Saturated Fat: 7
- Carbohydrates: 28
- Fiber: 1
- Protein: 3
Keywords: brown butter cookies, chocolate chip cookies, weeknight dessert, one bowl cookies, easy baking, nutty cookies, make ahead cookies


